At first glance of them after opening the hood, these pictures show that the front turn signals have been in here while. So I first remove the outside bezel and lens, then spray the bolts holding the signal housings with the lubricant to loosen the bolts. Oops! A couple of them broke off. Well, he is over 50 years old!


you can see the color of my truck on this one.


Attention: where the bulb sits; if it needs any cleaning – only use extra fine steel wool!
Now when I was cleaning the outside of these housing’s I only used a medium wire wheel on the drill then switched to fine and only use the weight of the drill for pressure. No need for any more than that or it will turn red and that will be too much force. So, after cleaning them I went to the steel wool for the bulb area. It didn’t need much, and a little water could make it go faster (it helped get the residue off from cleaning the outer housing. Then I did the same to the other side. I also used the fine steel wool to clean gently the lenses and gently removed the paint overspray I noticed from the previous owner. The last owner painted this truck all flat black!!! Except for the mirrors, door handles, and cab trim panels. OK, back to the housings. I sprayed the outside of the housings with engine temperature rated clear coat. ( Rated to handle up to 500 degrees)


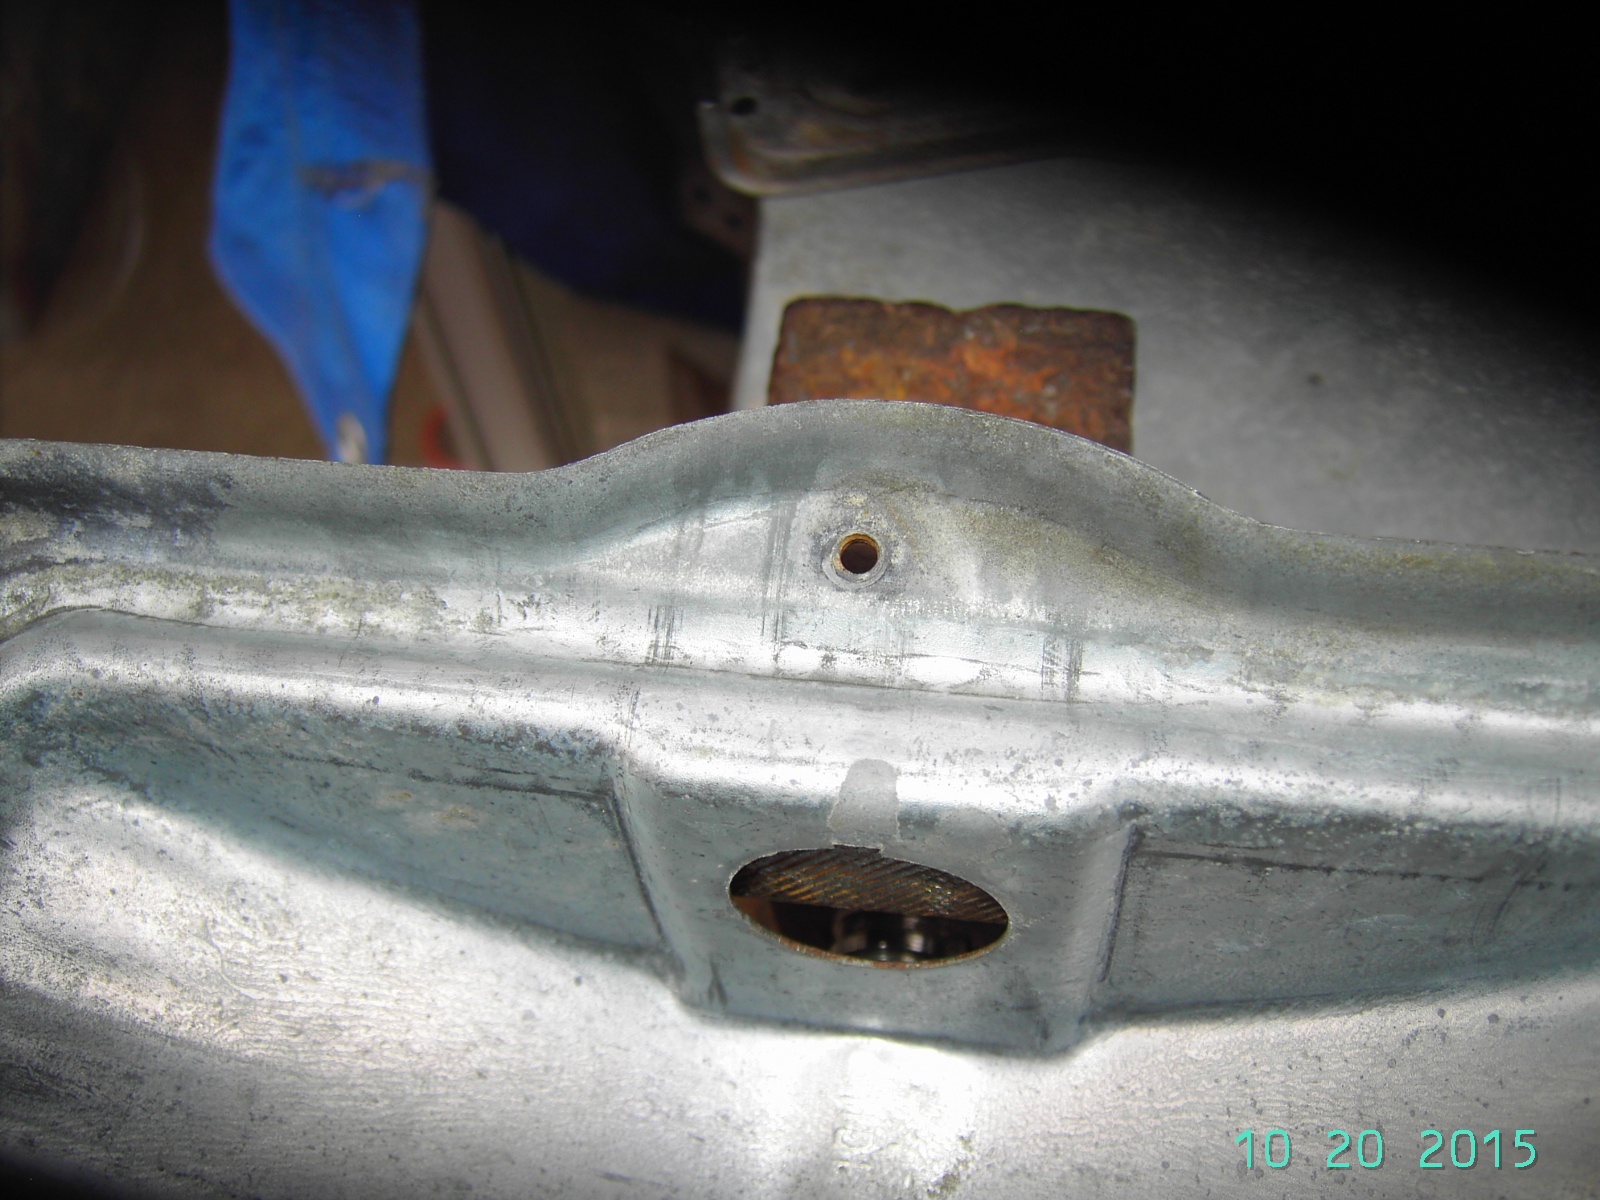
My 1966 Chevy turn signal in the pre-restore process. Now if you look closely you can see this is the Factory Housing from the manufacture. No Import parts here!
Then I went back and after they were dried, given about 1 1/2 hours. Ok, next I chased the screw holes in both housings. I then found new bolts to mount these housings. Then I clean the stainless steel bezels on the outside with steel wool. But I needed to find new trim screws, 4 of them. The ones I had were chipped and rusted so I went shopping at the local hardware stores. Now don’t look in packages – I look in their loose bins or drawers. Because you can get as many as needed! Then use their bags to write the amount you getting and the price.


