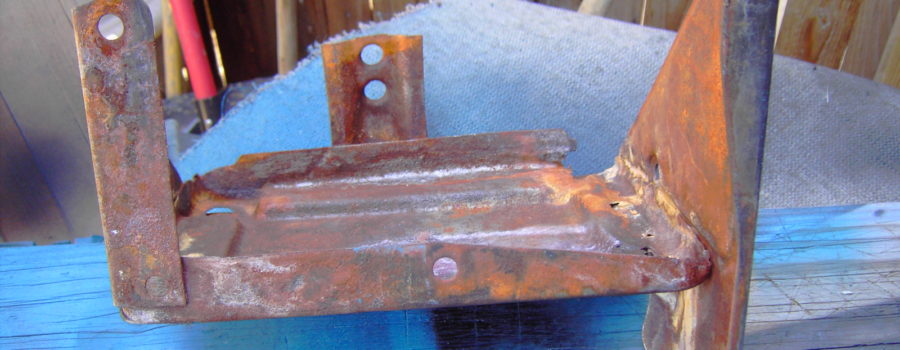
Well, I did this battery tray because it was in really bad shape with rust and corrosion from old and recent battery acid. Also, age, but I couldn’t afford a new one right at that time. So, I cleaned it up the best I could with soap and water and let it dry. I tried using a sanding disc on it, but, it was pretty weak from the damage and age, so a light cleaning by hand then. I found myself some sheet metal I had that was leftover from when I was fixing some floorboard holes in my truck, back in 1996 to get the truck to pass inspection.

My Old Original Battery Box

It’s seen better days


But anyway, I went and formed the metal to fit the tray as it shows in my pictures. Then the only way I could think of attaching it was with rivets. So I made some holes with my drill, then inserted 1/4 inch Aluminum rivets carefully to not hit any weak spots with my drill. And I tried to go up the side also for strength just to make it last a little longer. (Maybe another 20 years? Lol!) Oh, by the way, make sure the smoothest part of the rivet head will be on the top side for the battery. Now for the corners of the sheet metal, I bent them over for my safety. (Because the corners may go up to my fingernails) You know installing a battery; no sharp points, they hurt.


Then I went with a can of engine primer paint. First with 2 coats. I let each coat dry for an hour. Then I used Rustoleum spray paint in black, for the final coats. Hoping this will buy me time until I can find an American-made battery tray. Then I cleaned up the bolts, for that added nice restored look.

Battery Tray inside view of the side repair.

Nice and restored look.


