Today we’re working on a 2001 Toyota Corolla. This job is for the interior door handles and one exterior door handle. The first thing we do is take off the door panel for the passenger front door and access the hardware holding the exterior door handle on.
The tools needed for this repair are as follows:
1) a 1/4″ drive ratchet w/a 3″ long extension
2) 10 mm deep socket 1/4 drive
3) #1 and #2 Philips head screwdriver
4) any flat-tip screwdriver or interior removal tools
5) window handle clip removal tool
6) needle-nose pliers
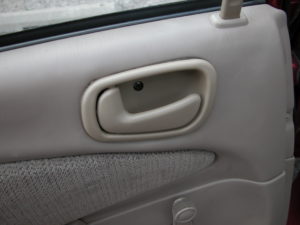
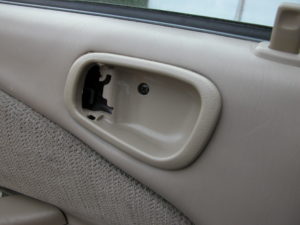
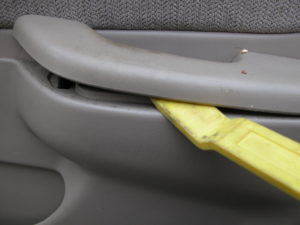
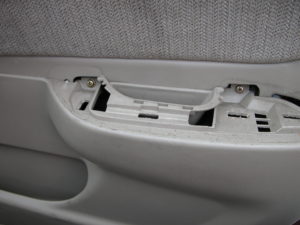
First, Before removing the door handle, we must find all the retaining hardware holding the door panel. There is one screw at the inside door handle itself. There are two behind the armrest. Now to access the screws under the armrest cushion you will need an interior tool or flat-bit screwdriver to move it without forcing it.
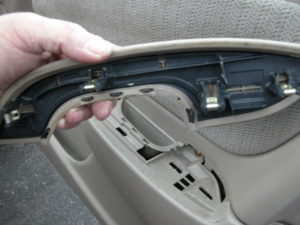
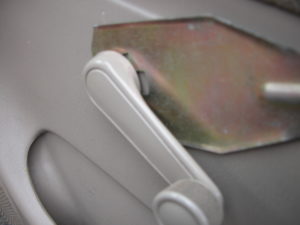
Then we can remove the window handle with a tool. All you do with this tool is slide it slowly behind it moving the clip till the handle comes out while pulling on the handle. Then continue removing the panel hardware
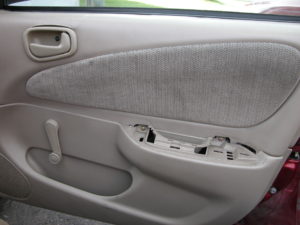
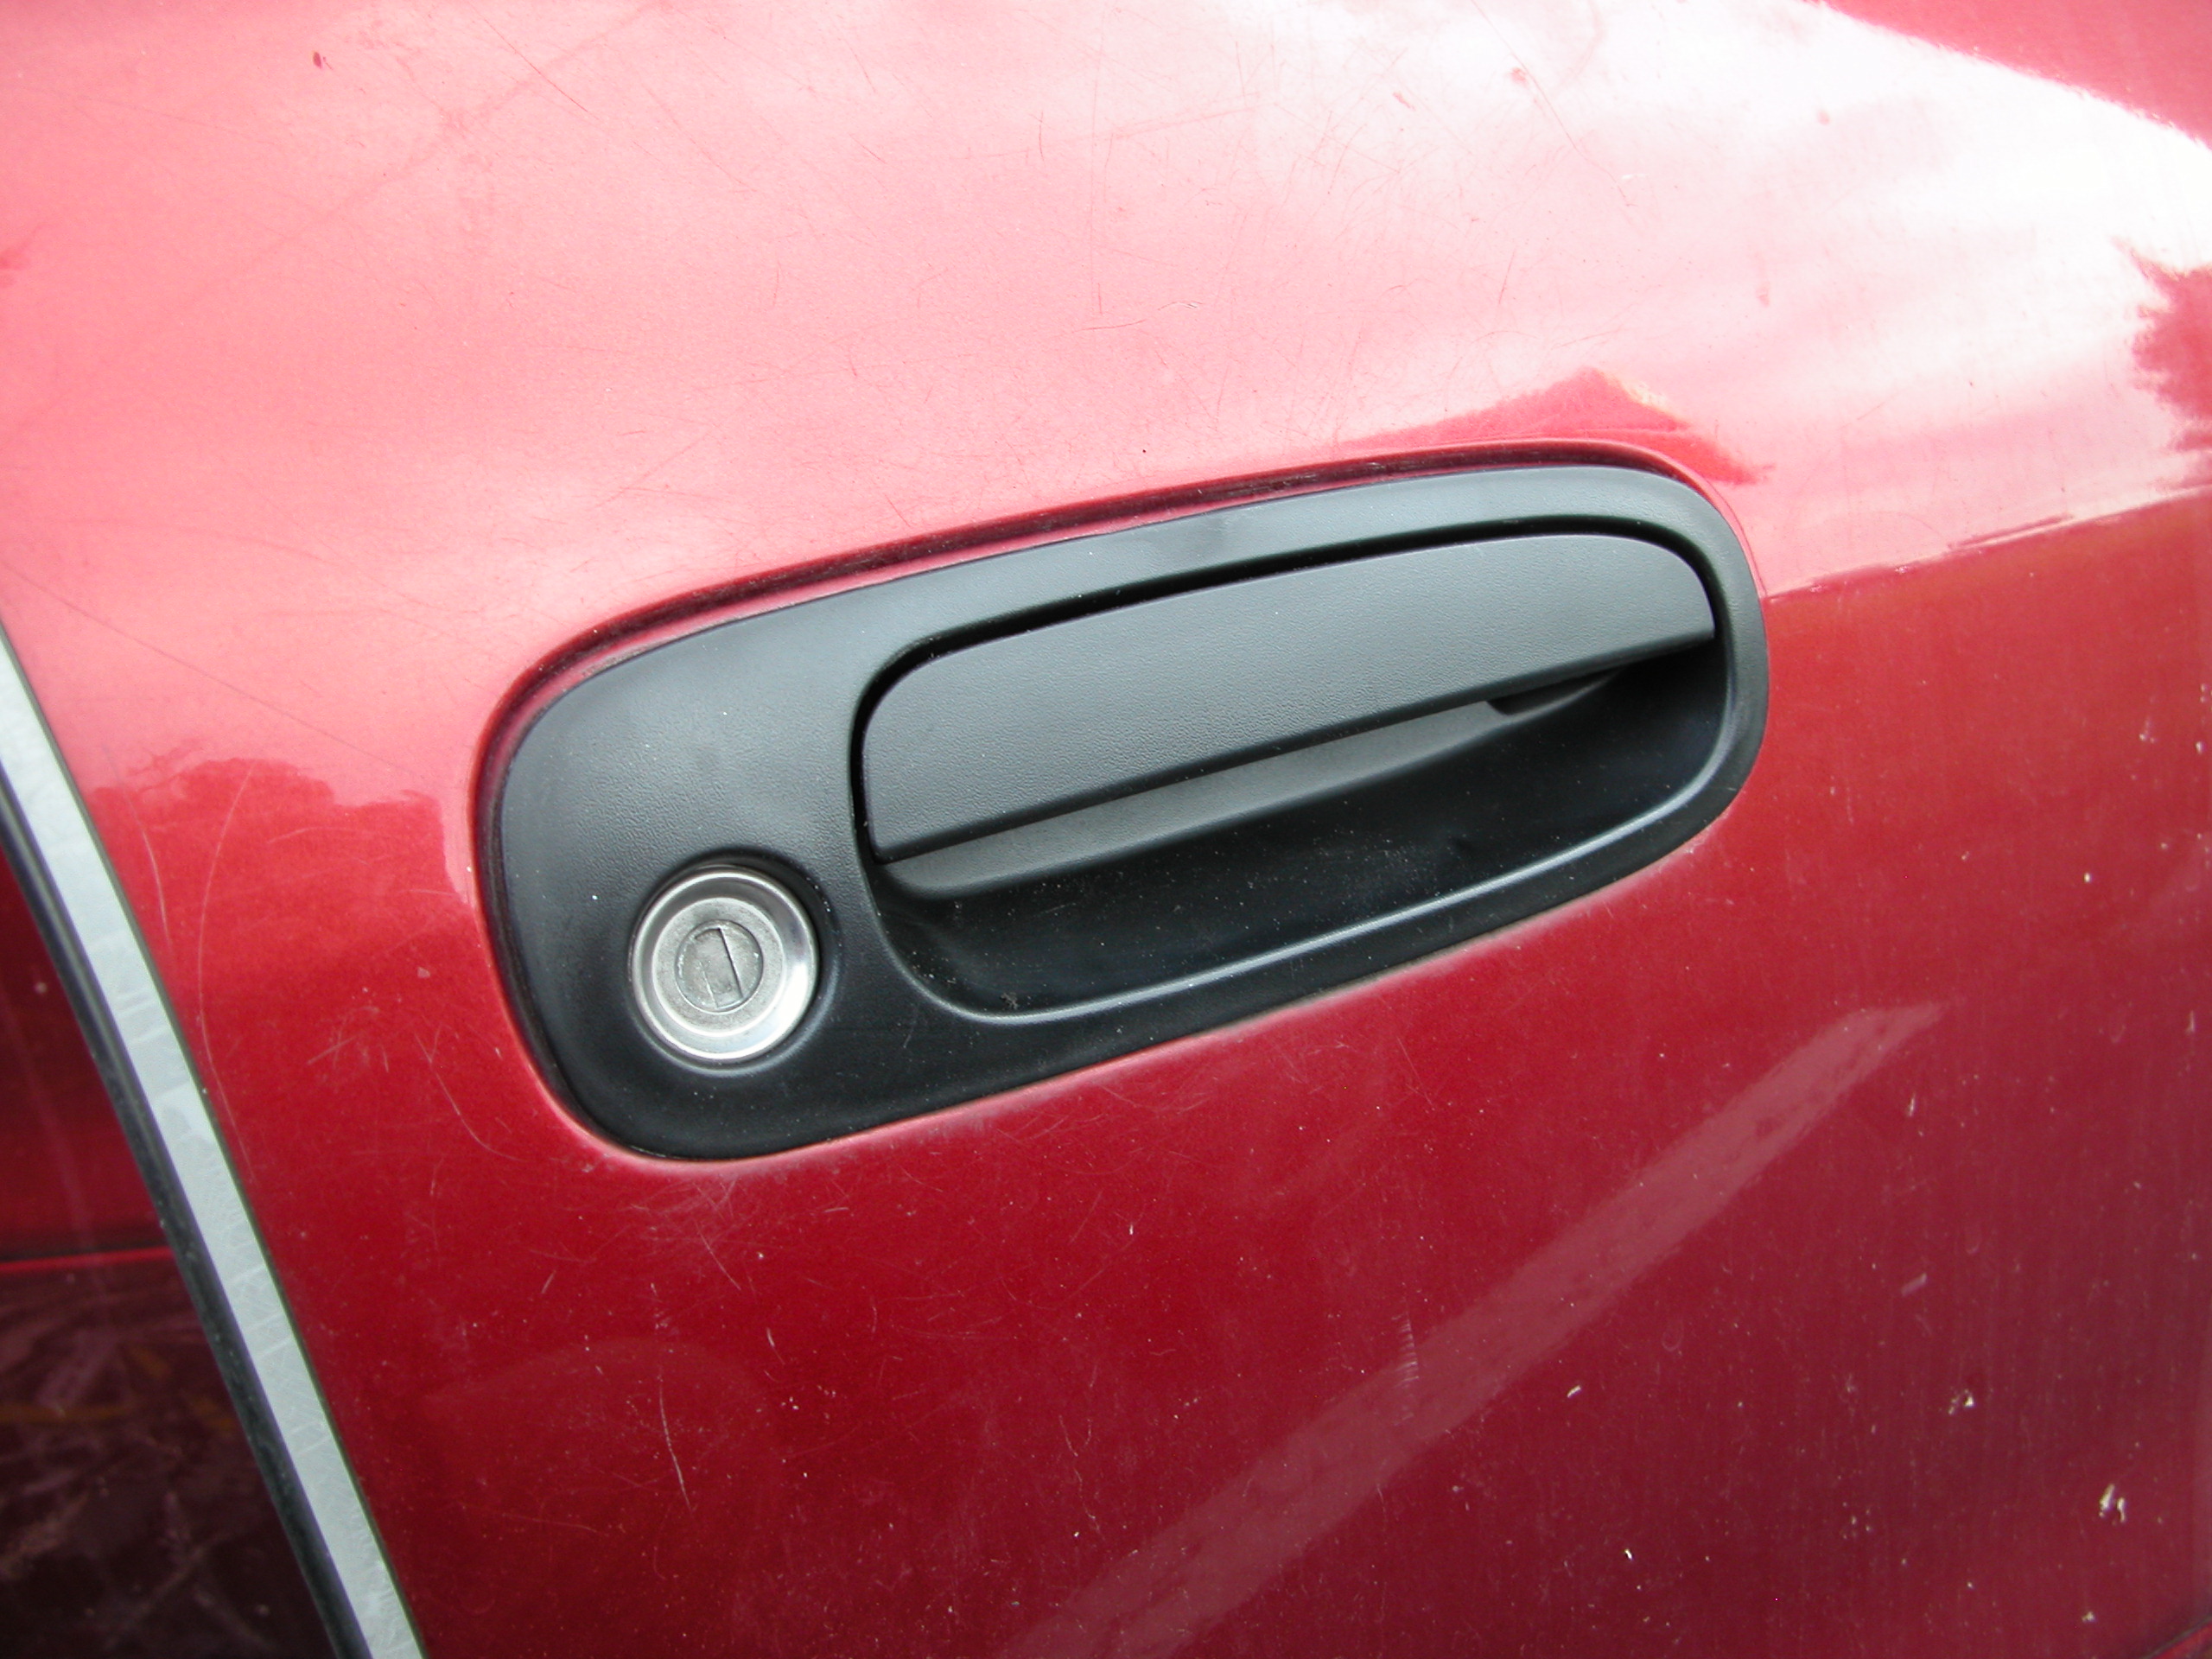
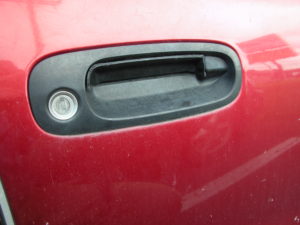
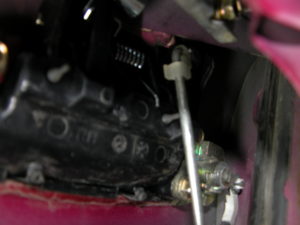
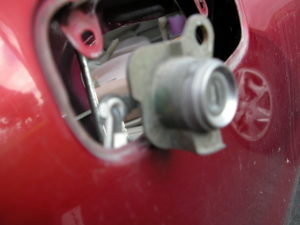
Then onto our exterior door handle. The mounting bolts for the exterior door handle may look hard to get to from inside the door, but there are holes in the inside door skin that you can insert your socket and extension to reach each bolt with ease to remove the handle so all you need to do is reach your hand in and remove the control levers from the door handle and the clips holding them.
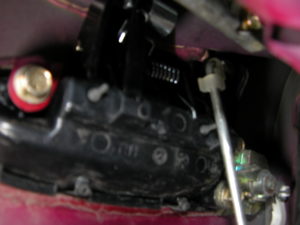
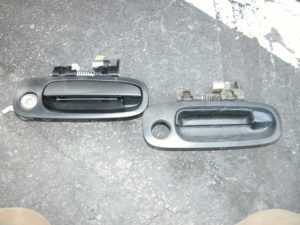
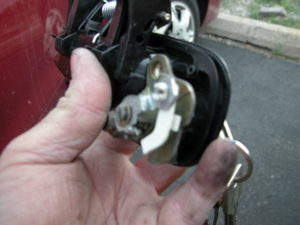
Once all that is done, your door handle comes out with ease. Be careful not to drop your bolts in the door because they might be a bugger to find! Once the door handle is out, lay it next to your new one to be sure that titmatch up before installing it. If everything is good, all you need to do is remove the lock cylinder from the old one to the new one.
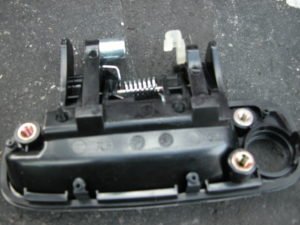
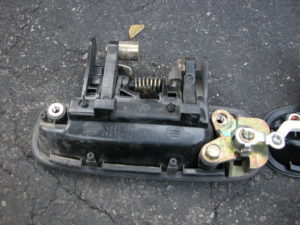
While installing the lock cylinder to the new handle, I found it was easier to install the lock cylinder to the mechanism locks before installing the exterior door handle. I did it this way because I had a bit of a struggle reconnecting the actuator rods to control the door. So it was easier to install the lock mechanism back into the outside handle from inside the door as I did taking it out.
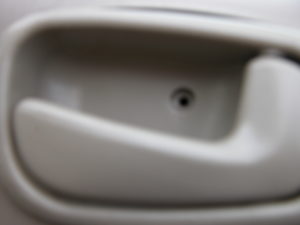
Once it was figured out, I mounted the door handle and installed everything back in reverse taking it off. Then all I had to do iwasreplace the inside door handle and the other three door handles on this job.