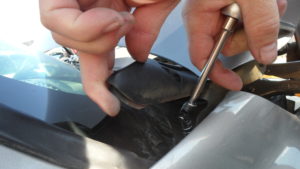
My Suburban had its original stock antenna mast. I wanted to change it to a custom one I bought several years ago when I had a new Chevy truck. The antenna had a Chevy bowtie design in the antenna mast itself.
So I thought it would be neat to finally have it on a Chevy truck that I owned. I used a boxed end 10mm wrench to loosen the bottom of the antenna from its base. But it didn’t come loose as easily as I hoped. It broke the threads off its mounting base.
So after that, it turned into a much bigger project than I initially hoped! I had to order a new antenna base and an antenna wire. I was hoping to find a replacement at a local wrecking yard, but had no such luck! So I checked around several of the local automotive stores and I came up empty from them too! I felt my last option was to check out online stores for a used or new replacement.
I finally found the right antenna mount and wire. Now the fun begins! The tools I used were –
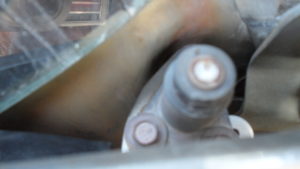
- an 8 mm socket for the three mounting screws that mount the base in place.
- an old-fashioned wire coat hanger to feed the antenna wire between the fender & the dashboard.
- black electrical tape.
- pair of wire cutters or plyers.
- a lubricant. (I used vaseline)
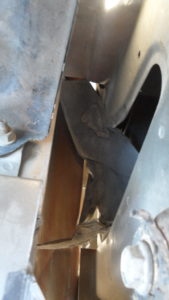
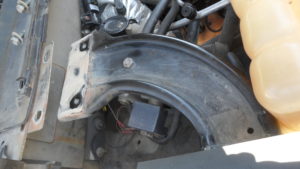
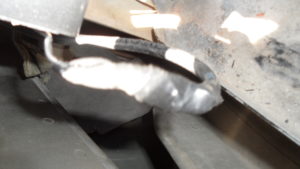
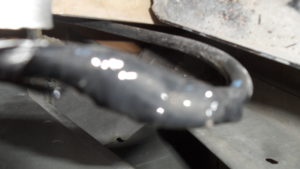
- size 15 mm socket to remove the brace between the fender and the firewall. This will give you extra working space.
- The most vital tool for this project is; LOTS and LOTS of PATIENCE!
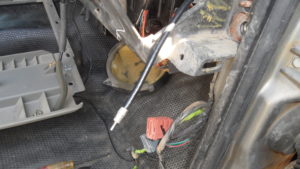
Remove the antenna base & wire. But before completely pulling the wire out of the truck, you will have to remove or drop your glove box. Then trace your antenna wire going to your stereo. As you’re pulling it out, pay close attention to its routing.
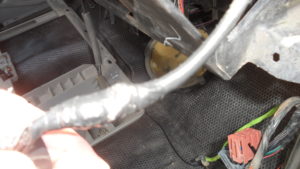
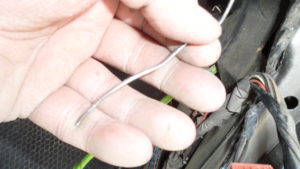
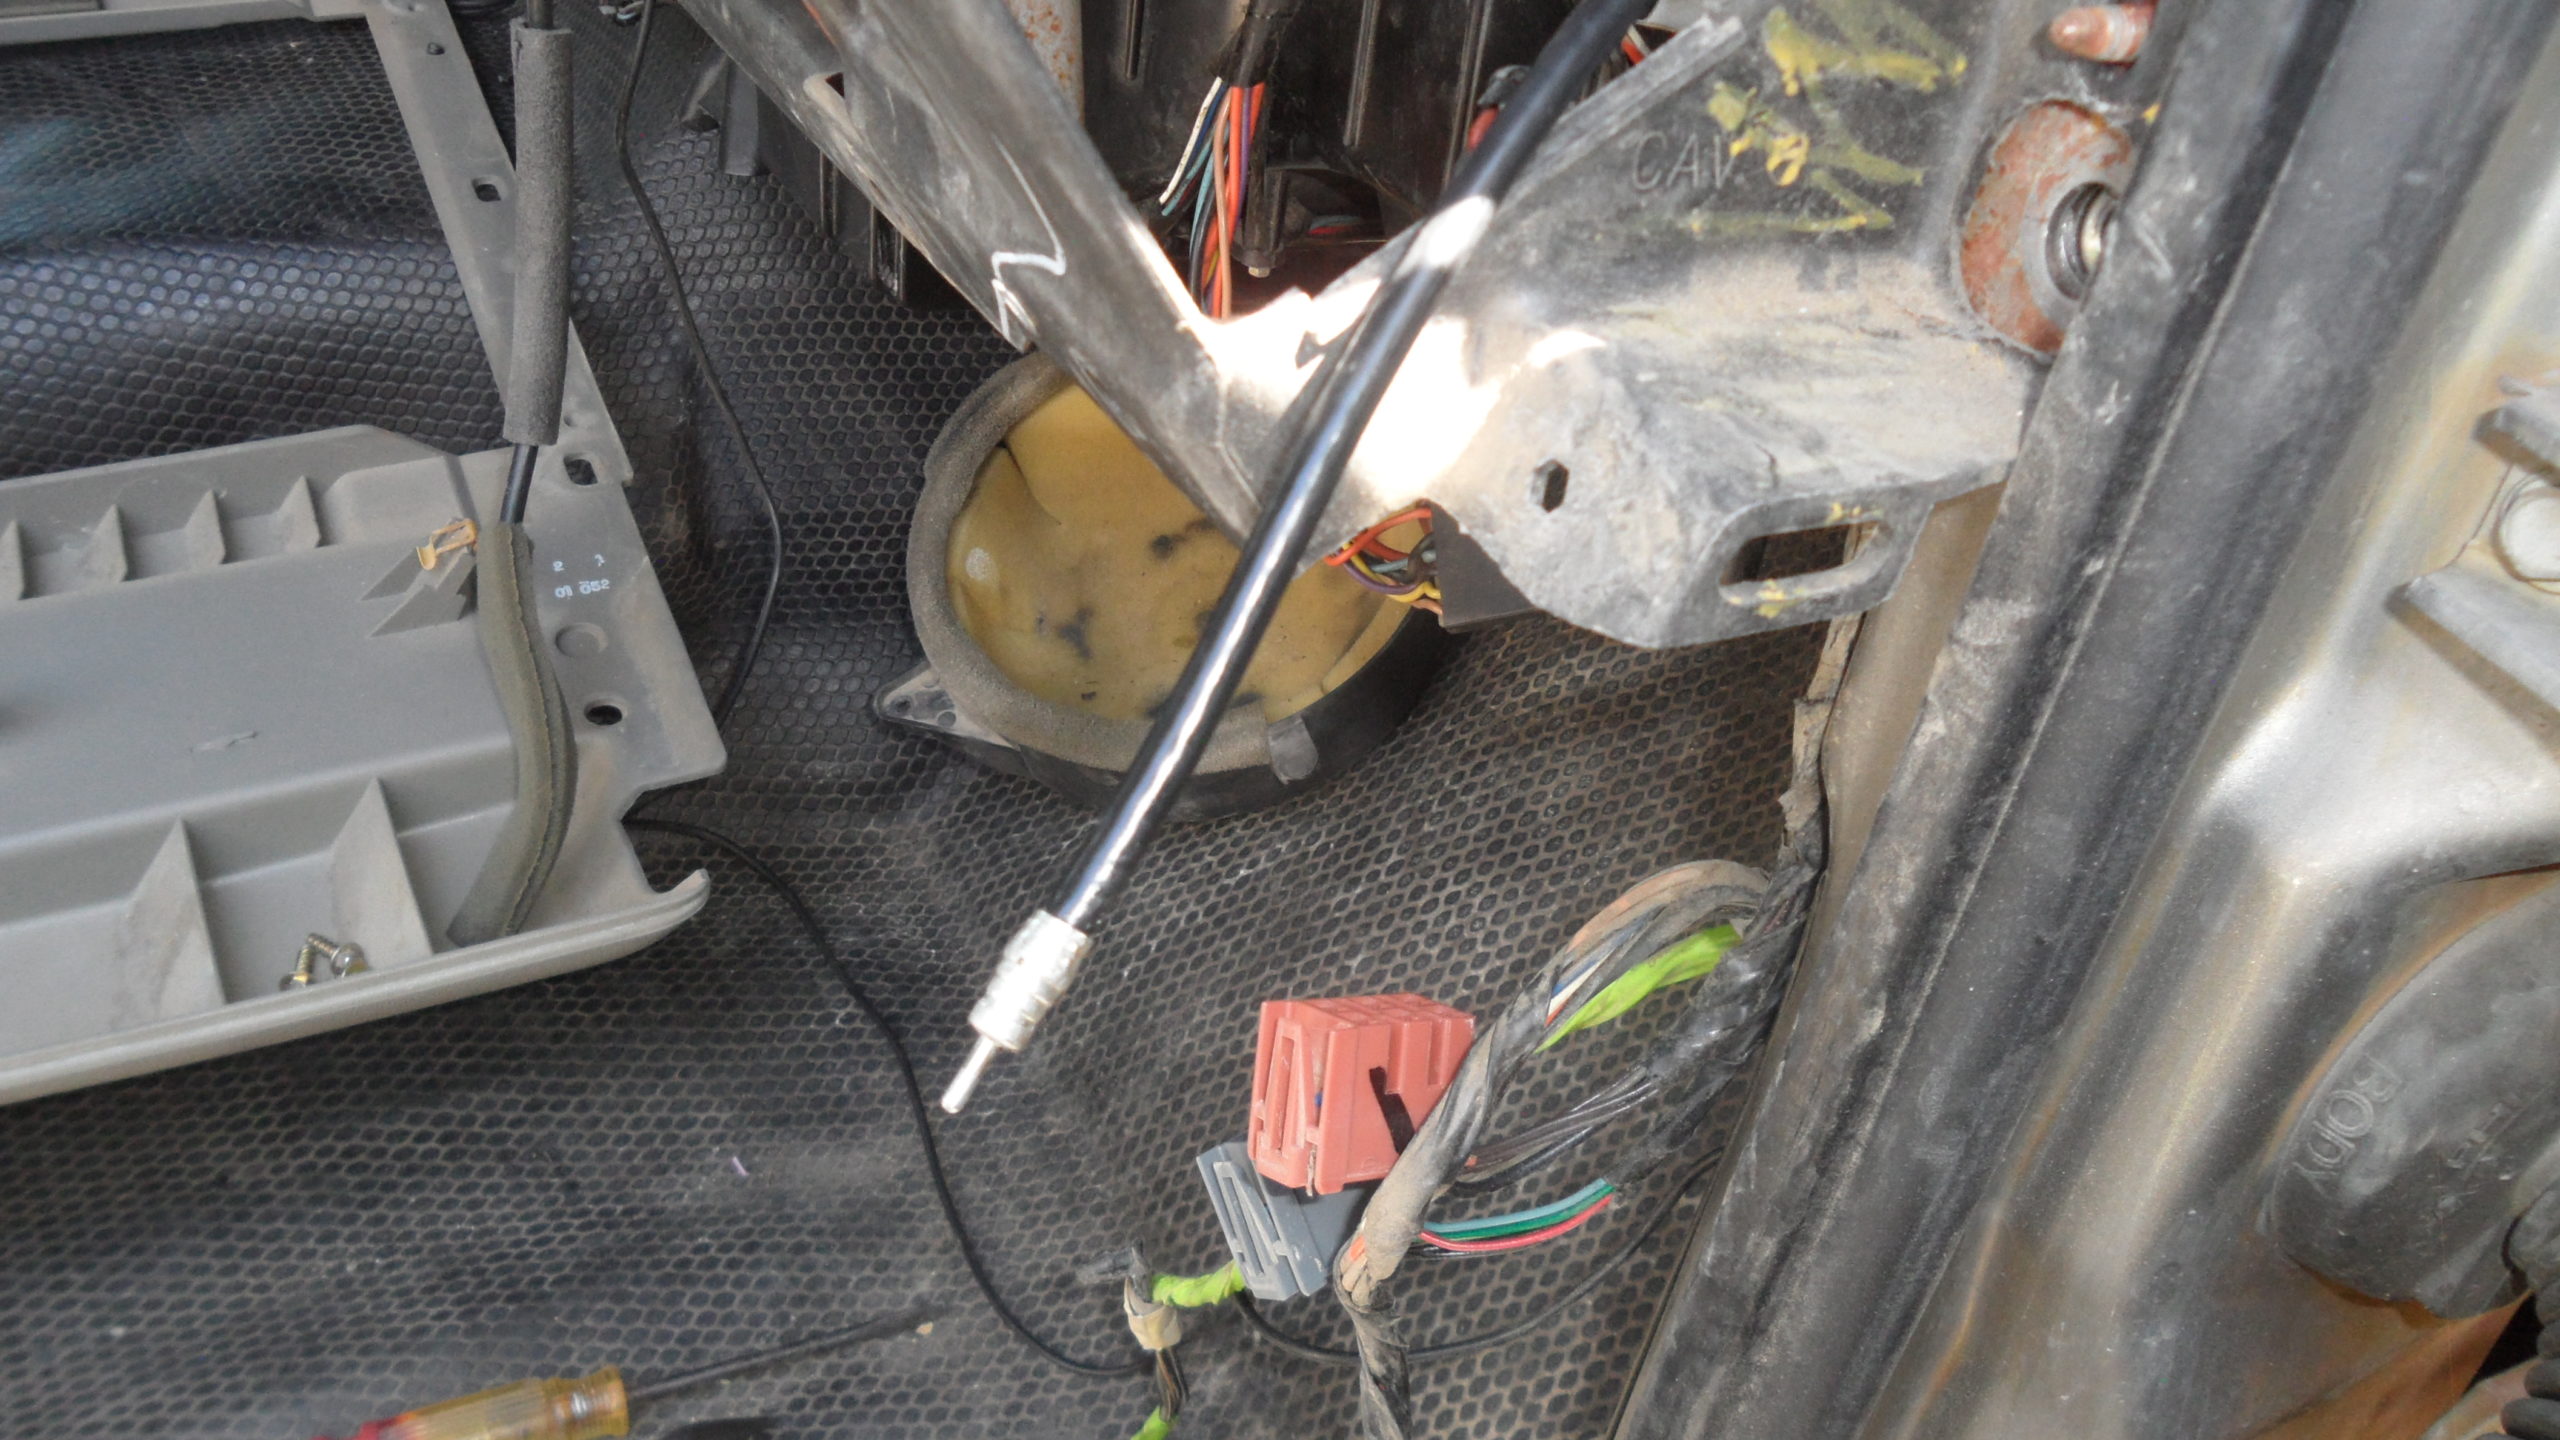
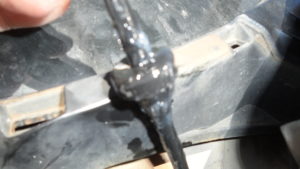
As you’re pulling the wire from your stereo, make a small hook out of the coat hanger and pinch the end of your old wire into the coat hanger. This will help you lead your old wire out so you can bring the new one in. Now I know it’s a tight area from the fender to the body of the truck. Taking patience will help you get this job done sooner and the correct way.
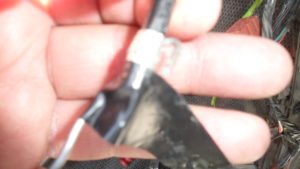
Once your old one is out, then you can lead in your new one the same way you pulled the old one out. Don’t mount your antenna base until you lead this antenna wire through. Just in reverse hook your coat hanger to the end of your wire and lead it back through into the body. Replacing the tape on the hook of the coat hanger. Now remember before you lead it through, use a lubricant to lead the body plug on the antenna wire to slip into the hole in the body with ease.
Now if it doesn’t go in as easily as pulling on the wire, I used a pair of long needle nose pliers to help it to get snugged in as well as possible. And I did not have to remove the fender as I have seen other people do on the internet.