• Home
  • Tips & Tricks
  • 1966 Chevy
  • About me
  • Contact
Inspired Love for CarsInspired Love for Cars
  • Home
  • Tips & Tricks
  • 1966 Chevy
  • About me
  • Contact
Headlight repair for GM ’99 to ’06 full size truck & SUV
We have lights again.

Headlight repair for GM ’99 to ’06 full size truck & SUV

December 13, 2022 Repairs - general automotive, Uncategorized

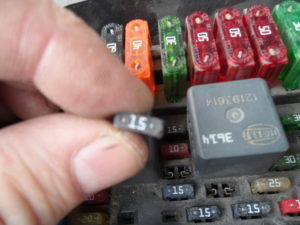
I was running errands one day and noticed my headlights weren’t working and the warning light was on. Luckily it was still daylight so I could go home and fix them. The first thing I checked was the fuses. There was one for each side. While testing them, we had power on the line side and nothing on the accessory side.

Fuse box testing

Bad fuses again.

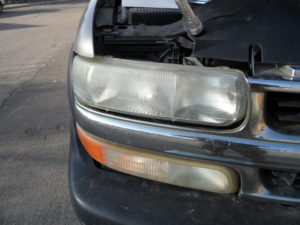
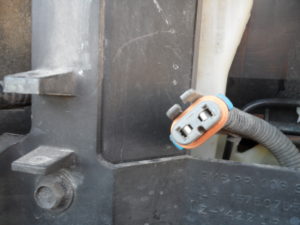
I was excited because I thought this would be such an easy fix, but I couldn’t have been more wrong! Going from there I removed my headlights and removed the bulbs to test for current. I noticed on the passenger side we had power but still, the bulb would not light up. So then I went to the driver’s side to see why it wasn’t working. This side showed no current.

Passenger side pigtail

No Headlights

Driver side pigtail

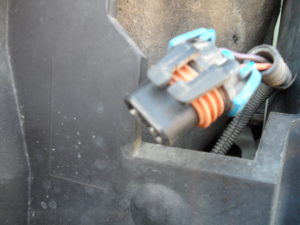
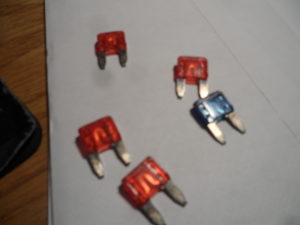
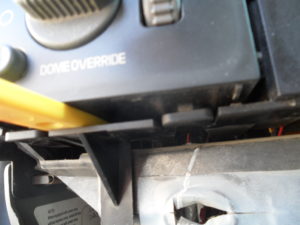
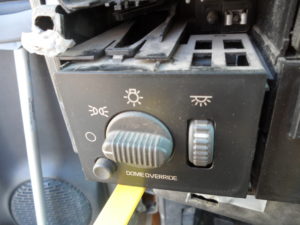
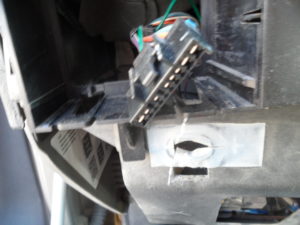
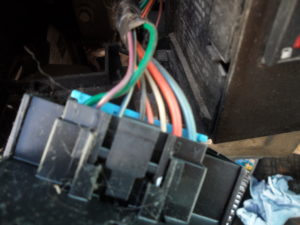
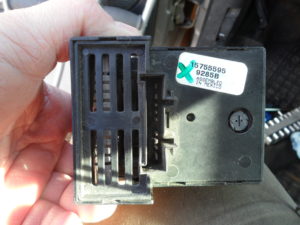
Now my next step is to go back to the beginning and do a continuity test on the “new” fuses I just replaced. You know my saying! “Just because a part is new doesn’t mean it is!” Why I’m saying this because even though the fuses look good with the naked eye, doesn’t mean it’s going to function right. I also tested the new harness pigtail for the headlight and dome light switch. There was power coming into it but not going out. So I tested the switch itself and while doing this I hooked up my hotwire leads and found the switch was not working. So we replaced the switch.

Removing the headlight switch

Old switch when removing this from the dash using a screwdriver or a specialized tool for the interior.

I tested these wires too.

Pulling the pigtail off it has a push-down clip to make it easier.

I tested these connections with my homemade jumper wires.

With no changes in my headlight condition, I tracked down the wires to the headlights through the harness coming from the fuse box. Doing this with a continuity tester, helps me locate any sort of wire breaks between point A to point B. Once I eliminated any breaks in the wire, I can narrow it down to headlight bulbs.

Remove the screws in here to safely change out your bulbs

There’s a whole plastic mounting plate that needs to be taken out for the bulbs to be replaced.

Old bulb

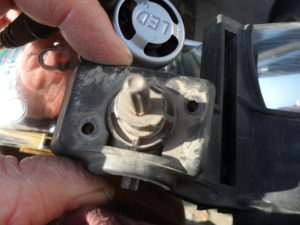
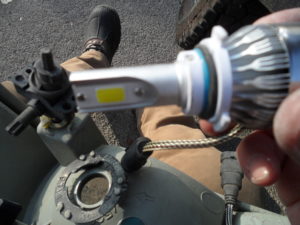
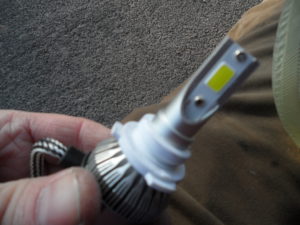
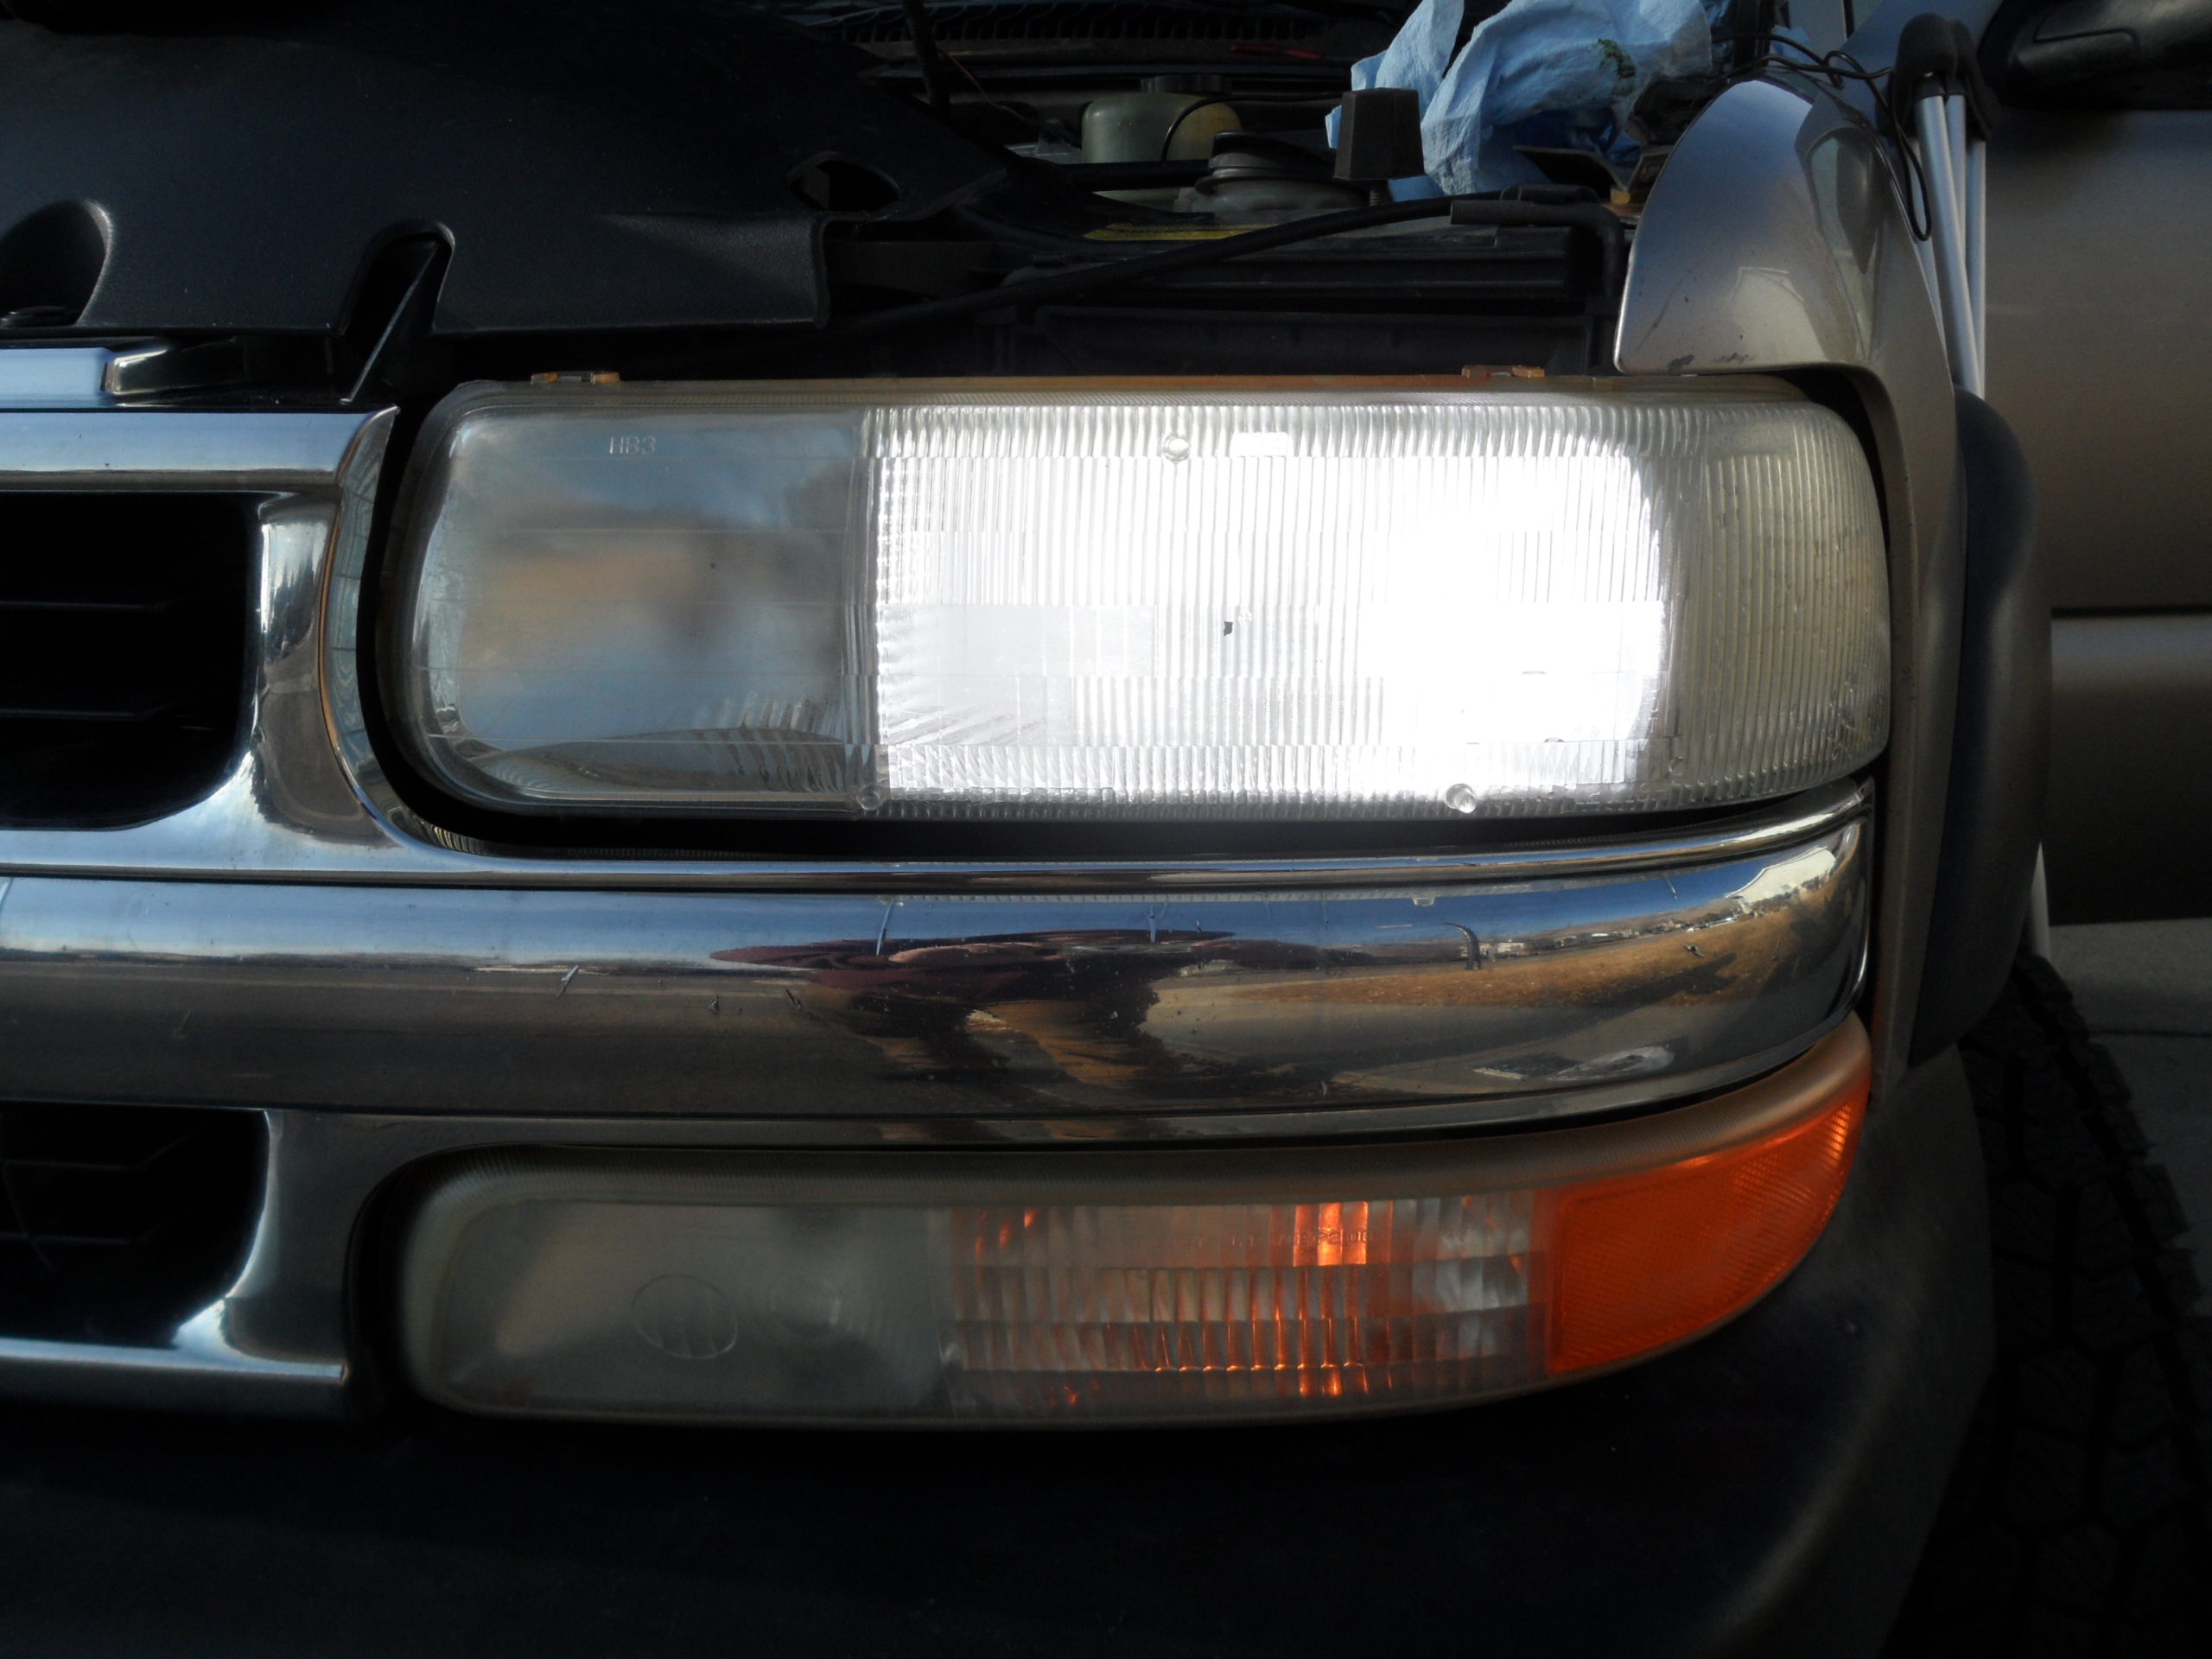
The next step is to order new LED lightbulbs because it’s obvious that the bulbs aren’t working. After I received my lightbulbs two days later and we had lights! Victory cruise at night!!!

Our replacement bulbs are here.

Plugging in the “new” bulbs.

We have lights again.

We have success!!!


Share
2

You also might be interested in

Reverse Lights ’66 Chevy

Reverse Lights ’66 Chevy

Aug 23, 2018

How to Restore Classic Reverse Lights on the Cheap Like[...]

Tips, Tricks and Tools

Aug 31, 2018

Tips, Tools and Tricks I wanna tell you about one[...]

2001 Oldsmobile Alero Brake Pads and Rotors

2001 Oldsmobile Alero Brake Pads and Rotors

Aug 27, 2018

My wife’s Lil’ Olds brakes needed work! They were making[...]

Hi, I’m Woody.

I love everything and anything to do with cars, trucks, tools, and mechanics or restoration work! I can help you fix and restore vehicles with minimal cost,  but with solid results.

Latest Posts

  • Door handle replacement 2001 Toyota Corolla
  • Headlight repair for GM ’99 to ’06 full size truck & SUV
  • ’99 to ’05 Chevy full size trucks: Antenna replacement
  • Misfire Trouble Shooting ’99-04 GM Trucks (Part 2)
  • Misfire Trouble Shooting ’99-04 GM Trucks

Categories

  • 1966 Chevy
  • Other car stuff
  • Prevenative maintenance
  • Repairs – general automotive
  • Restorations
  • Shade Tree Mechanics
  • Tips & Tricks
  • Uncategorized

Contact Us

Send me a message and I'll get back to you, asap.

Send Message

© 2023 · Inspired Love For Cars.

Prev Next