• Home
  • Tips & Tricks
  • 1966 Chevy
  • About me
  • Contact
Inspired Love for CarsInspired Love for Cars
  • Home
  • Tips & Tricks
  • 1966 Chevy
  • About me
  • Contact
Misfire Trouble Shooting ’99-04 GM Trucks (Part 2)
Old E.G.R. Valve vs New Valve just look at the pindle it isn't in great shape.

Misfire Trouble Shooting ’99-04 GM Trucks (Part 2)

August 30, 2022 Repairs - general automotive

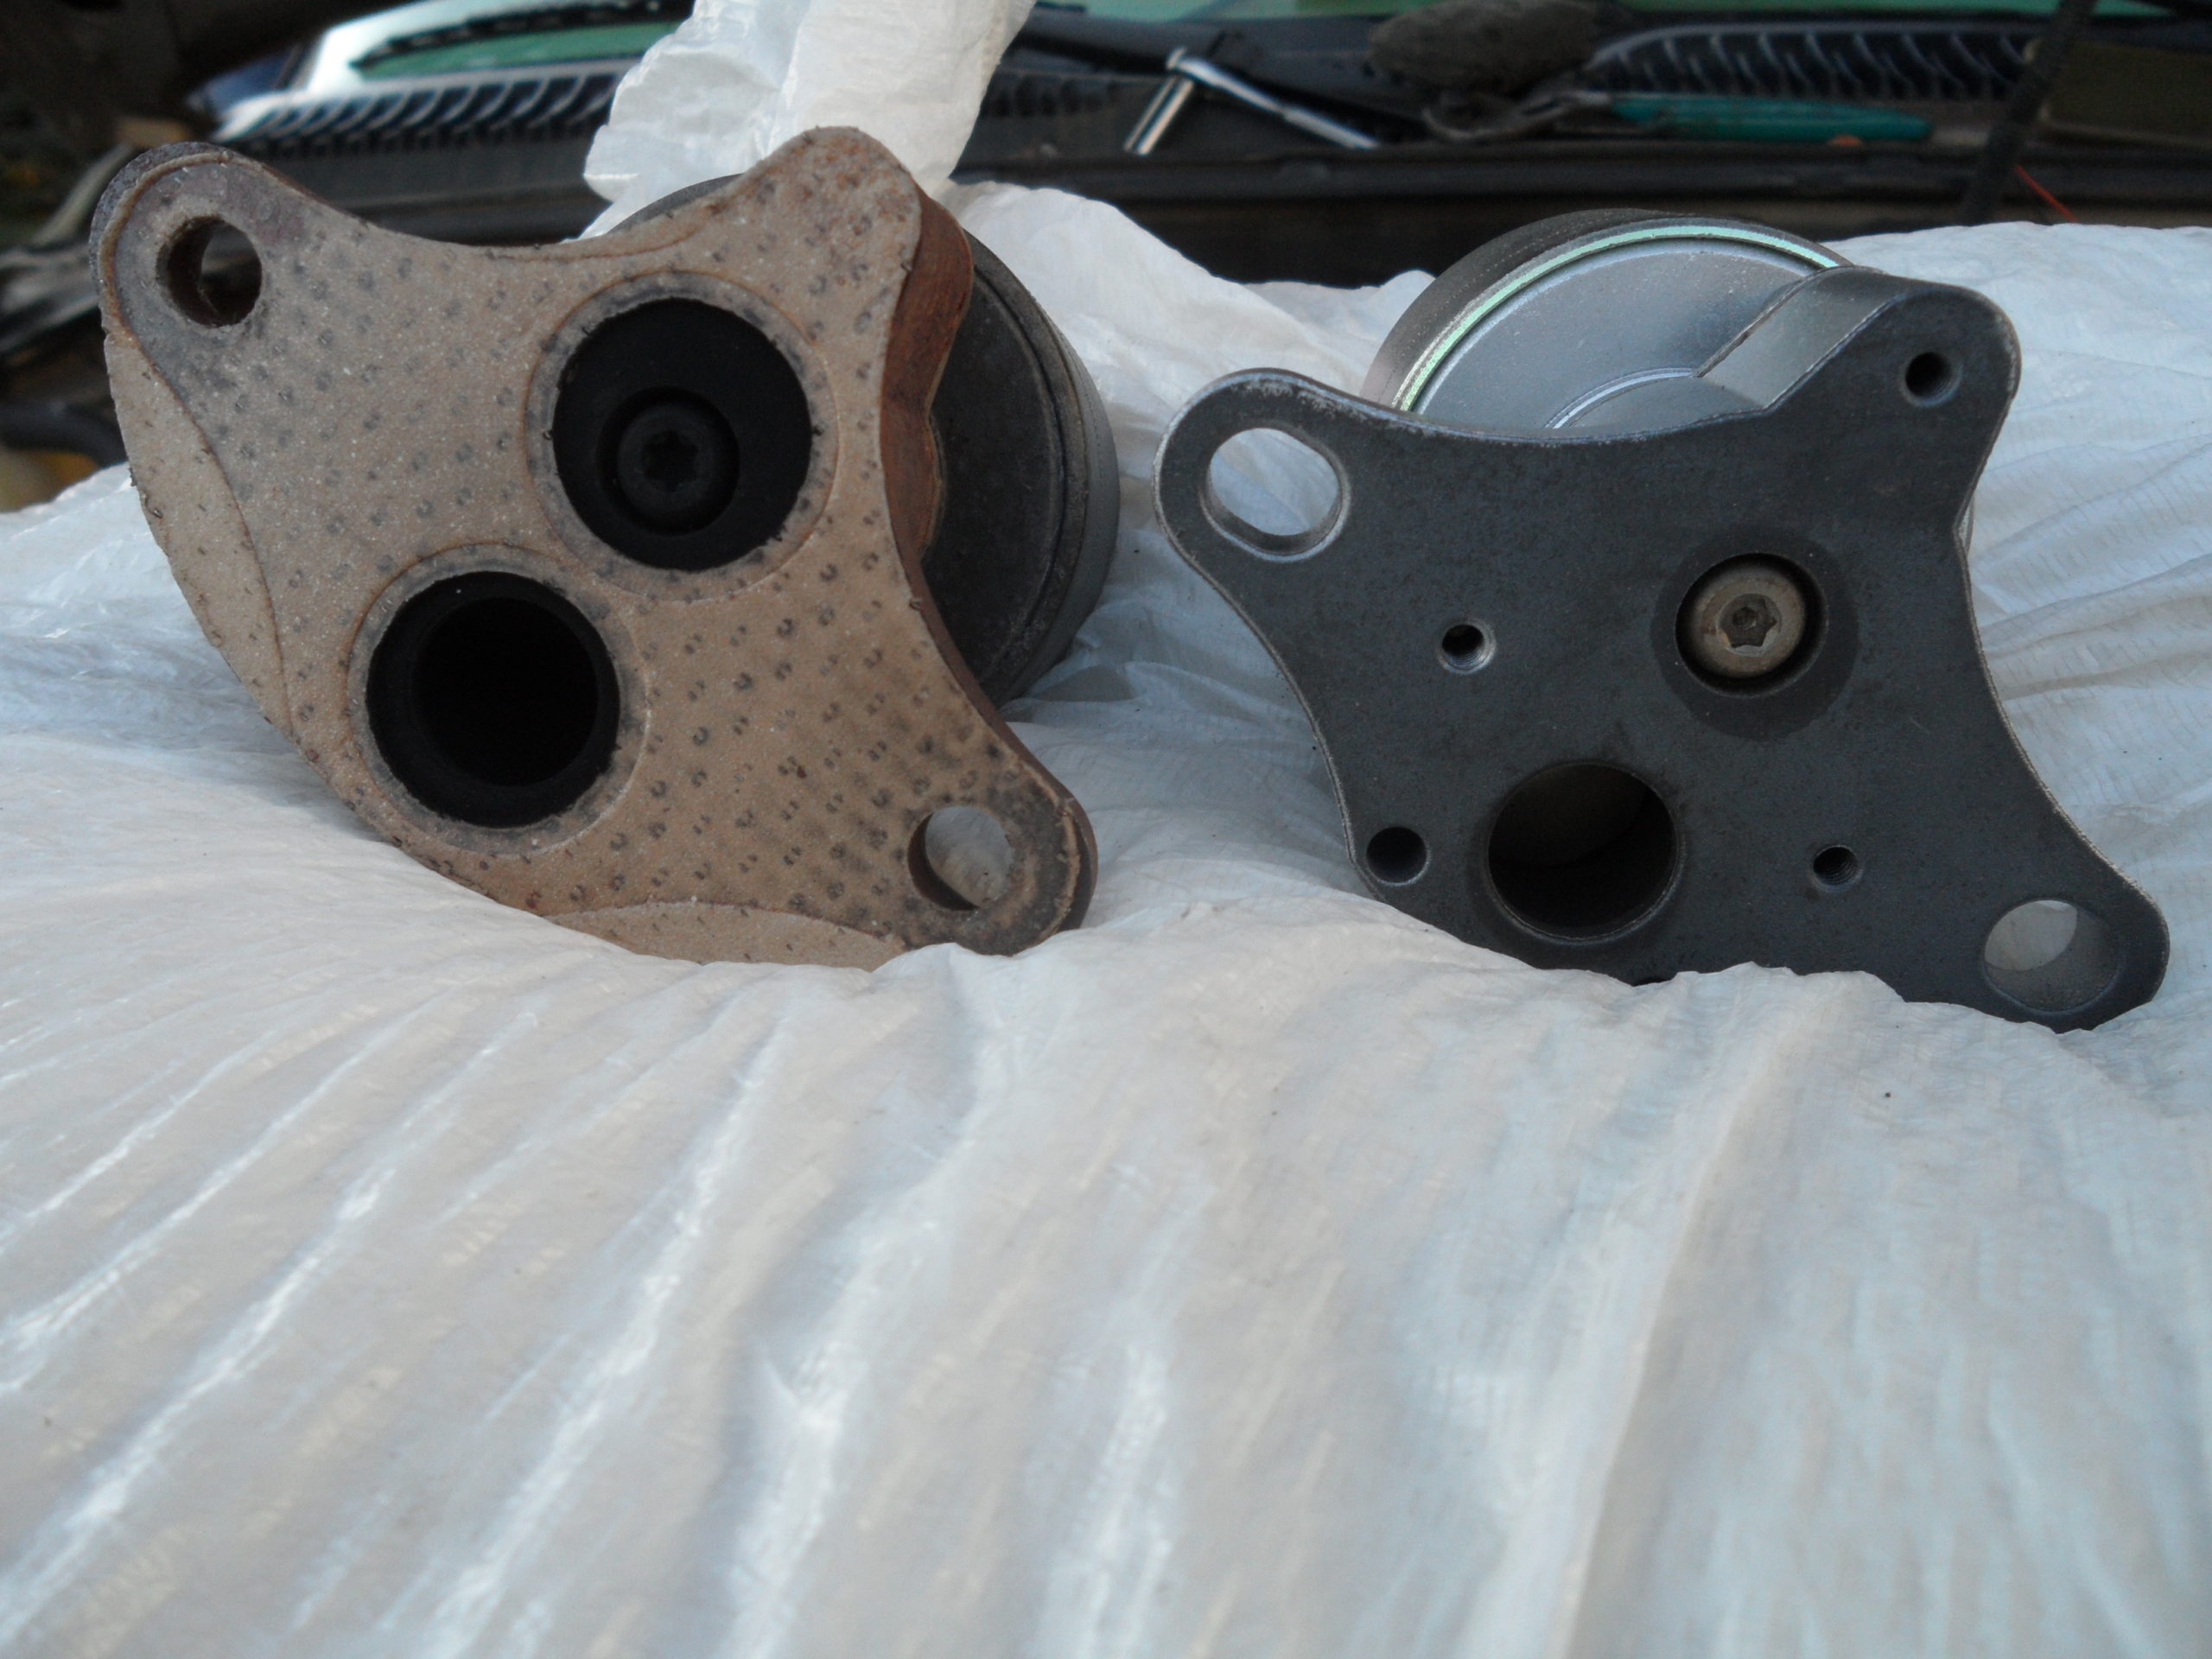
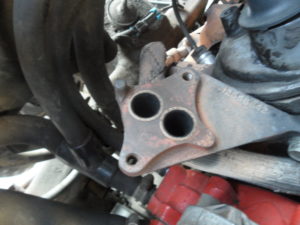
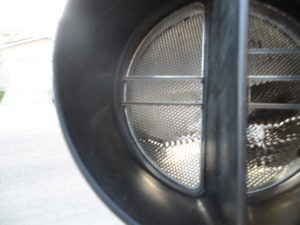
In this post, we are still trying to identify the problem with our Suburban misfiring. I referred to the repair manual on our truck and it mentioned a few other possibilities to look at for the issues! With a misfire code coming up on my scanner and I decided to look at other parts related to the fuel system and exhaust that may also be causing a misfire code so I decided to back to my E.G.R. valve and test the pindle on it.  When you want to test the pindle, you do it with a pencil eraser and you gently move it up towards the top of the valve. If there is a movement that part is operating correctly. Ours is not working correctly at all. Not to mention all the carbon build-up on it.

Ugly Old EGR Valve the pindle is loaded with carbon build-up. And there isn’t any movement out of it.


Old E.G.R. Valve vs New Valve just look at the pindle it isn’t in great shape.

Our New E.G.R. Valve and Old guy. I found an AWESOME deal on our new one online too. Can’t beat 20.00 Dollars

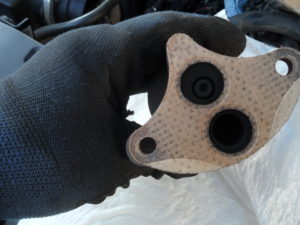
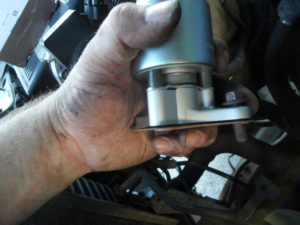
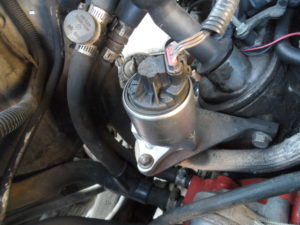
When replacing the E.G.R. valve, it’s pretty straightforward. Remove the electrical plug from the top of the valve, and remove two bolts holding the valve in place. These bolts are 12mm and once they’re removed, you can lift the valve off, and don’t forget to remove the old gasket with it. Now with the mounting base, your valve mounts to, stuff some clean rags or shop towels in the holes before you take a wire brush and clean the base off as good as you can. Then you can install your new one.
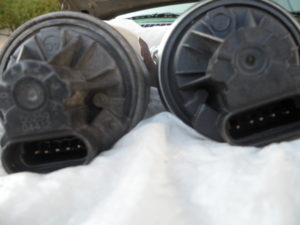
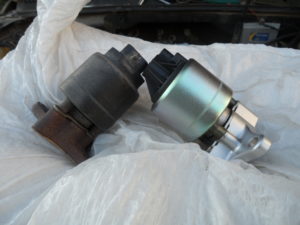
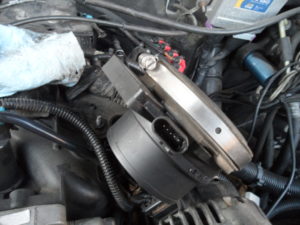
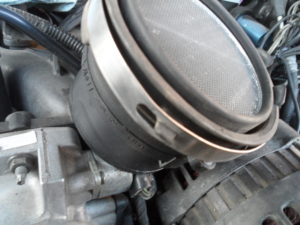
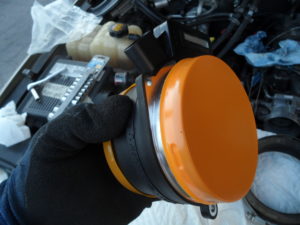
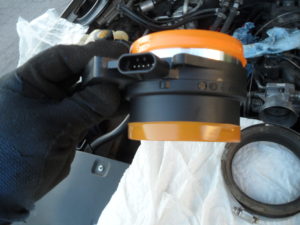
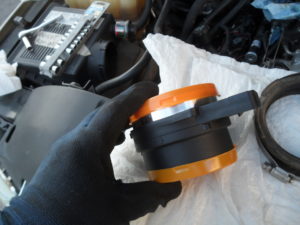
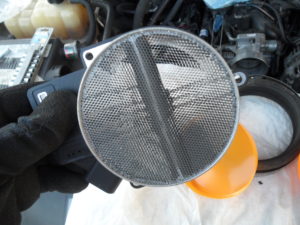
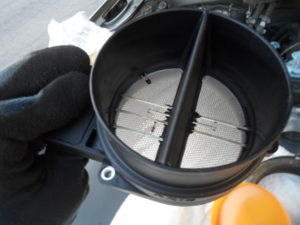
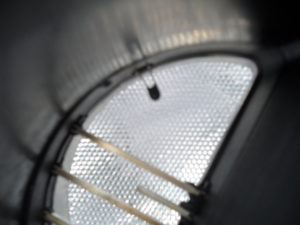
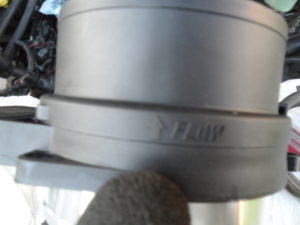
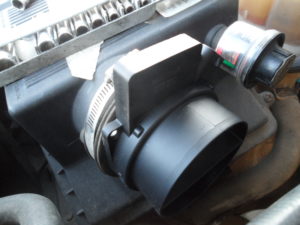
Removing the electrical plug. First before removing the bolts is a better way of doing this for me.

Cleaning the mounting base before re-installing the new guy.

Re-installing our new valve is easy just remember the Gasket goes on first. And using the bolts may help guide the valve in place.

All installed and ready to test next

Another thing I decided to replace is a M.A.F. sensor. My purpose for replacing this sensor is to optimize airflow and horsepower in hopes of optimizing fuel mileage which this truck could benefit from. When replacing this sensor it’s pretty easy to do also. It connects with the air filter box and throttle body tubing. You just have to remove a couple of hose clamps and remove one electrical connector that is plugged into it. Gently remove the hoses. Bring in the new one and install it the same way as your old one, but remember where the sensor box and plug connection are located so it’s in the proper stock location for your electrical connection before hooking up your hoses, be sure your clamps are on first.

Old sensor.

our screen is all damaged and missing its diodes


Our old M.A.F. sensor

Our ( NEW ) Sensor.

Much cleaner than our old guy

Pretty Nice!

Seeing our sensor has its Diode when our old one was missing.

Nice And New parts are just what this truck needs in hopes it will run again or better.

Always follow the ( Flow) direction on this part.

New part in its new home.

Then hopefully it’s time for a victory cruise. Unfortunately, it isn’t in the cards today. It’s time to hit the books again and figure out what else it could be!!!

Share
2

You also might be interested in

Reverse Lights ’66 Chevy

Reverse Lights ’66 Chevy

Aug 23, 2018

How to Restore Classic Reverse Lights on the Cheap Like[...]

Tips, Tricks and Tools

Aug 31, 2018

Tips, Tools and Tricks I wanna tell you about one[...]

2001 Oldsmobile Alero Brake Pads and Rotors

2001 Oldsmobile Alero Brake Pads and Rotors

Aug 27, 2018

My wife’s Lil’ Olds brakes needed work! They were making[...]

Hi, I’m Woody.

I love everything and anything to do with cars, trucks, tools, and mechanics or restoration work! I can help you fix and restore vehicles with minimal cost,  but with solid results.

Latest Posts

  • Door handle replacement 2001 Toyota Corolla
  • Headlight repair for GM ’99 to ’06 full size truck & SUV
  • ’99 to ’05 Chevy full size trucks: Antenna replacement
  • Misfire Trouble Shooting ’99-04 GM Trucks (Part 2)
  • Misfire Trouble Shooting ’99-04 GM Trucks

Categories

  • 1966 Chevy
  • Other car stuff
  • Prevenative maintenance
  • Repairs – general automotive
  • Restorations
  • Shade Tree Mechanics
  • Tips & Tricks
  • Uncategorized

Contact Us

Send me a message and I'll get back to you, asap.

Send Message

© 2023 · Inspired Love For Cars.

Prev Next