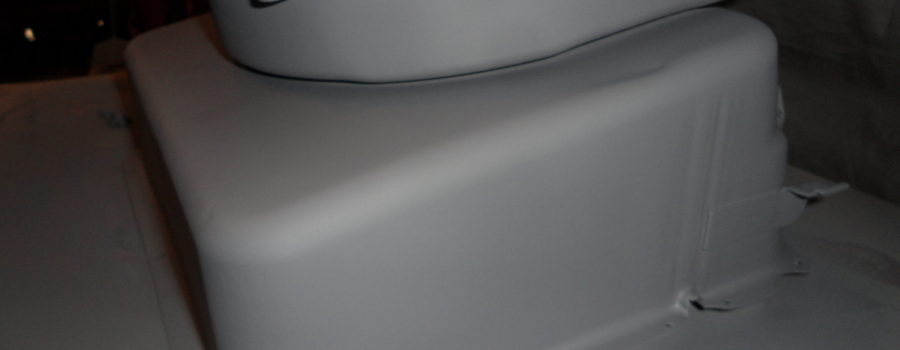
In this next segment, I will show you how to primer light even coats to help fill in pits in the metal and to sand in those areas after the paint is dry. I chose to go with the paint brand Dupli-color engine primer which is rated at 500 degrees rating. I chose this one over powder coating because I felt this would be closer to the stock look, the way they did things on these older vehicles, and is much closer to the actual color, and the only way I can afford to restore this box with my finances. 

I must say that Dupli-color has done a great job matching O.E.M.’s correct color match to the original colors for my truck, the “T”. And I give them a big thumbs up for their hard work at making my restoration to my little pickup very simple and easy. I am NOT getting paid to say this and they don’t endorse my blog. 


When using a spray can paints or other coatings, always remember to follow the directions. Keep your paints 6 to 8 inches from the item that you are going to paint and do a sweeping motion, side to side with light even coats to the item you are going to paint. This keeps you from the paint running and helps get the ultimate look your looking for in all your projects. 


Doing these steps will help you make corrections to the metal from old age and rust and with the primer in those pits, while doing a light sanding with 120-grip sandpaper, lightly go over these areas of the heater box where the pits show up through the primer surface. Don’t put a lot of pressure with the 120-grip sandpaper because all you really want is to take off the first thin layer of primer already that’s been applied.


Then after sanding the primer and exposing the pits in the metal (as seen in my pictures) I go and make sure all over pits are exposed on the full surface of my heater box. I wipe it down again with a wet shop towel or paper towel removing any dust and debris then I wait for it to dry. Then I spray on another thin even coat of primer again to see if what I’ve done has filled in the pits in the metal.


Now, be patient because this process may take a few times to fill in the metal. It took me four times to fill in my pits. It took me that many times because I wanted the best results I could possibly get, making it look close to brand new as possible! I also owed it to my little truck to give him the best possible restoration that I can afford and do myself with what I have with the sweat of my brow! 
I want to also prove that somebody without having the proper tools to strip metal or having a big shop, can still the same things such as restoration and maintenance as the exports do and keeping a promise to a little pickup I bought in 1994. 


Heater box clamping hardware cleaned also.
Next post we will be the final procedures done to the heater box


