These were the first body panels that I worked on. I considered to at least trying to restore these or at the very least seeing if it can be done as many other people have. Well, I’ve only seen pictures but I’ll give it a try! The battery side of my truck had a lot of corrosion damage from past batteries. So the next challenge finding another one hoping to find a good used one. I found 2 of them but only needed one for the right side. My left side is perfect for restoration. 


Now this picture here is of my old one and it is just to show how great American made steel is! My truck is 52 years old and these parts are original. Now Back to my parts, these next pictures are of the new part from Tear Apart Auto Recycling, here in Salt Lake City, Utah. 


I’m stripping my new brace. I’ll start by using a 3/8 drive drill with medium grade wire wheel attachment on it and put my part in the bench vise, so I have more control of my drill so not to have to hold onto the part also. Now with the wire wheel, it great to remove paint and rust of many layers. But not the pits in the metal. So I turn to my 2-inch sanding pad I bought from O’Reilly Auto Parts. They work very well for these but I didn’t push on them too hard to burn the metal it could warp the metal or cause another scarring that will show in your primer or in your paint color. Now I show these in my pictures that I had to knock a dent. So I tapped on it carefully with an acorn point of my body hammer and my metal piece was laying on my anvil vise while doing this so as not to puncture the metal.


Now when I get this done I could finally use my sandpaper disc and remove the paint here and continue the pit removal lightly with these discs. Using along the edge but carefully and using two hands on my power tool while I had my gloves on and safety glasses too. Then using this wire wheel along the edges to finish any last paint and rust removal. I wipe it down with a clean and dry cloth and find a good place to lay it down to primer it. Then put on a light coat at first evenly layered. I also placed it far enough away from my workbench so I can start my next project without any worry of flying debris or dust. Now on to cleaning the back of my left side. I hadn’t finished this one yet so I will get to stripping it then primer than to the finish coat of flat black engine paint. Three coats of this then off to the final and last. The cherry on top of the cake, the clear coat, for that touch of perfection


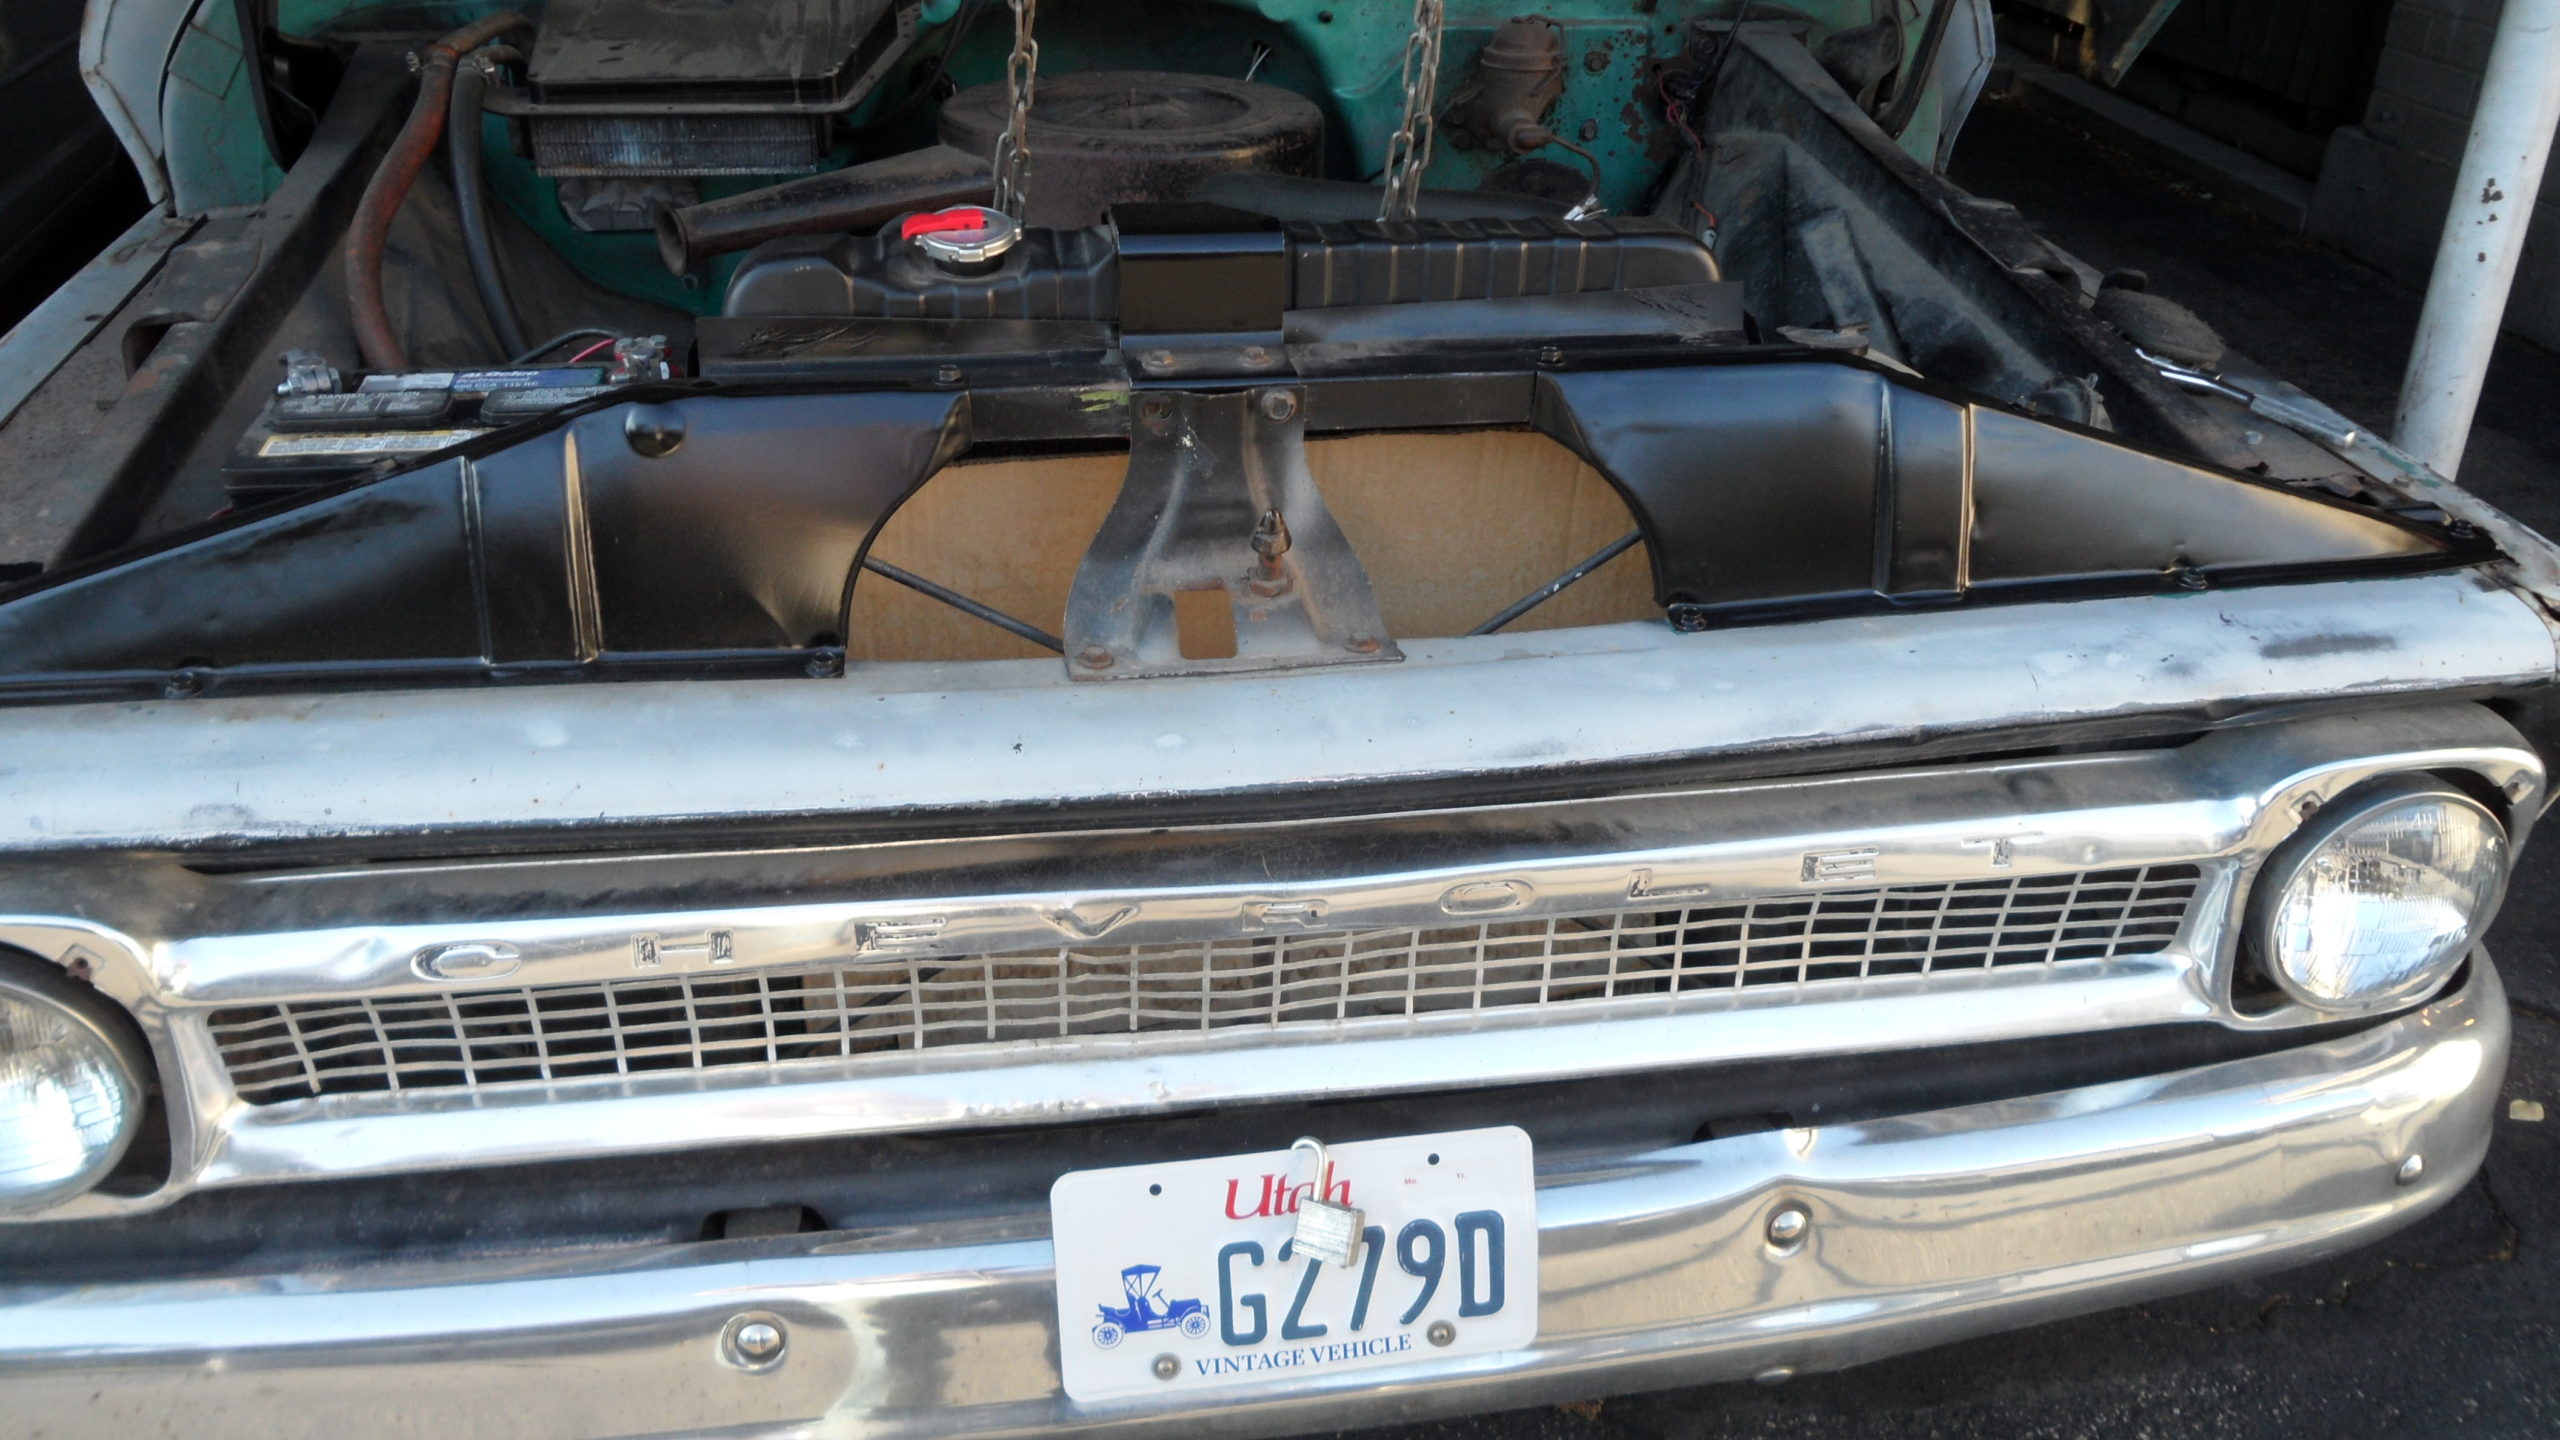
Re-Installation of both the Upper panels and Hardware.


