We suspected this truck needed fuel injectors because of the way it was running poorly and its low fuel mileage. So we thought we would go ahead and order some new ones for it. For this job, we need the following tools. We need:
1) 8mm wrench
2) #1 flat bit screwdriver
3) #0 flat bit screwdriver
4) a small gas can (plastic)
5) a small funnel
6) 1/4″ drive ratchet/ ratchet plus 1 2inch ext. & 1 3inch ext.
7) sockets needed for this are 8mm & 10mm
8) pair of wheel-chocks
9) a roll of shop towels or red shop rags OR any rags you may have.
10) You will also need a Torx Bit screwdriver to remove the clamps. This will allow you access to the fuel injectors. And this is the ONLY way that you can do this.
Before starting this job set down your pair of wheel-chocks in front & behind your rear tires. Then, relieve the pressure on your fuel cap. Take it off completely. Then go to your fuse box remove the fuel pump relay and set it aside. Then go in and attempt to start the vehicle. By doing this will relieve any pressure that may still be in the fuel lines in the engine.
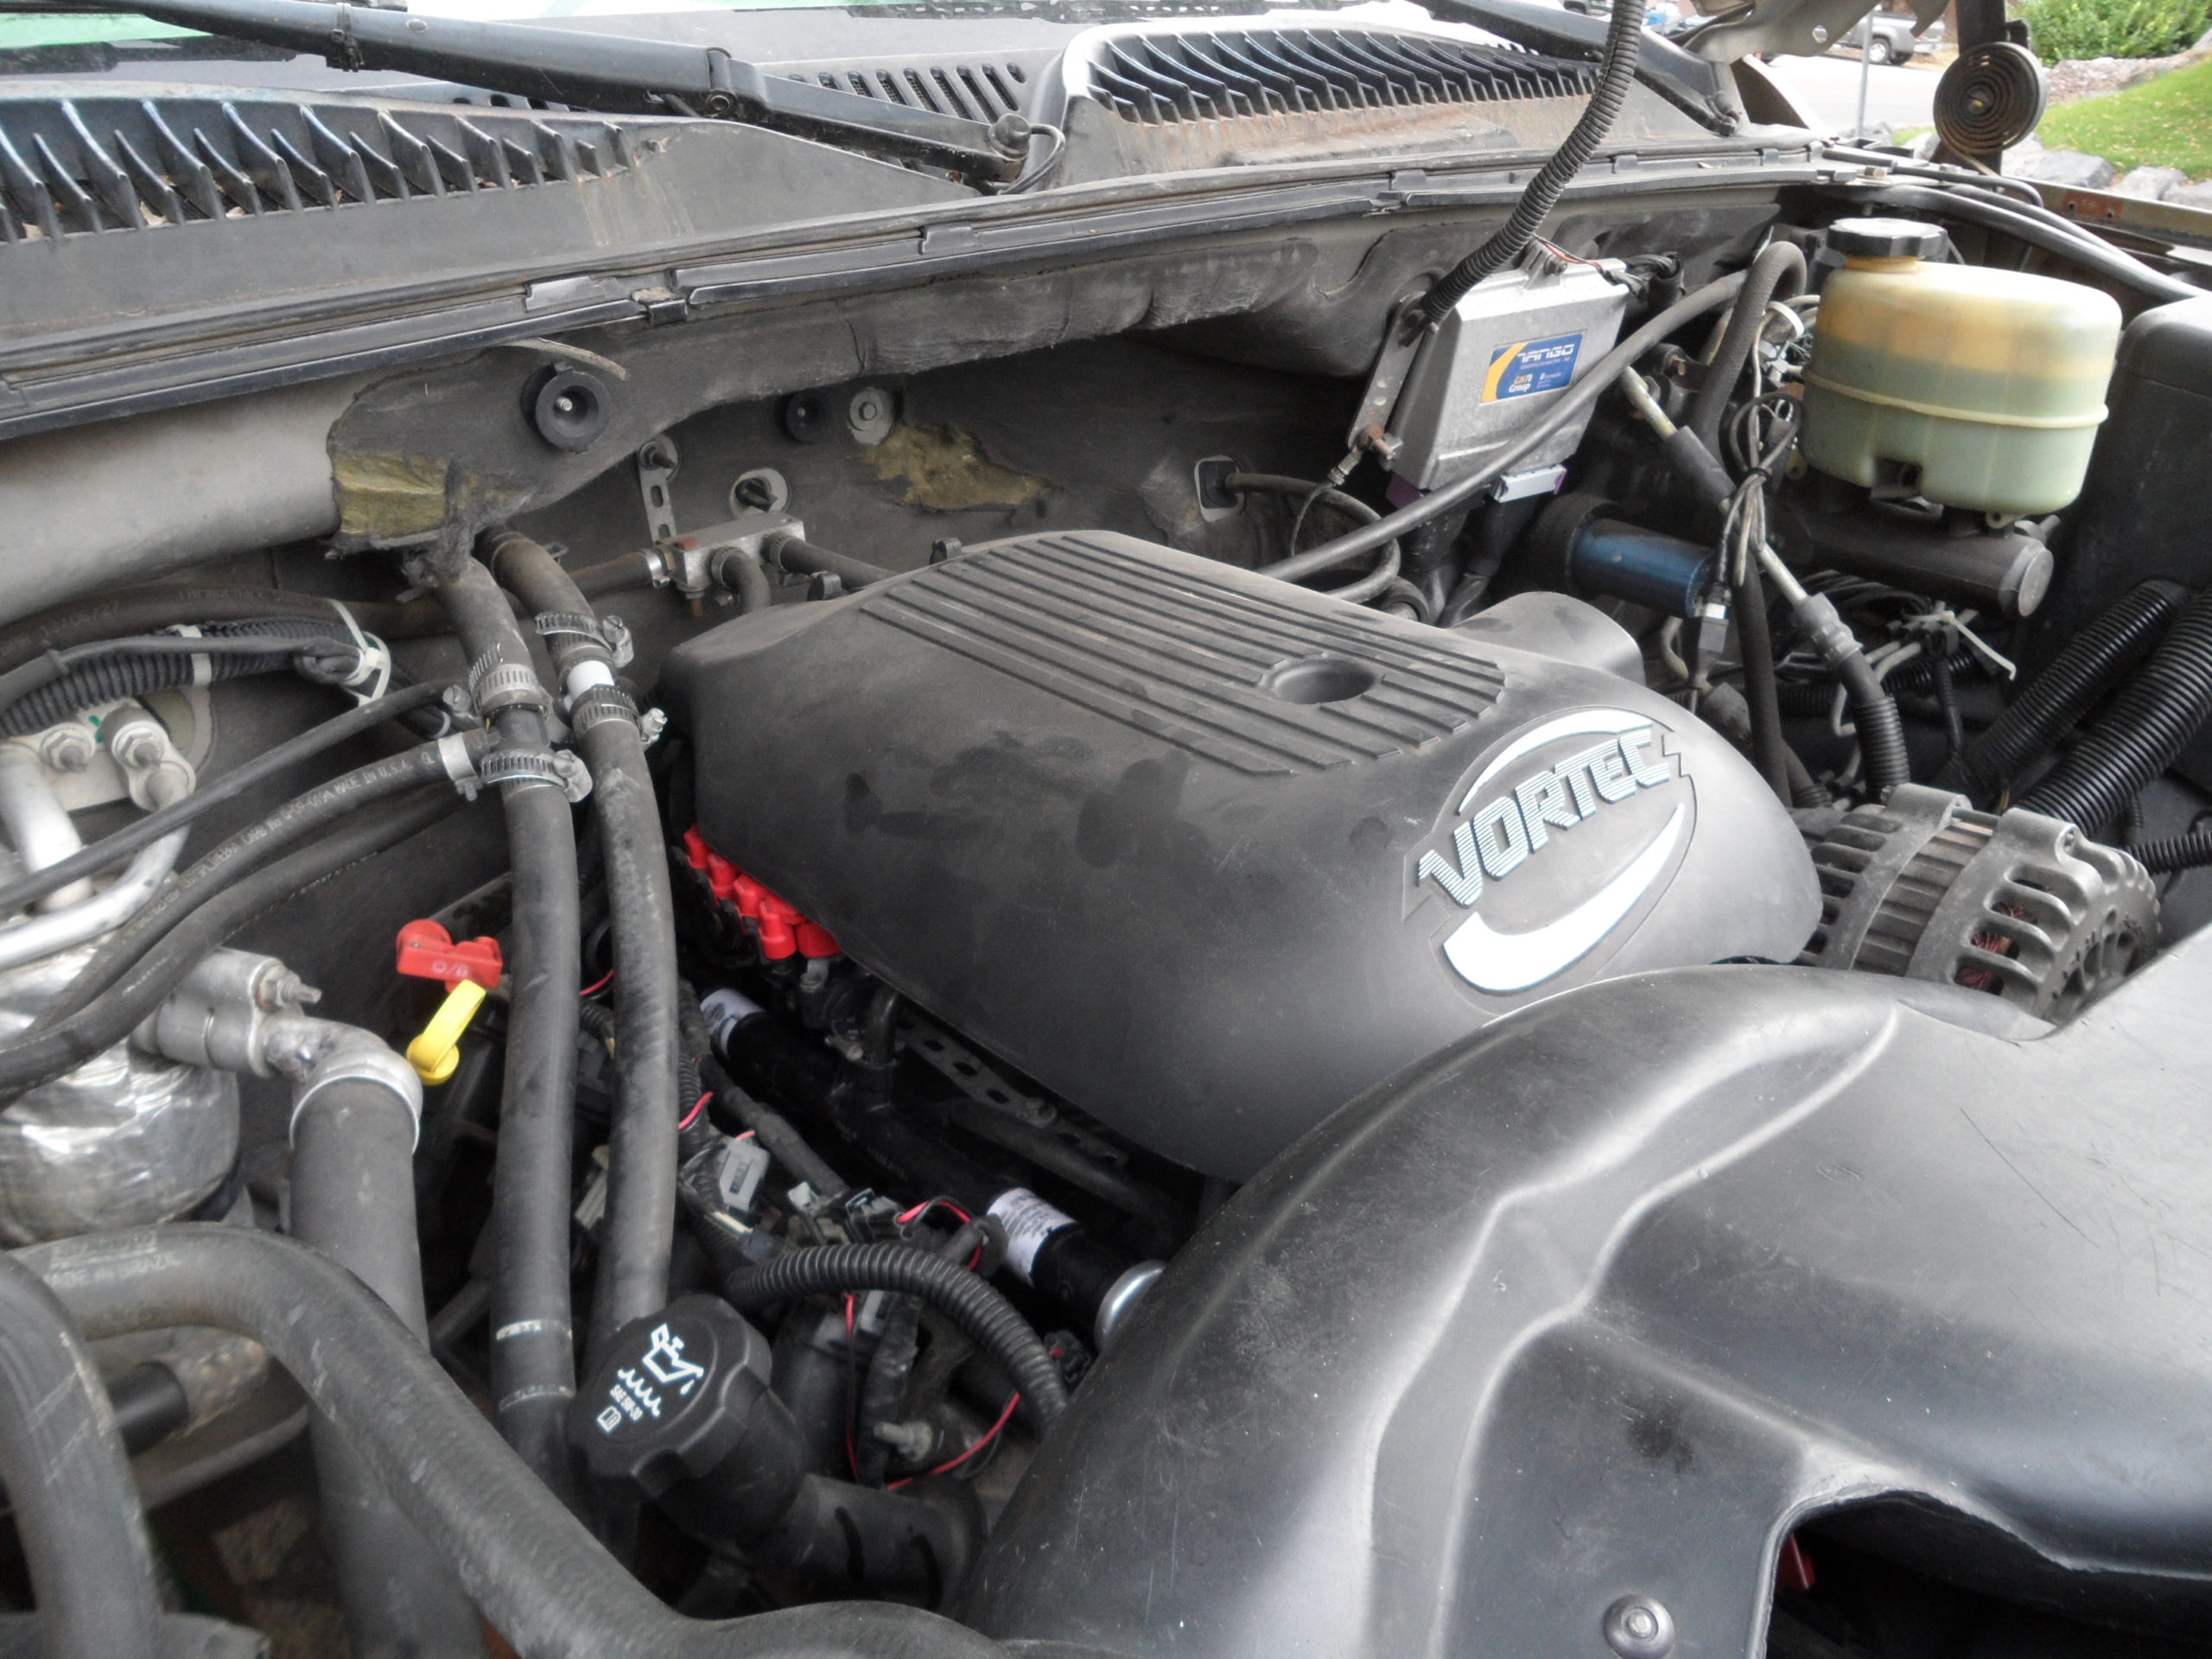
Next procedure step. Now you can remove the negative ground cable on your battery. Once these steps are done then you can move onto removing the intake cover over the intake manifold to access the fuel line that feeds to the fuel injector’s spider rails.

top of the intake manifold

3rd nut holding intake cover down

must be removed this last nut
Here is where you will be using your shop towels or rags. Placing them where the fuel line crosses over to each fuel rail. Tucking them around where the fuel line seats itself into the spider rail on each side. Once the screws and the clamps have been removed there may still be some fuel pressure build-up at these two places.

Main fuel line to the spider rails & injectors

Main fuel line to our spider rails. Notice our fuel is still here but we relieved the pressure first. And used the shop rags for safety.
That is why I preach safety first. I made this mistake once before and didn’t relieve the fuel pressure at the fuel cap, and spent the rest of the afternoon and evening at the E.R. getting my eyes flushed out and multiple eye tests. I was lucky to keep my vision so please learn from my mistake!
Now we can move on to removing the mounting bolts holding the rails into place on the intake manifold. Now, these bolts are 10mm. Once the bolts are removed, you can move on to removing each electrical connection to each individual injector. Being mindful of each one’s location. After this we get the fun part of draining the excess fuel into our gas can with our funnel so we don’t spill any fuel on the ground, keeping this job clean.

Fuel rails retaining bolts removal can be done after this. Pull up with care.

Removing the rails. With my 1/4 inch ratchet and 3inch extension & 10mm socket.

Pulling up on my rails as to not break my rails and injectors. And be aware of your injector electrical plug locations for each injector.
When draining these rails into your gas bottle, I tipped them back and forth to make sure I get as much fuel as possible out of them. Once all of it is out I wipe them off. Then I grab my number #0 flathead screwdriver and started removing the retaining clips holding each injector in the rail. Carefully setting the old ones off to the side so you don’t mix them up with the new ones.

Injector rails drained into a gas bottle. As to not make a mess and a clean job all around.

Old Stock Injector

Old injector Electrical connection side. Prepared to drain if there’s any fuel still in it?

Old vs NEW injectors my new ones are in Orange and the old ones are black.

NEW Injectors
Now installing the first new one. When installing the new one I look at the new injector and see how it lines up with the fuel injector and clip and how it holds itself on the fuel rail itself and it’s a simple design. Looking at our pictures, they must go back in looking the same way they came out. Our old one was pretty hard to pull out. I suggest using a little dab of clean motor oil(that you poured into a little bowl so you can dab your finger in it.) on the O-rings so it will make them easier to install back into your fuel rail.

Removing the injector clip by my #0 Screwdriver and must be installed the same way.

NEW injectors pay close attention to the placement to the lineup of this clip and the line has to be installed the right way.
Being aware not to get any on top of the fuel injector where the fuel goes through it into the car. It is a very sensitive instrument. Now you can do this on the rest of your injectors then you can move on to reinstalling each rail back into your intake manifold. Also using another dab of oil on the bottom of the O-rings to reseat them into the intake.

Locking clip must be installed right for proper operation

Slide these in properly and they should slide into each other easily if lined upright.
You may want to make sure they are properly seated before installing the retaining bolts for each rail, then you can go on reinstalling your electrical connections for each injector. Being sure they are correctly placed. (If you feel like tagging them beforehand it’s not a bad idea!)


Then we can move onto finishing up our fuel rail. Installing everything else in reverse of removal and before we do a “victory lap” don’t forget the fuel pump relay or the gas cap or your battery cable.

NOW we do a Victory Lap!


