A very good friend was having a problem with her Trailblazer. For several weeks it had been out of service. She said that every time she would try to start it during the cold weather mornings it would not start until later in the day when it got warmer. So she had been doing research online and what she had found was that other people’s results were A) a faulty ignition switch B) a short in the ignition system C) a faulty solenoid.
So I also did some research and I found we could possibly PCM ( Powertrain Control Module). Now I did do one other test on the battery charging and a starting electrical system with my tool to check any faults in the electrical system after no results there we went ahead and changed the ignition switch which was pretty simple. You don’t have to remove the steering wheel or worry about the airbag to do this job. All that needs to be removed is the lower dash panel below the steering wheel and the panel that’s under the steering wheel itself.

Disconnect the battery ground before ANY repairs.

Removal of any panels to access the steering column

Removal of lower panels and any connections to access the steering column

This piece of metal doesn’t have to be removed.

Raising steering wheel up out of my way and you don’t have to remove the steering wheel for this repair.
But before you remove the ignition switch, on any vehicle that has an ECM in it you do have to disconnect the negative cable on the battery. Now the fun begins! Removing the ignition switch is a fun little task. It’s held in place with a bugger of a clip! So you will be using a small flat-tip screwdriver and pulling it down slowly out of the steering column housing, you will have one more clip for the wire harness that’s plugged into it. Now I stop right here and I compare it to my new one to make sure it is accurate. So then I flip it over to where the switch points up as it did when it was in the steering column and you will see little teeth that look like gears and you will see where it is positioned on the old one. Make sure the new one is in the same position before installing it. Installation is the reverse of removal. As you will see in the picture, you will see a brass little button that the bottom cover that covers the steering column, it needs to be pushed in to reactivate the anti-theft system for the stereo in this truck.

Remove ti with patience and be gentle

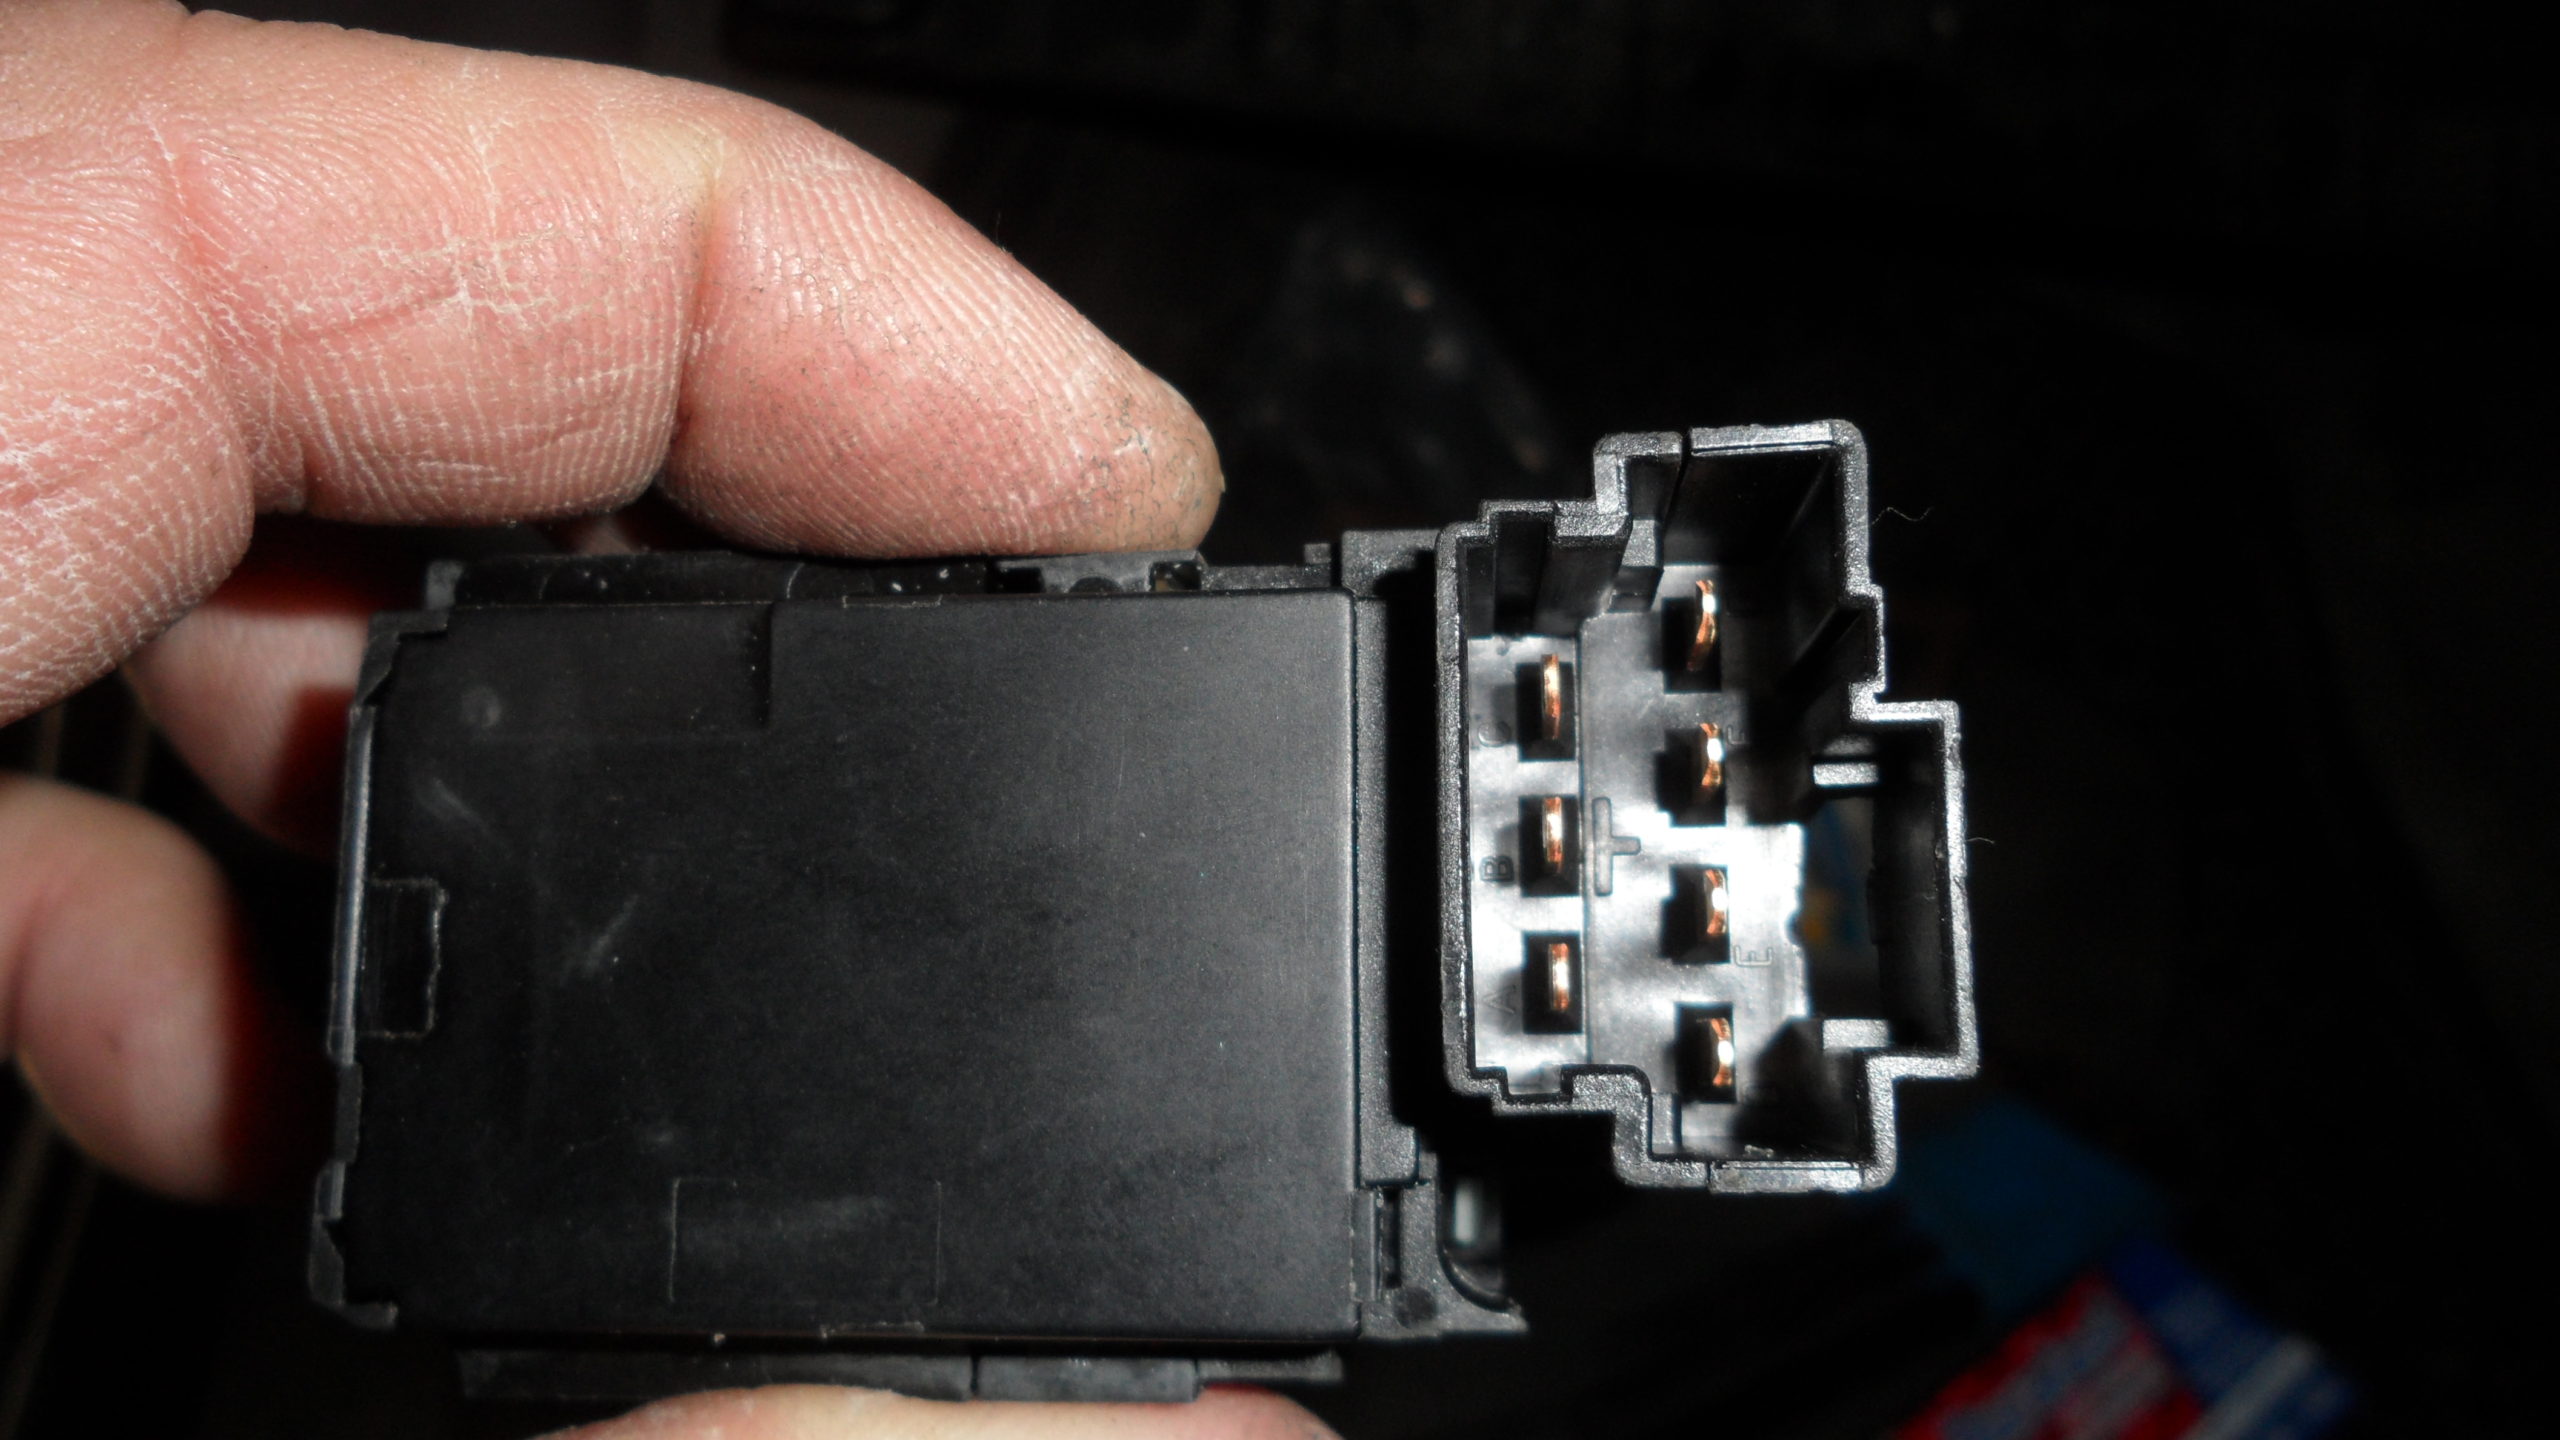
Ignition Switch Harness connection uses a small flat tip screwdriver to push in this clip if you have to. Just to release it.

Carefully push this clip in with fingers or with a screwdriver.

Must be pushed in by cover to reactive the anti-thief on the stereo

Switch connecting clips making sure they’re in perfect shape for the old one.
So once you are ready to put the cover on, be sure the cover is installed correctly and it’s making contact with its prong that comes with the cover that engages this button to reconnect the anti-theft system. Then you can install your lower cover below your dashboard and the one below that, make sure that everything you may have unplugged or unbolted is all properly secured. Then the last thing you have to do is to reconnect the negative battery cable, then you are finished!

Reinstall of All my plastic Panels


