While cleaning my water pump and the pulley and all the hardware, I took after my Lil’ Chevy’s cooling fan. Why not get it done when it’s right there while I was having fun working on my boy while it’s cool outside. Looking at it, the fan looks great for 51 years old! (By the way, keep an eye on what side is facing the radiator and water pump, it only works 1 way) If you want, after cleaning the side of the water pump, mark it with a scratch all tool or a paint pen. If you use a scratch all, make it where you’ll see it after painting it.

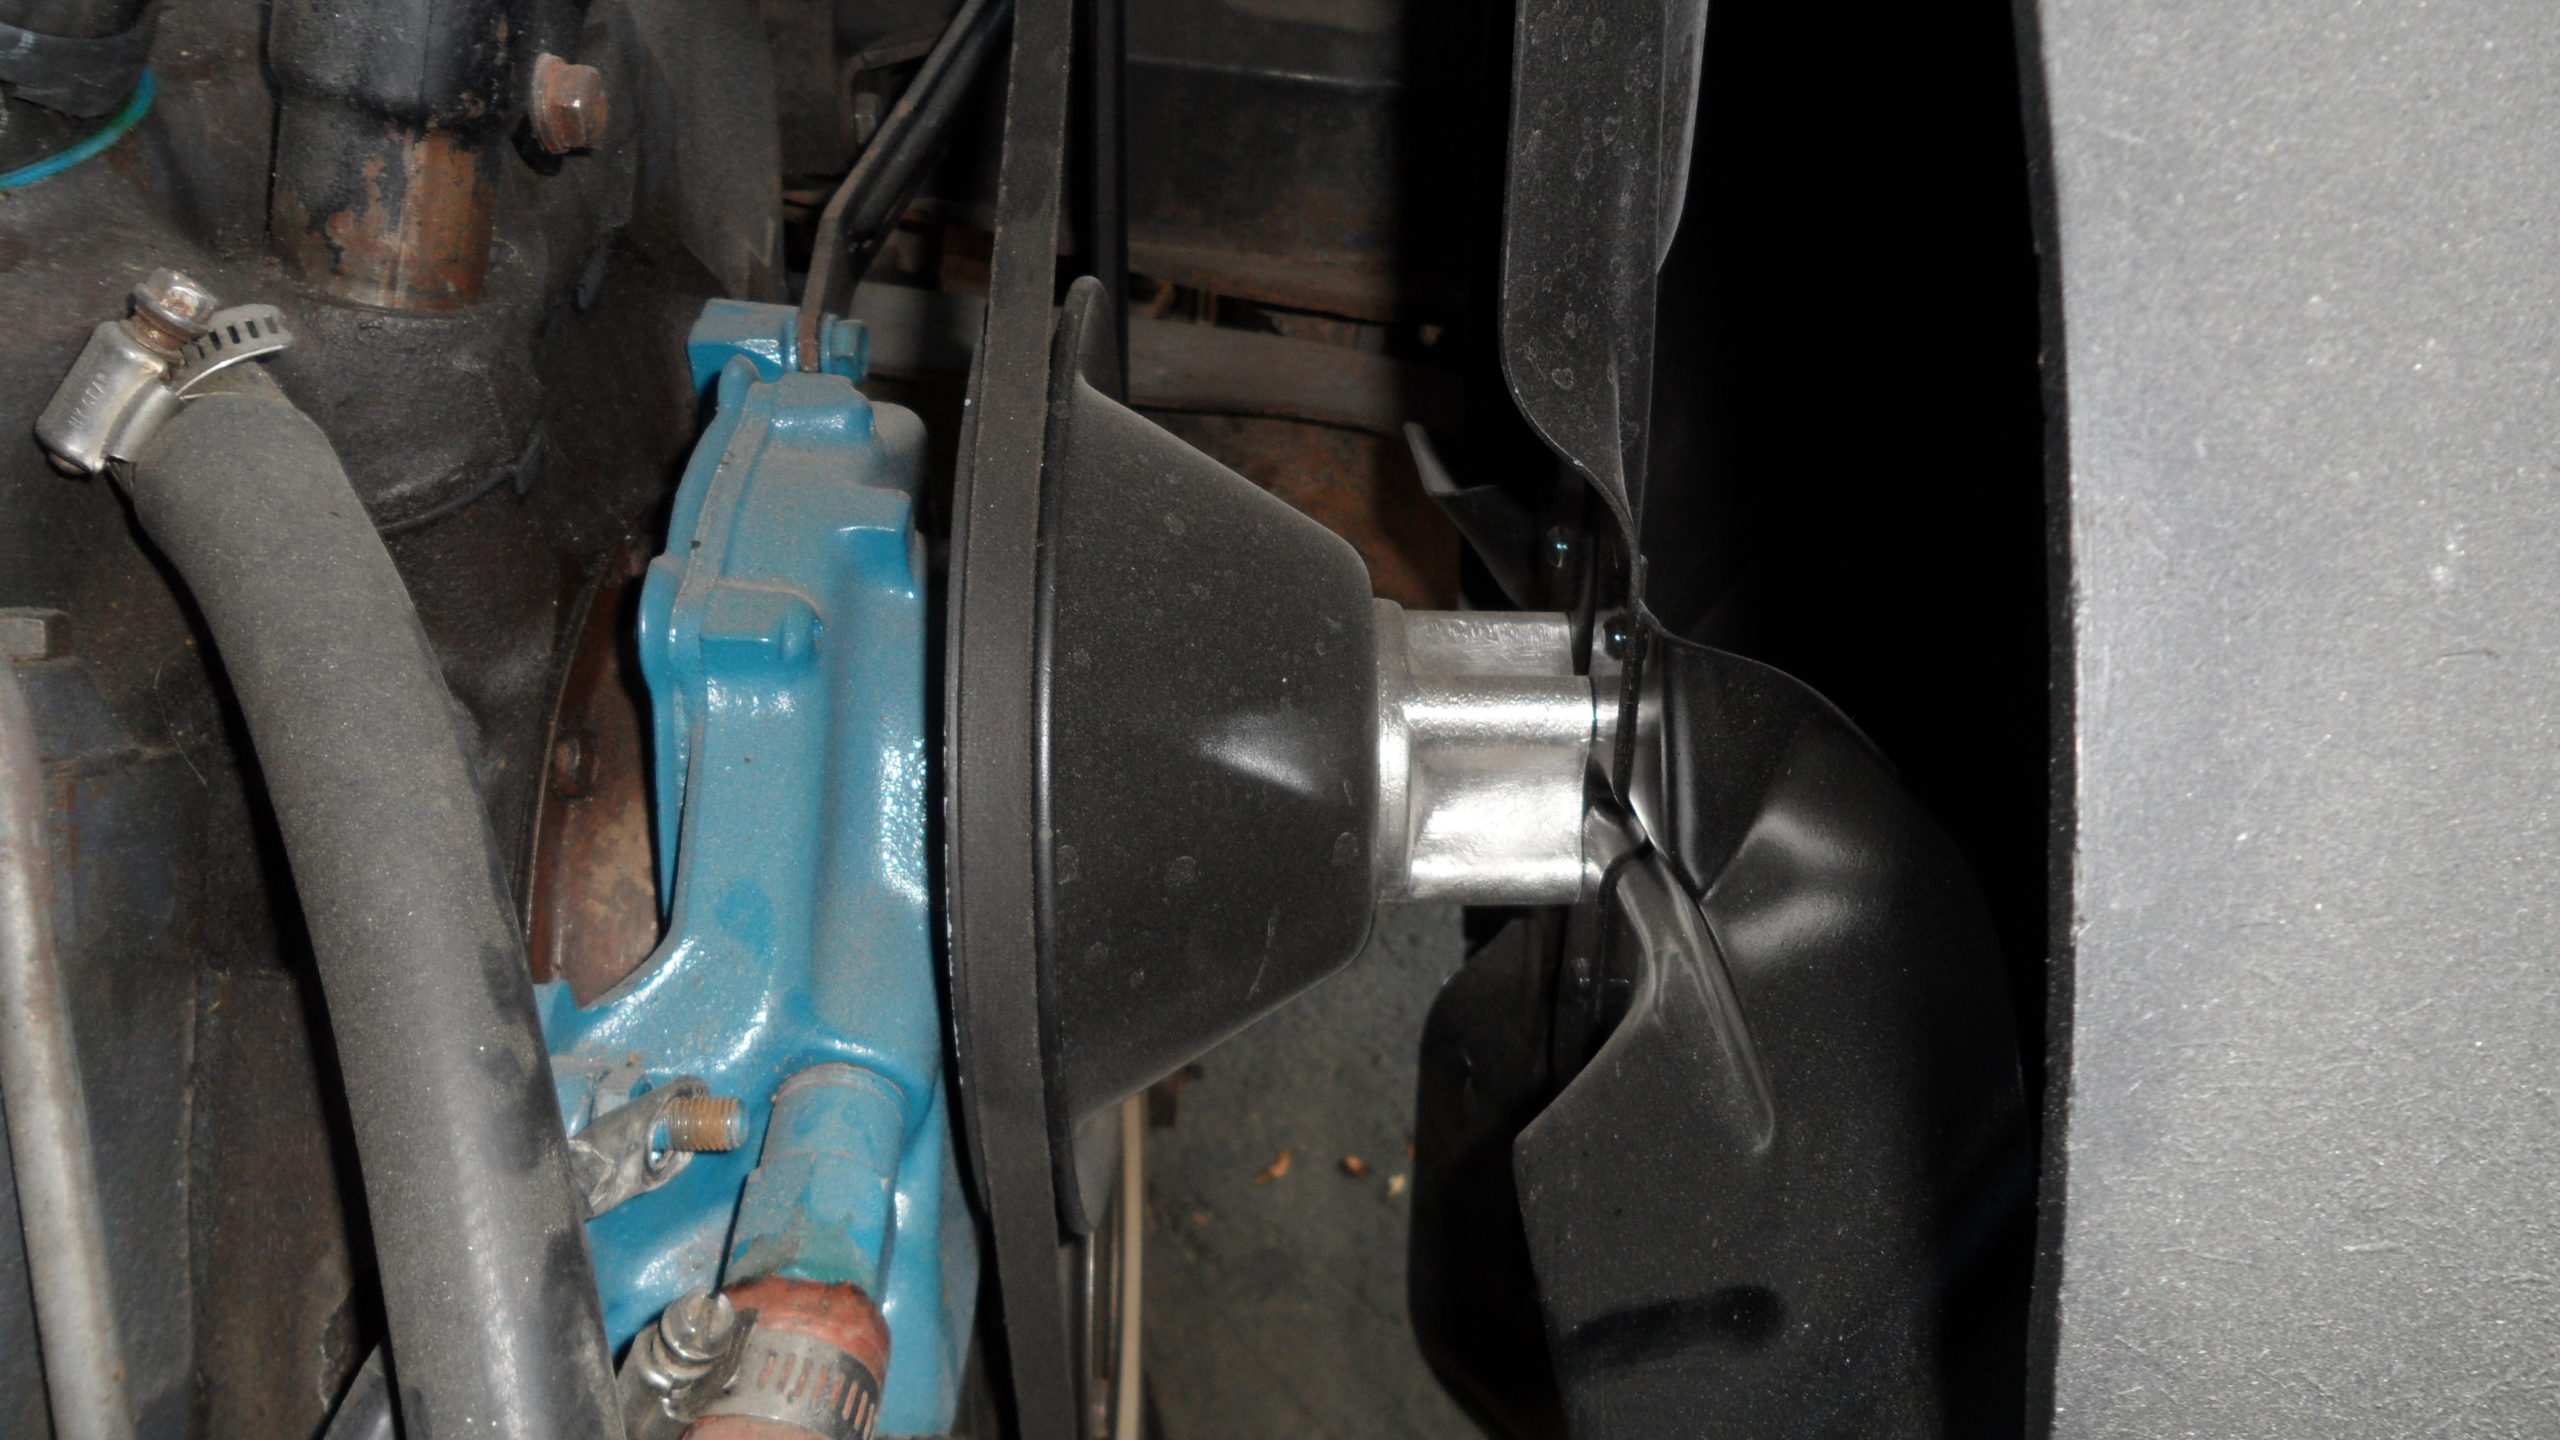
My original Fan


For reinstalling mark by water pump sleeve where it couldn’t be seen afterward as I did. But for this, I used a fine grade wire wheel on the fan. It did a great job. Then rinse with clean water, let dry then apply a light coat of primer on it only. To give it about 30 minutes to an hour for drying time between each of 2 coats. So I checked if the paint was dry then I get it ready for black paint. By the way, I used flat black for mine for its original color.

Now for the hardware. For cleaning these I put these in my bench vice, carefully not to damage or ruin the threads. I cleaned them with a fine grade wire wheel, doing a light job, cleaning them all the way down to the sleeves, then I flipped to clean out the threads then wipe them off with a cloth. I taped off the threads right to the end so as not to paint them and now to apply a light even coats, of both primer (2 coats) and black engine paint(2 coats, also) Letting dry, each coat 30 minutes to an hour each. And now the fun begins. Re-
installation of all the parts. Now you could put masking tape on the fan so as not to scratch it while installing it around where the bolts go through it and the spacer going through the pulley to the water pump. But you must put on a fan shroud over it and lay it on the engine. I did this because I wasn’t finished with my radiator shroud panels so I waited just a little longer. Also, my radiator was still in the shop. So while working on my panels I ordered the seals for the radiator shroud panels. That will be in another post.


