Well, here is the post of my radiator shroud panels I promised. Now when removing the rubber seals from these panels, I didn’t know if the new seals came with new staples. So I was careful with his original ones, not to break them. So I used a tiny screwdriver and a pair of pliers to bend the ends straight, then pull them out for rubber seals. I first looked at these after pulling them out and after the staples were out and, WOW! The battery side panel was the worst side! My battery tray was in bad shape too. So I started with the wire wheels from harbor freight would here, but it was also not working so well here so I went down to my local O’Reilly auto parts retailer and found some small 2-inch sanding disc pads that attach to my drill (they didn’t cost much) but extra pads did so if you have a place like Harbor Freight near me, you can get replacements for really cheap there. With using the sanding discs here, they won’t work on the bump very well so I suggest using a sheet of metal sandpaper because you’ll be doing some sanding by hand here. Now that shows the love I have for my truck.

My Old Chevy has some rusty panels

My rusty old radiator panels

The outside of the radiator panel looks aged well. NOT!

A closer look at how much rust we had to lose here on these panels 50+ yrs worth
I had to remember which side was which, so I went over to the truck and marked it with a scratch all as DR(driver) or PASS (passenger) sides. You can’t see the markings after you install them to the radiator frame housing. So I finish stripping these to bare metal or as close as possible because some places were pretty hard to get into. I rinsed them off with clean water, let them dry, or wipe off any extra drops of water, and then ready them for a couple of light coats of gray primer. I let it dry for about 30 mins. and then dust it off with a soft cloth and apply another coat of primer.

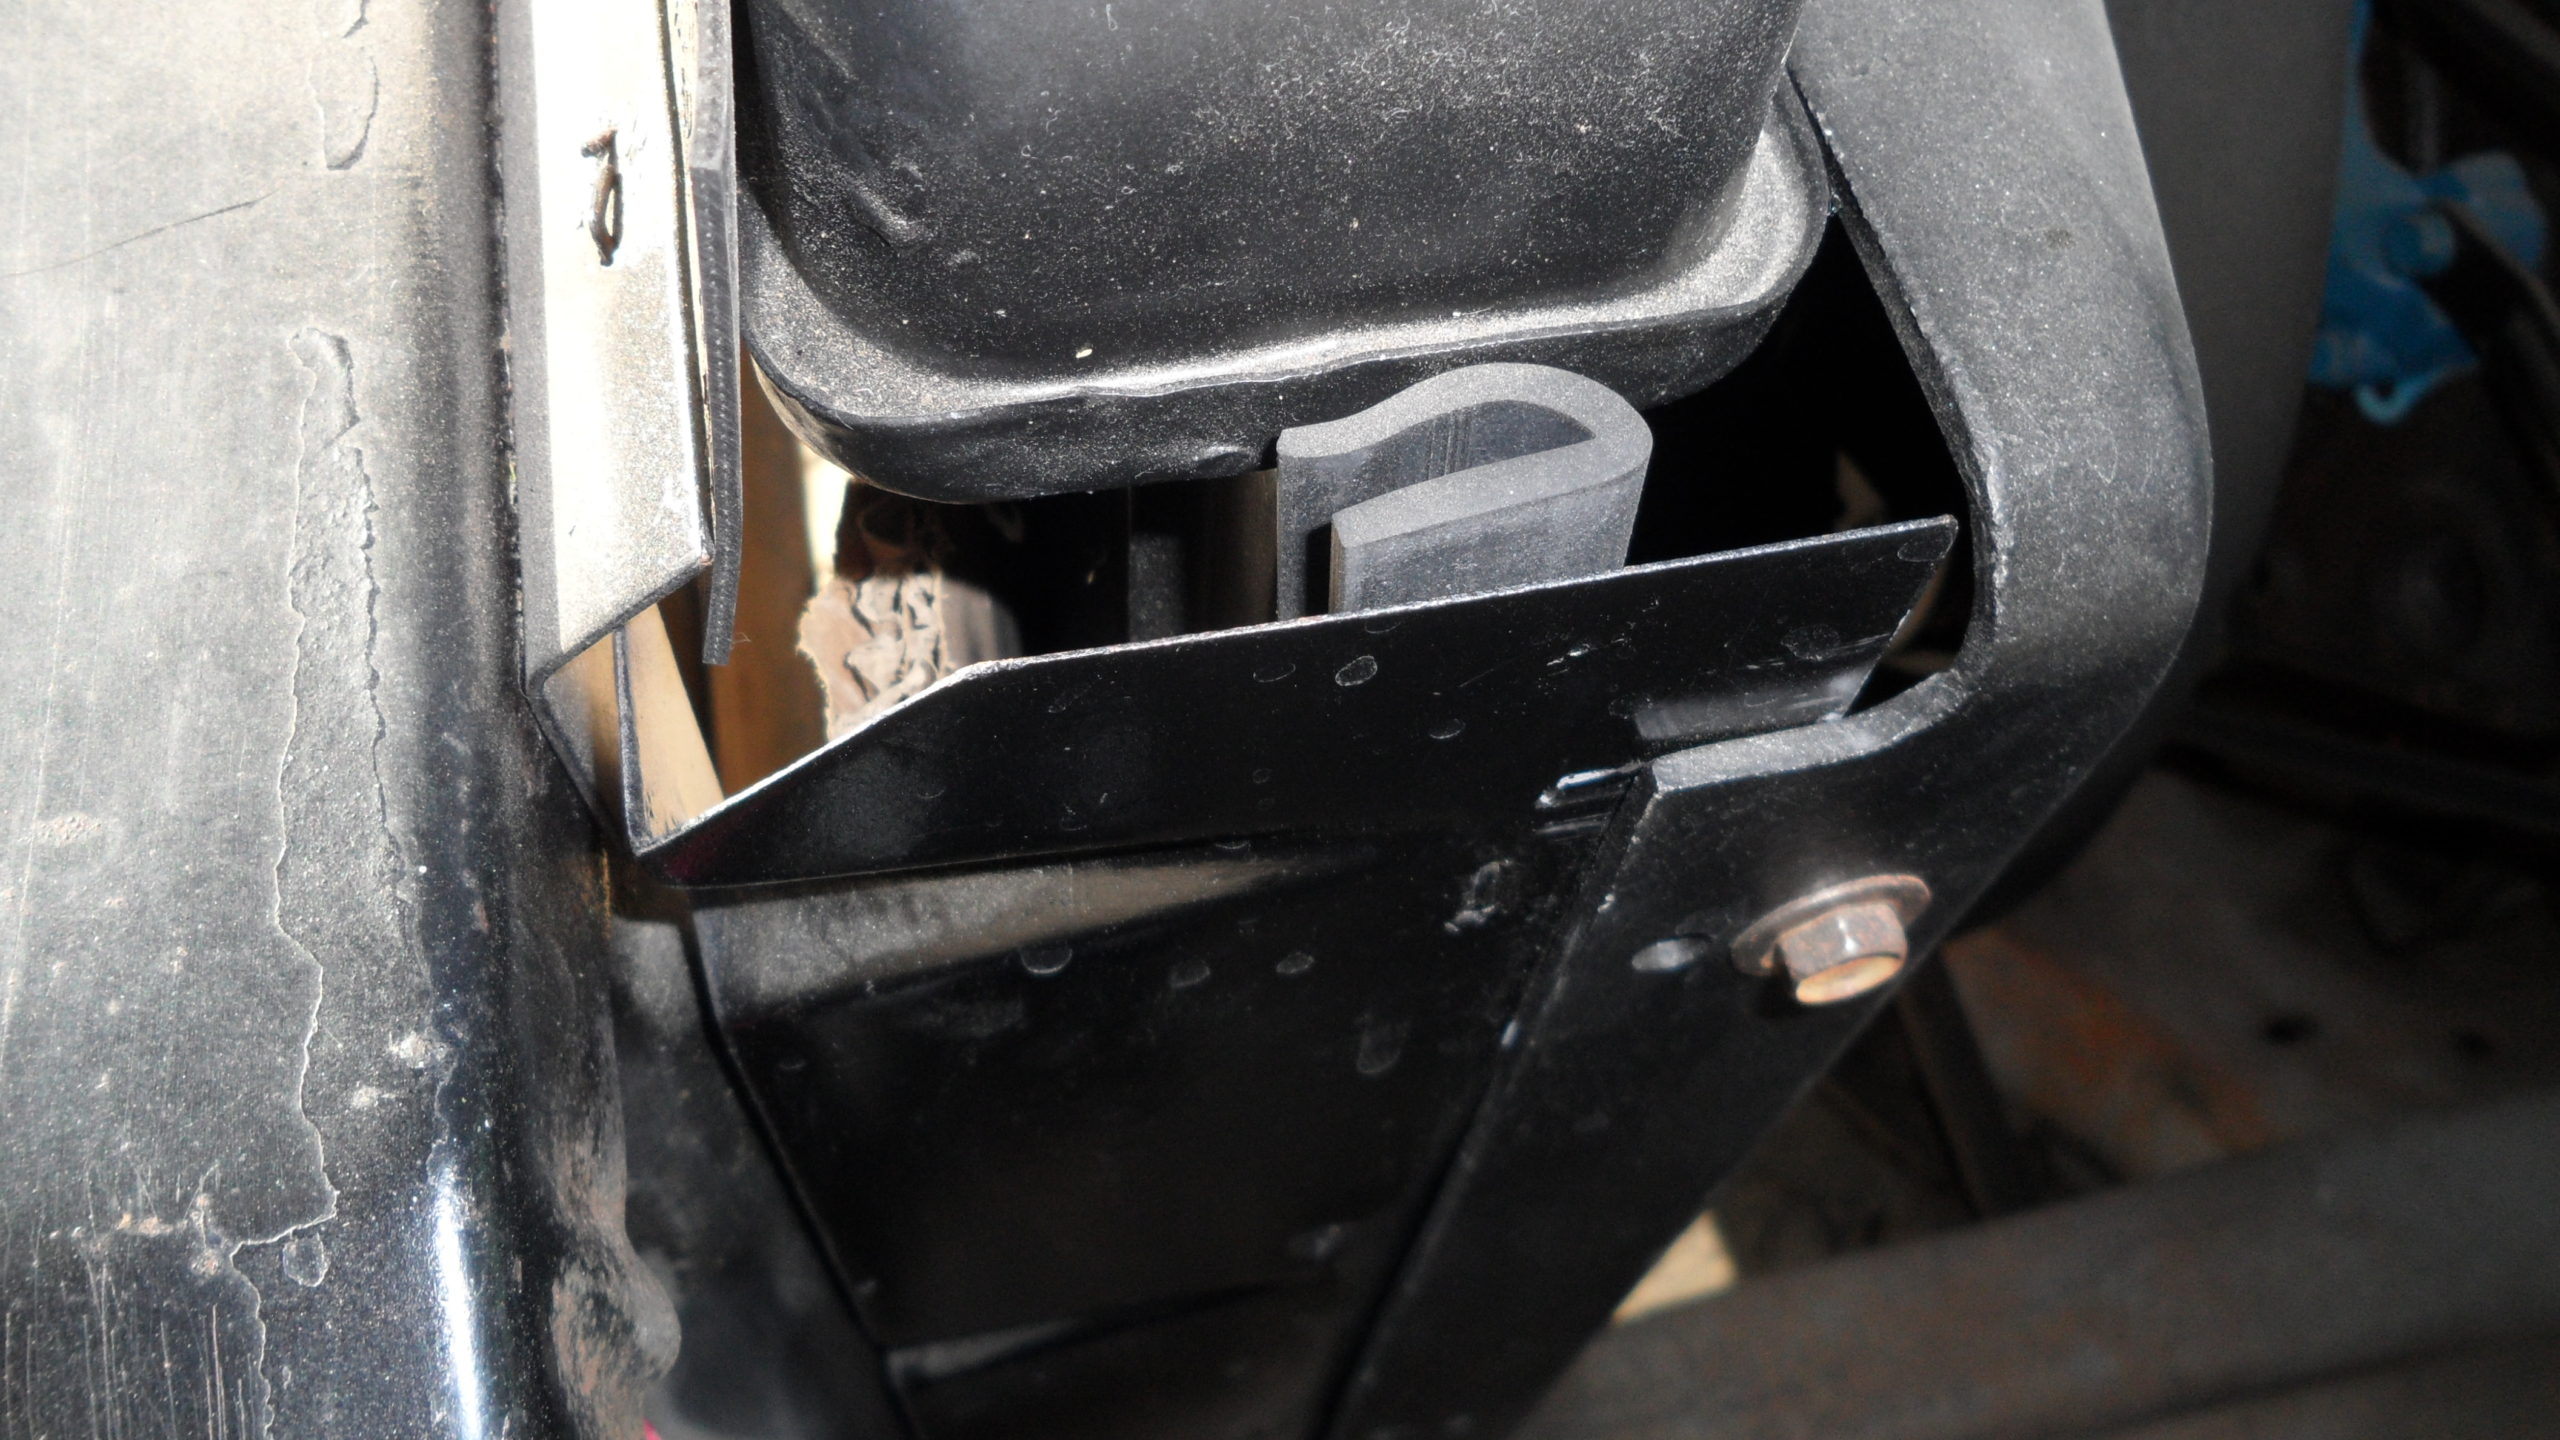
Upper panel & upper mount for radiator the mount isn’t too bad. But still gets restore so does the top panel.

Upper Radiator Mount gets its restore

Our mount isn’t that bad but will still get a cleaning
Then after letting the second coat of primer dry thoroughly, I paint the black coat. Meanwhile, we are waiting for last the coats to dry, I start with the mounting bolts just like before. And just like before, I put these in the vice and used a fine grade wire wheel to clean these up nice, also.

Stripping off the old paint & rust takes time but worth it.

The stripping process is a little long. but so worth it because my love for my chevy

Getting closer to a clean metal panel.

Cleaning our panel is taking longer than originally thinking some spots are hard to get to with my wire wheel so I turn to sandpaper and working by hand.
Now, just waiting on my seals to show up! Once I had the seals for all three panels, I re-drill the original seal holes for my staples, make new holes in the rubber seals, get out my needle nose vice grips and proceed to install my seals trying not to ruin my paint job! Using these Big Needle Nose vice grips was perfect for this application. I was trying to think of how to do it with only what I had in my toolbox!

The right side of the truck or passenger side.

Passenger side or right side of the truck.

Left side or driver side.

Left side or driver side panel.
Much to my surprise, they worked perfectly for these staples, but I did straighten them up carefully so as not to break them because I couldn’t find them online anywhere from anyone! So I did break a tip on one, so I got a thick and heavy piece of crafting wire to fix just the one, but this one was only in the middle of the seal. There wasn’t any REAL weight on it. This worked out just fine and it was a great money-saving trick for right now. Now, all I needed is to paint my recently cleaned bolts, by putting them in a cardboard box to do so. But only the threaded end in the boxes before painting.


Install these babies after my radiator gets back from the shop and this will look like new! I also cleaned and restored my fan shroud while doing this project, so there are also pictures of that. With a light coat of Flat Black Engine Paint.


