Well, I restored this mainly because of its looks, also I had the front of the engine apart because the radiator and heater core was in for repairs. If you just look at these pictures, it looked its age for a 51-year-old truck

Well as I said this truck is 51yrs old

This may take some time to clean.
So I cleaned the grease and dirt off then, grabbed the drill with a wire wheel attachment. I went with a medium grip on this one first just judging it to see how bad the rust was and how deep. Start with cleaning the metal, see what the metal looks like to see if it’s worth saving. (without any pitting in the steel) After cleaning to bare steel, it came out as the original factory bare steel, should look like. I gave it a good wash and rinse then let it dry before primer. Then if it was the right weather, giving it light even coats of primer. ( Never spray too heavy or too close with spray paint, just light even strokes is perfect for the best results) Then, let dry for at least 30 minutes to an hour, unless you have a shop or garage, unlike me. I only had an uncovered patio. But still, give it plenty of time to dry none the less! Now to the backside of the pulley.

Now we have fun doing the mounting side of this drive pulley. But isn’t stopping me I put on my gloves and do this side by hand and will take time. But I love my truck and will do it for him.

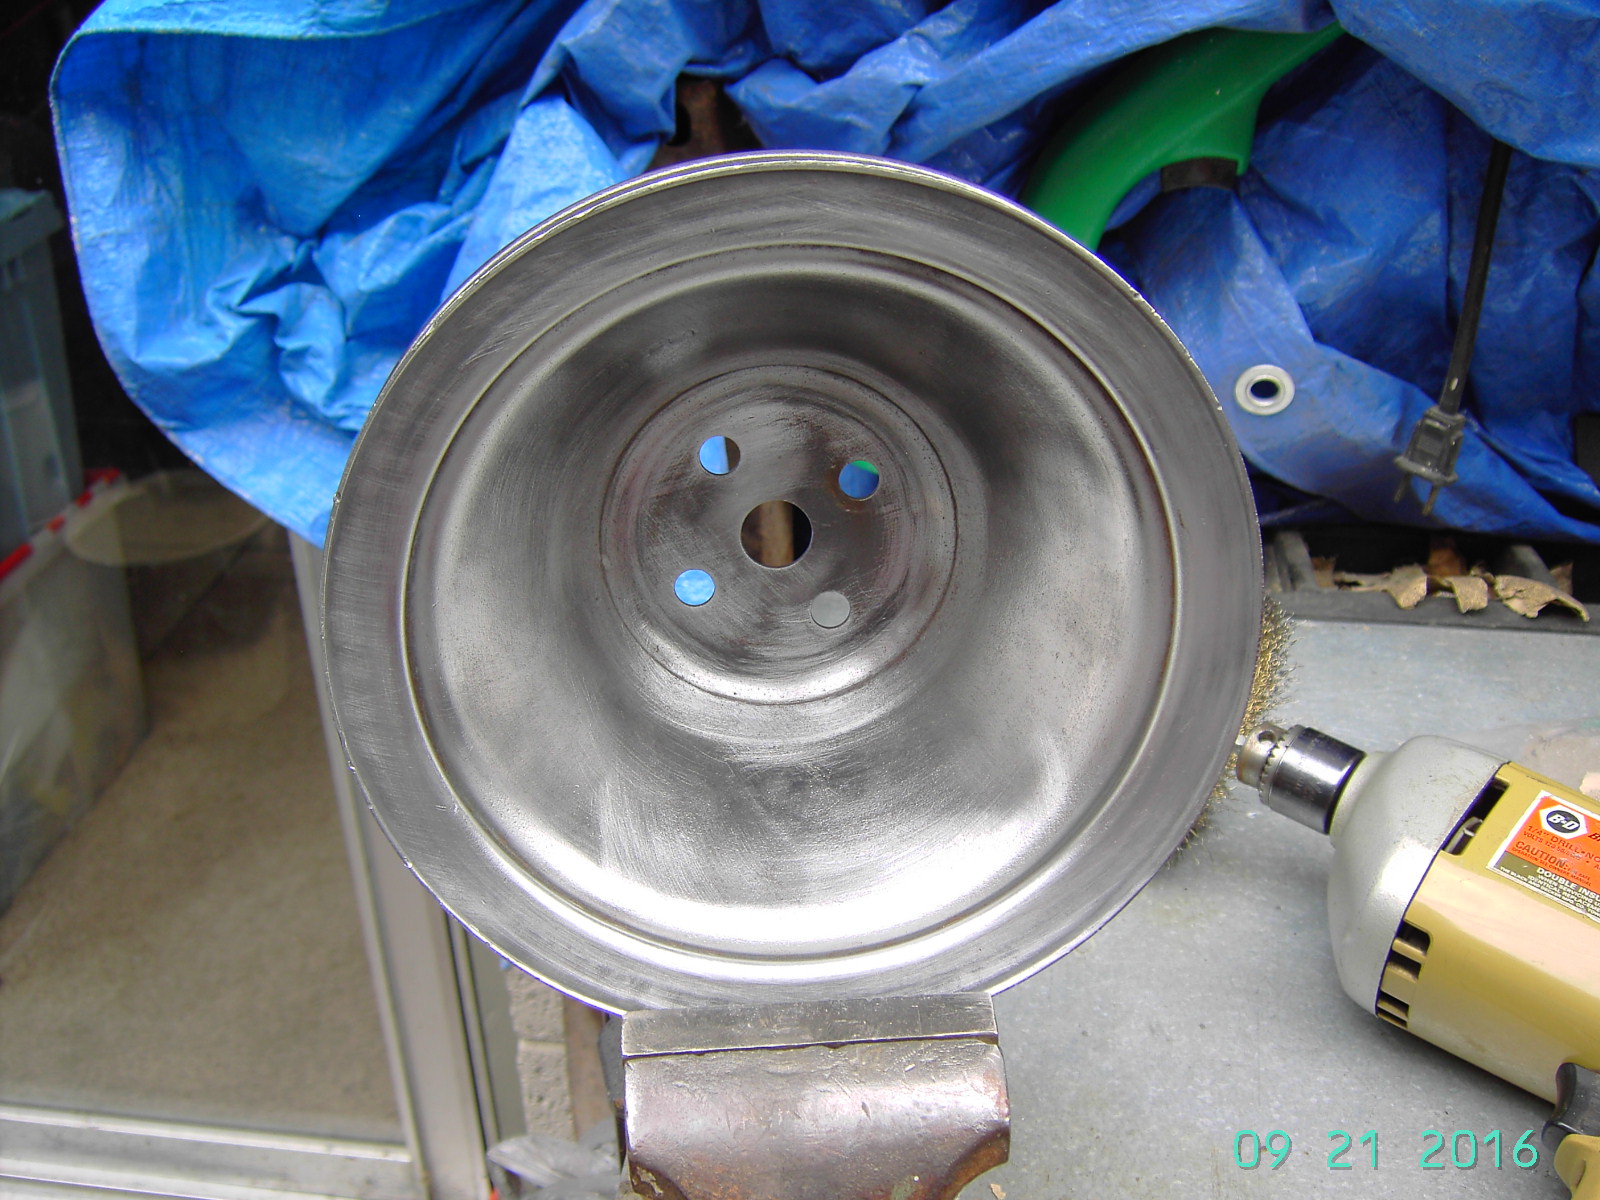
When doing the inside of this pulley it will be done by hand and may take a little longer for me because I don’t have a sandblaster.
This is where it gets even more fun, I suggest finding smaller wire wheel attachments as I did. That helped A LOT. I had to also use sandpaper in some harder places. It takes a little longer but very well worth it for me because I felt the results would make me very happy.

My Pulley has its original factory numbers


Drive Pulley About ready for its primer coat

As clean as a babies bottom

Like I was saying it’s clean enough to eat off of.
Then the spacer between this pulley and the fan was pretty dirty and greasy also. So I went to clean it first with just a degreaser but wow! Now I can see what it needs to make it look better, more like stock. So then I tried a fine grade wire wheel first on a little spot, like where it wouldn’t be seen, where it connects to the pulley, its flat surface. Well, we have success! It will clean up very well with just the wire wheel alone. YAY!!! So after I finished with this part, I washed and rinsed it off and dried it off well. Let it dry some more in the heat of the day, then give 2 light and even coats of High Temp clear coat so to keep that beautiful shine. Before I installed it I cleaned up the bolts also for that extra fresh nice installed look of new parts. But NOT new, just the look of it with the DIY restoration!

The Priming process! I first do is clean the parts with a clean blue shop towel that is damp to remove ALL debris then they are ready for paint.

Water Pump Pulley Installed after re-install painted in GM flat black wait an hour or 2 then 2 coats of 500degree clear coat.


