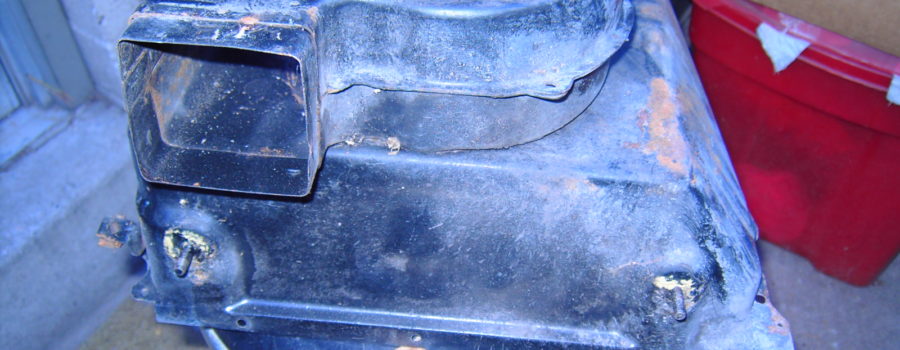
I first started this project 2 years ago with the top half of the heater box which is already in the truck now. The bottom part I didn’t start this one til about 6 months ago with so many other projects getting caught in the middle, which in turn delayed the bottom half getting finished in a timely manner.


Now that I finally have the time to tear into this piece, as you can see it is going to be labor-intensive!!! I started out assessing what tools I would need to strip it of the old paint and the rust. So I pulled out my drill and my misc. wire wheels to help me strip off the many layers of age on this heater box. 


Trust me when I say, this is a LABOR OF LOVE! I have to go carefully when stripping paint off metal this thin because while using the wire wheel in such a high-speed drill if you leave it in one spot to long it may cause heat and disfigure my piece here which I don’t want to happen because this is his original box which I don’t want to have to replace.


As you can see in the pictures there are some tight spaces and hard to reach places on this heater box where even my smallest wire wheels could not reach. So my next option was to get into those tight places and to do it by hand with a piece of 60-grit sandpaper and there were some places I also switched out to 80-grit sandpaper to get to these hard to reach crevices where the rust was between the welds for the heater box where it meets the blower motor section.


It took me 6 days to strip the old paint and the rust off the entire surface of this heater box. Now I’m ready to deal with the existing rust and pits that are in the metal itself from old age. As I face this daunting next stage of this restoration, the big chunks of cancerous rust and huge pits that are in the metal itself, I know here I have to remember some of my body shop experiences. Dealing with cancerous rust like this, I wait for my metal to cool off then I go and pull out my medium grit wire wheel and I go side to side with it which will be right to left on this rust pulling off little layers at a time just enough to get me down to the point where I can go over it with a sanding disc. 


Now the sanding disc would be 40-grit and while I was going over this area with the sanding disc and my drill I was only using the weight of the drill to push on these areas because I did not want to hurry the job. I wanted perfection and I did not want to cause any permanent swirl scratches that I would have to go back over and redo this project over again!


Now while I was holding onto my drill I used both my hands so it wouldn’t jump or bounce back because I was trying to be as patient as possible with this project. The disc on my drill, I only used for the hardest part of the rust. Then you will hit little pits in the metal and I would recommend a piece of 60-grit sandpaper and work on the rest of it by hand. Just patiently work with it. This is very time-consuming. But I promise it is well worth the time!


