How to Restore Classic Reverse Lights on the Cheap
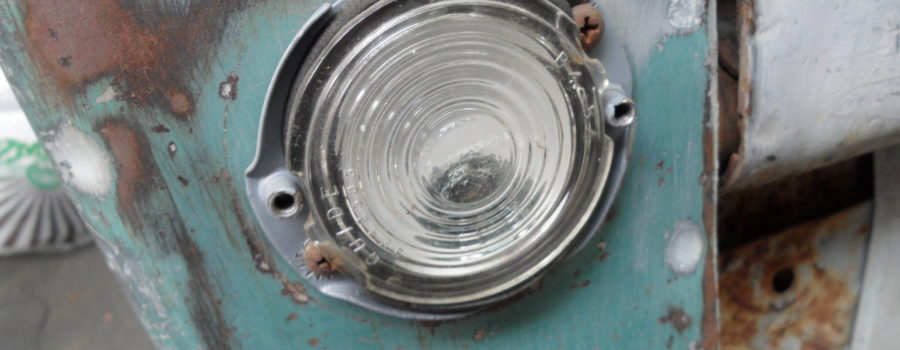
Like most people who have a love for cars, they like to fix them up. Some have classics they want to either restore, modify, hot rod, or go crazy with. Well, the relationship that I have with my pickup is different. My Lil’ Chevy and I have been through a lot of mileage and experiences together. So when it came time to restore my “baby boy” I wasn’t satisfied with what I found available on the market. ALMOST everything is made overseas now! I just don’t want parts that aren’t American-made on my Classic American-made truck. So I did something that surprised me. I decided to start restoring his parts myself! I started with the “backup” lights or the “reverse” lights first. I removed them from the truck and Holy Cow! There was a lot of rust on the backside, about 1/4″ thick! passenger side.
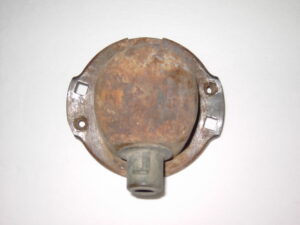
Reverse light housing
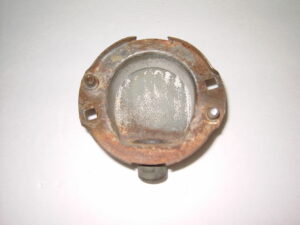
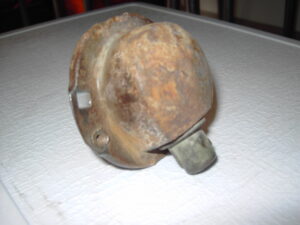
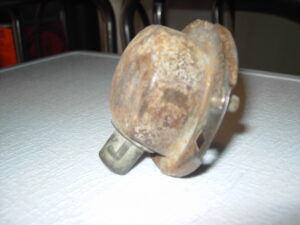
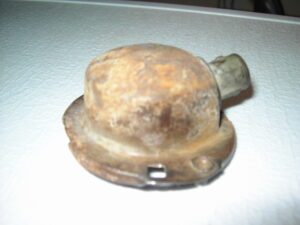
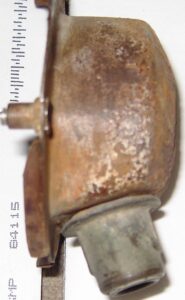
And there was only one screw on each side holding the bezels on the housings of the taillights. The lights were not working at all, so I tore out the light sockets but held on to them, so I could find a close match to replace them. Hopefully, I would be able to find American-made ones also. And luck was on my side! I did find some at Napa Auto Parts. They were complete with contact wire and tension spring, And they were American-made!
So now I get to have fun cleaning the light housings since I couldn’t afford to have them sand, media, or soda blasted! I did it the only way I could think of a wire wheel on a drill. And it did a GREAT job on them if I do say so myself! It took a bit of time but like I tell people, “It’s a labor of love.”
I finally found the metal surface – WOW! Pretty and clean. Now that works for the flat surfaces but what about the center where the light bulb sits? Well, that was fun! NOT! I had to do that area with sandpaper by hand. And THAT also took a bit longer, but like I said, a labor of love. Next, I looked into the O.E.M. ( Original Equipment Manufacturer’s required paint color) for the area where the lamp sits, the color is GM white. After I cleaned the back sides of the housings to bare metal I used a can of spray paint of automotive gray primer. I used it after taping the screw holes, spraying both housings about 3 light, and even coats each, but I also taped off the area where the bulb goes so I could paint it white later. After the primer had a couple of days to dry, I was ready to finish with the white spray so I plugged up the hole where the light socket sits to prevent overspray. I also used masking tape and paper for the rest of the housing so I could finish with the white in the center. Then let it dry for at least 2 days. Just FYI I don’t have a covered shop or garage of my own to do this in. So after I paint an item I either find a big box to cover it or hope for a good weather day.


So it’s time to remove the paper and tape and pray for great results! I worry sometimes but this turned out pretty good! I don’t need to go back over them for little things. So my next thing to do is chase down the bezel screw mounting posts. Then I’m on the search for new screws, (you remember I only had 1 screw on each side) so what I did was, instead of paying large shipping charges for small screws, I went to my local hardware store and checked out their bulk bolts and screws and misc. section and measured my screws. Found my size for a great price without paying shipping and handling and found I could do a lot of my fastener replacement there too, it was so awesome!


I saved my original bezels, I just cleaned them with steel wool and they looked like new.
I learned a valuable lesson working on this project. NEVER underestimate what you can find locally if you just have the patience to look.

