
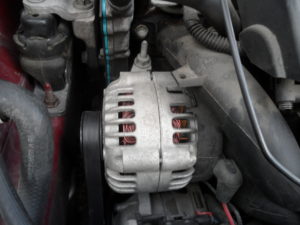
This repair came to be because we noticed the car had an unfamiliar noise which wasn’t common for the car. So I checked under her hood trying to identify where the noise was actually coming from while she was running. While doing this it seemed was the noise was coming from here so I put my hand on it and it felt as if the shaft was moving improperly as if the bearings were slowly wearing out. So we decided to buy a new one. THIS is another item you DO NOT want to get from a recycling yard.
So to start this job the tools I used:
1) 15mm open-end box-end wrench – you will use this on your belt tensioner pulley.
2)10mm socket OR wrench – This will be used for the positive battery connection.
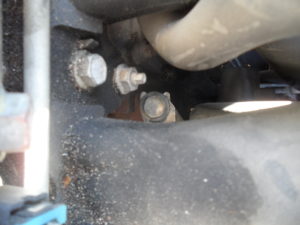
3)14 mm socket that’s shallow – This is used for the 3 bolts that mount the alternator in place.
4)1/4 inch or 3/8 drive ratchet – whichever you prefer to break the bolts on the alternator.
5)8mm wrench – to remove the negative battery post cable on your battery.
6)Also you will need a small piece of paper and a pen and mark your belt routing direction before pulling the belt.
When you start this job you remove the negative battery post on your battery. Then you go down and start loosening the bolts that hold your alternator in place, but DON’T take them out completely. Once those are all loosened you can bring in your 15mm wrench and use this on your belt tensioner pulley to release your belt.
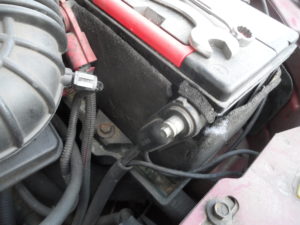
Negative battery post to be removed before starting this job.

The belt routing diagram should be written down before you remove any part here.
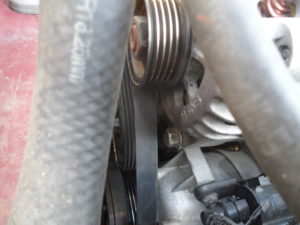
The belt is released now on to the repair. Also not marked here is the bottom bolt you can get at it easier once the belt is out.
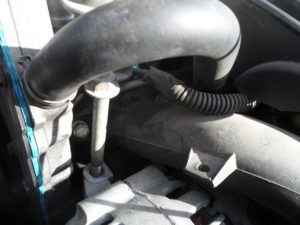
Upper bolt for Alternator
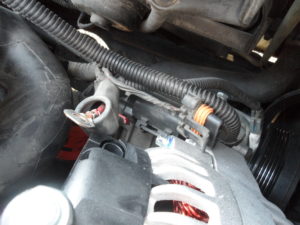
This bolt will be a fun one. It’s located under the intake manifold so you may have to remove some of the air box tubing and throttle linkage.
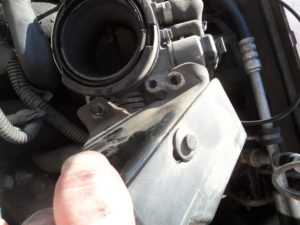
Intake tubing I had to remove to get at the bolt hidden from me.
Then we can remove our alternator. Once it is out, you can use your 10mm socket on your positive battery cable that resides on the back of the part. Then while it’s out there is another plug you have to disconnect as well. If the clip gives you a bit of a hard time, just be gentle and don’t force it with a flat tip screwdriver and gently pulling outward.
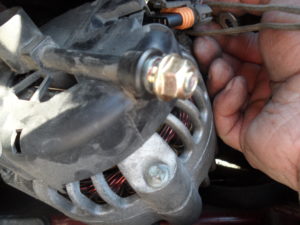
Disconnecting these 2 wires is the last step to complete the removal of our part.
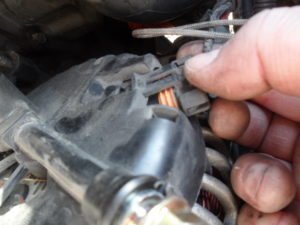
The last connection that powers all of the car’s electrical accessories
Now, after it’s out compare it to your new one side by side as I did. Replacing it is the same as the removal. It is best to plug in your electrical connections first. Your computer pigtail next, then your positive battery connection, then set it down in its proper location and start the bolts a couple of threads each.
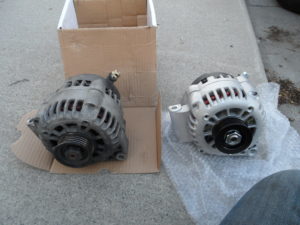
Comparing the 2 together! the one on the left is our ” Old ” part the right is the “New” part.
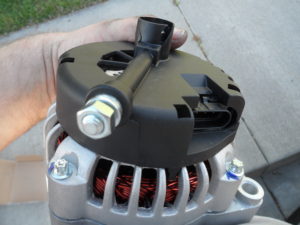
Our backside of a new part. Nice & New look is pretty right.
The reverse of removal is the replacement of our part. we start with our electrical first.
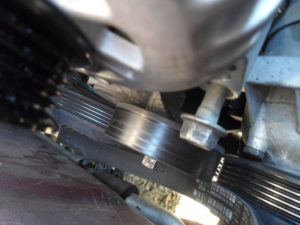
Reinstalling the belt correctly is very important here it must be straight and running true.
The belt routing should be done before & after.
After the bolts are all started you can tighten them up. On these bolts, they do not have a specific torque setting, so just get them as tight as you can. Then get your 15mm open-end wrench and grab your piece of paper that you wrote down the specific belt routing for your specific vehicle and replace your belt while making sure it is perfectly aligned on all the grooves.
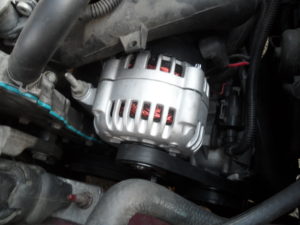
We got a perfect install and now it’s time to re-install our negative battery post and start our car and hear how she sounds.
A very well-done job. And our car is sounding great now.
Once your done don’t forget to hook up your battery connection, THEN you can start the car and test out your work!
Negative battery post to be replaced after your done now.


