I bought this carburetor project to sharpen my skills. It’s been a little while since I have rebuilt one. This was a GM Quadra-jet monster that most people I have met, have mixed feelings for this carburetor. Some say, that they are too hard to work on because it’s too much of a hassle so they go other options like Holly, Edelbrock or new types of throttle body versions or a newer version which is fuel injection. Or there are old schoolers like me that love the carburetor systems. I like to keep my old school technics honed and sharpened because this could be a lost art. So this carburetor, I thought would be a good idea to conquer to keep my skills up to date.


This carburetor was much newer than I have ever worked on year wise. It came off of an ’82 GM car, or truck that had the 305 V-8 and up to the GM 350 V-8 but it also has larger jets in it to work on GM monster 454 V-8 which is an added bonus for anybody that wants to install it to a larger engine. Now when rebuilding a carburetor it takes great skill but mostly patience. You don’t just jump in and start unscrewing things and throwing things right and left. It took me great patience to do my first one many years ago, so don’t rush a carburetor rebuild if you intend on doing your own. Now before starting, get yourself some sandwich bags with labels that you write on to put your small items in so not to lose them or mistaken where they go after your putting back together. Taking pictures is also a very good self-aid to help you remember where things went. Working on my carburetor, I didn’t have a solvent tank or a carburetor bath to give this carburetor the beautiful pristine shine that mechanics at professional shops have because, again, I am only working off my patio.


Working with what I have, I used small detail brushes and used toothbrushes to get into the tight areas with ordinary carburetor cleaner in oil drip pans and I also used a round vintage wire brush to get in where the fuel filter and the throttle pump sits to get the varnish stains from use out of it. Then I cleaned the butterflies with fine steel wool by removing the butterflies and cleaning both sides of each butterfly with the steel wool which was a lengthy process and you better have had a good breakfast to do this because there is a lot of elbow grease used here!
Now working with an electric choke as this one has is very tedious with them, be sure to reinstall it correctly because the mechanism has to be exact because this is a vital piece of the carburetor to work properly. Because in your kit you will have a gasket that you will need to replace and also 3 new washers and screws to replace in the kit.


And when resetting the air/fuel settings screws, take them out if you have to because I did, mine was in poor shape and needed cleaning. When you reinstall them turn them all the way in, then back them out 1 1/2 turns to get the proper air/fuel mixture for the optimal performance of the carburetor and your engine. Also one other vital piece of information, when installing your fuel floats, make sure that your needle in the seat is installed properly with the floats and the measuring tool that comes with you kit is exactly where the kit tells you to have it at and the ring that is holding the fuel floats is installed in the correct direction to give those floats the right height for the best performance out of the floats and the needle in the seat or most people call it the “float needle.”


Once all that is done, checking to be sure I had my plastic cover that sits over on top of my floats. I install my gasket for this section.


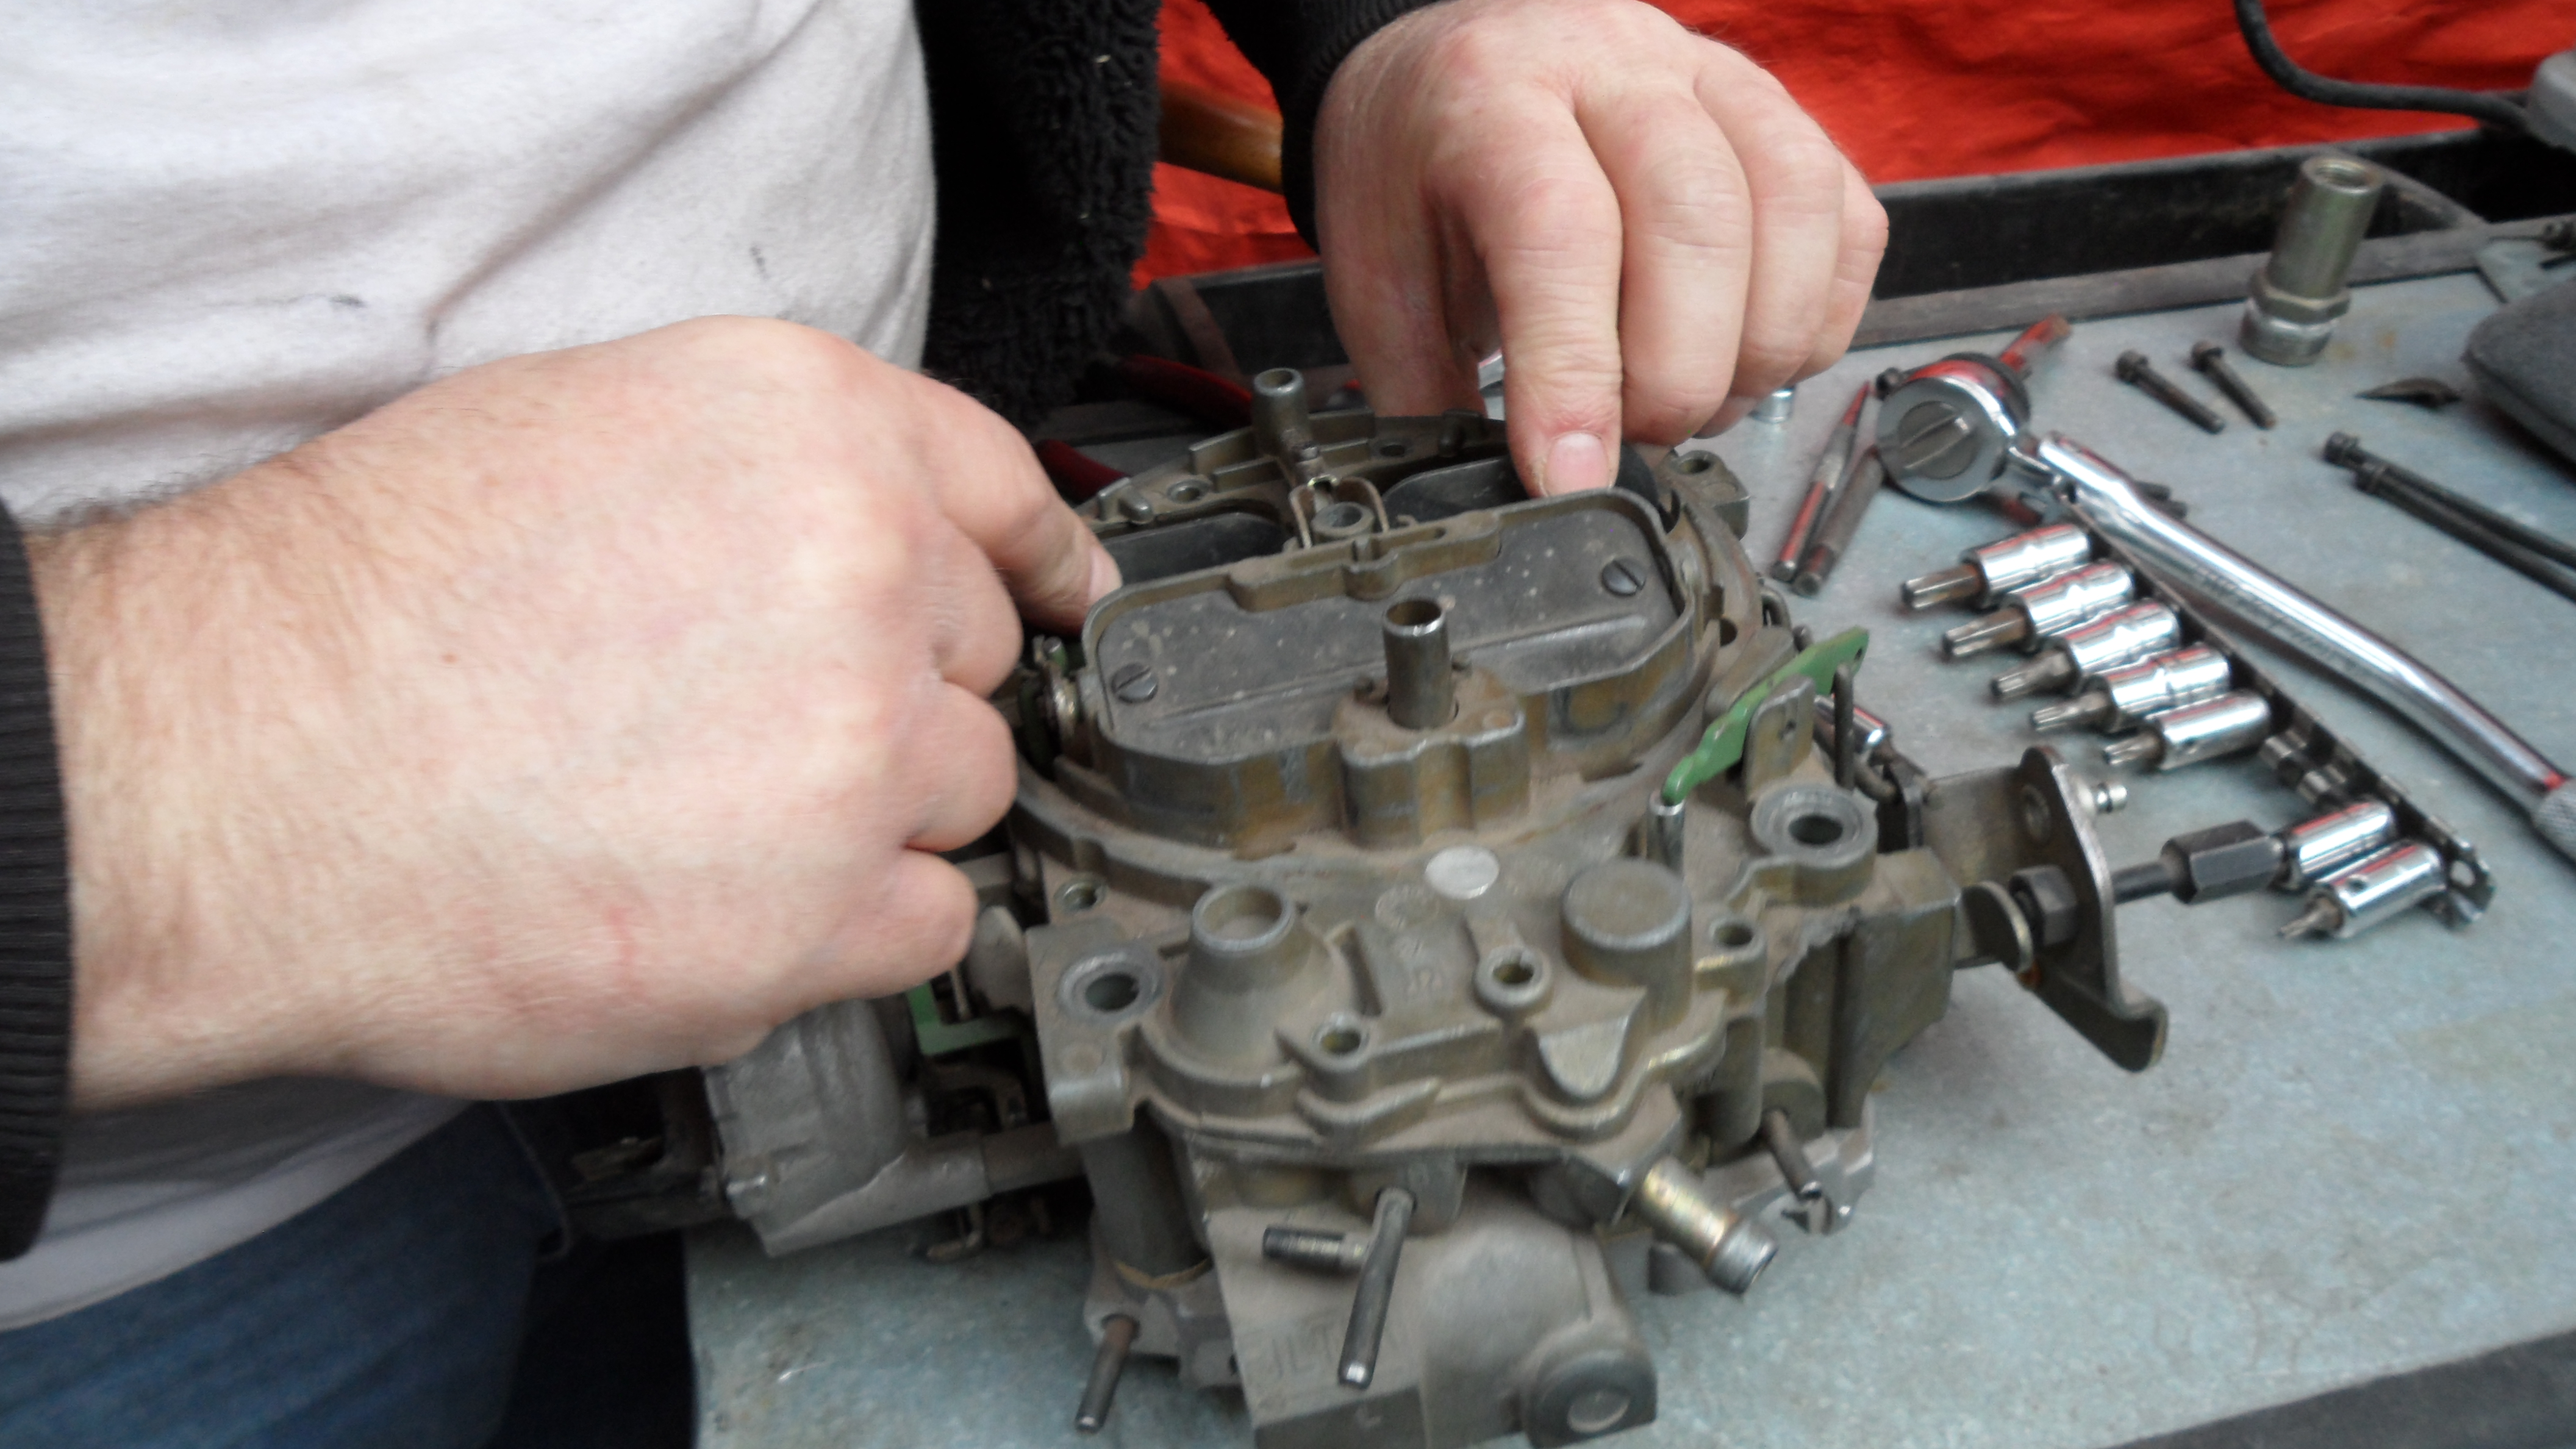
Now I’m ready to install the top section of the carburetor. There are needles in the top section that needs to be seated in their proper points through the body of the carburetor and make sure they are correctly seated, don’t force them so you don’t bend them because these parts cannot be replaced easily.


Once this is done you can reinstall the vacuum pump for the secondary butterflies and the control levers for the throttle pump and a control lever and get the correct bolts out of your bag that you marked for the top section then mount them.


Now onto the bottom section of your carburetor. Finishing up my bottom end, once all my levers are inserted in all the right places I put the three screws holding in my base to the main body of the carburetor and I torqued it down in a criss cross fashion so it would be given thight seal with the body (or) the housing of the carburator and the gaskets.Now I wanted to meantion that the carburator kit used in this build was from GP Sorensen Part Number #96-622 . And i’ve used GP Sorensen in every one of my carb builds since 1992 just an FYI .


THEN I realized I forgot the new fuel filter! Which I had put Teflon tape on the threads to make it easier to go in and keep any debris off the threads and giving it a nice and tight seal then I put Teflon tape on the fuel filter housing. Now, this carburetor is ready to go back into service and to find a buyer that could use this beast! Because we seriously have no use for this monster.


