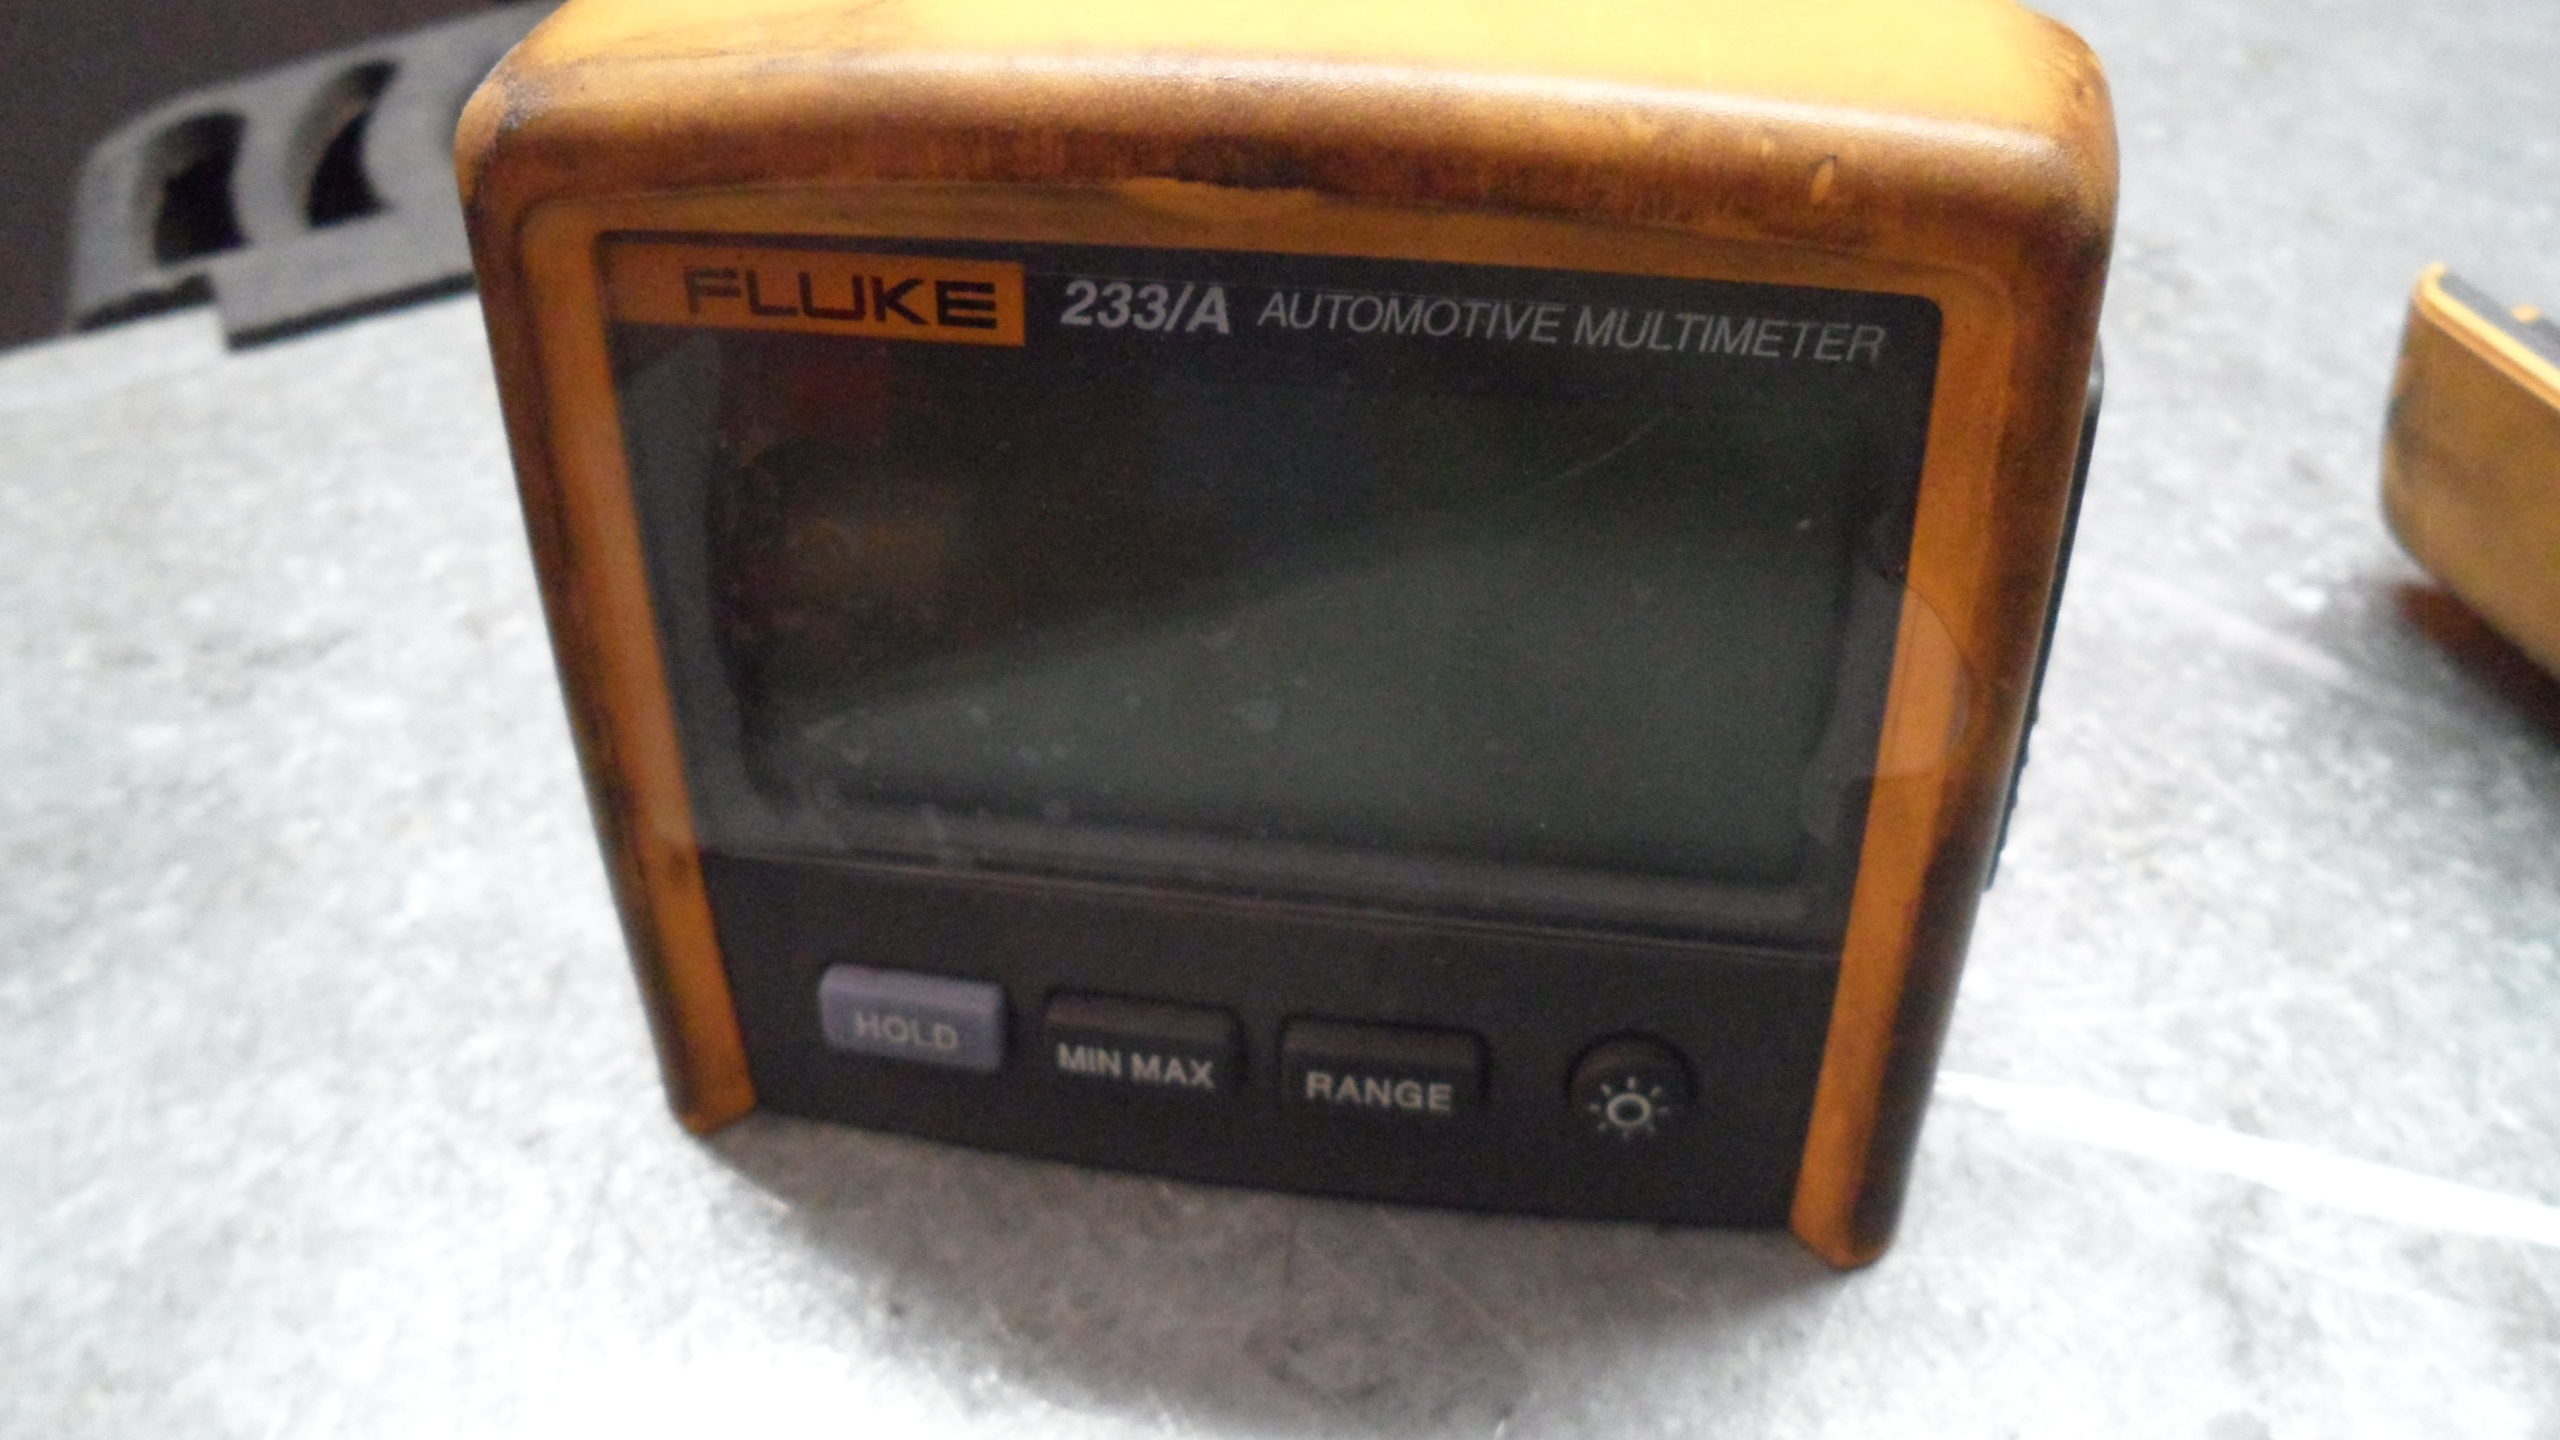
One of my best mechanic friends asked me to look at and troubleshoot a fault code light on this multimeter because he knew I was good with electrical and power tools.

 So first I noticed that the fault light was on whenever you first turned the tool on before use. So from this point, I started to take the tool apart so I could test different parts of the inner workings. So then I got out one of my multimeters and other misc. testers and dug into this tool to see what I could find that could be causing the fault light to come on.


So I also pulled out some of my shade tree testing leads so I could power up key points of this tester through the battery compartment and with testing these areas separately, it may help me narrow down where the fault may be. But there was no such luck that way. My batteries had to be changed to reperform this procedure. Starting the procedure again, the first side of the circuit board is coming up with inconclusive results. So I finished pulling the rest of this board out of the shell of this tool. Then I powered up again through the battery area with my test leads. I was finally able to test the other side of this circuit board and more of the functions that come with the rotary dial for the different settings that come with this tool capability.


Now onto checking out the processing chip that helps the functions of the circuit board in this tool. With this chip, if it is malfunctioning in any way it could be causing the fault or a possible short in one small part of the circuit board and may cause a total failure of the tool. Unfortunately, it IS EXACTLY the problem. Because while I was testing the chip, I was able to hit on 2 separate points with my multi-tester and was able to turn off the fault light and keep it off as long as I don’t take off my leads off those 2 points. NOW fixing this tool will be expensive for my friend and I hate to give him the bad news. It may be cheaper for him to go buy a new one. At least he knows what his options are!


