First off, this is unchartered territory for me. I found someone who was selling this on eBay. You know me, it has to be American Made so my truck stays American made. When I first got my truck this part was working in excellent condition, to my surprise. It just failed on me about 5 years ago. It took me until last summer with an extensive search, to find the washer motor that was American made for my little Chevy. Finally, now I am getting around to installing it. Now here comes the fun! Unchartered territory like I said! 


 I am going to go slow with this because it is fairly technical because I really don’t want to cause any damage to my wiper motor or my washer motor. I don’t want to spend the money again on another pump. While I work here on my kitchen table, I do take pictures of everything I do, being sure that I document my own steps and looking at the instructions.

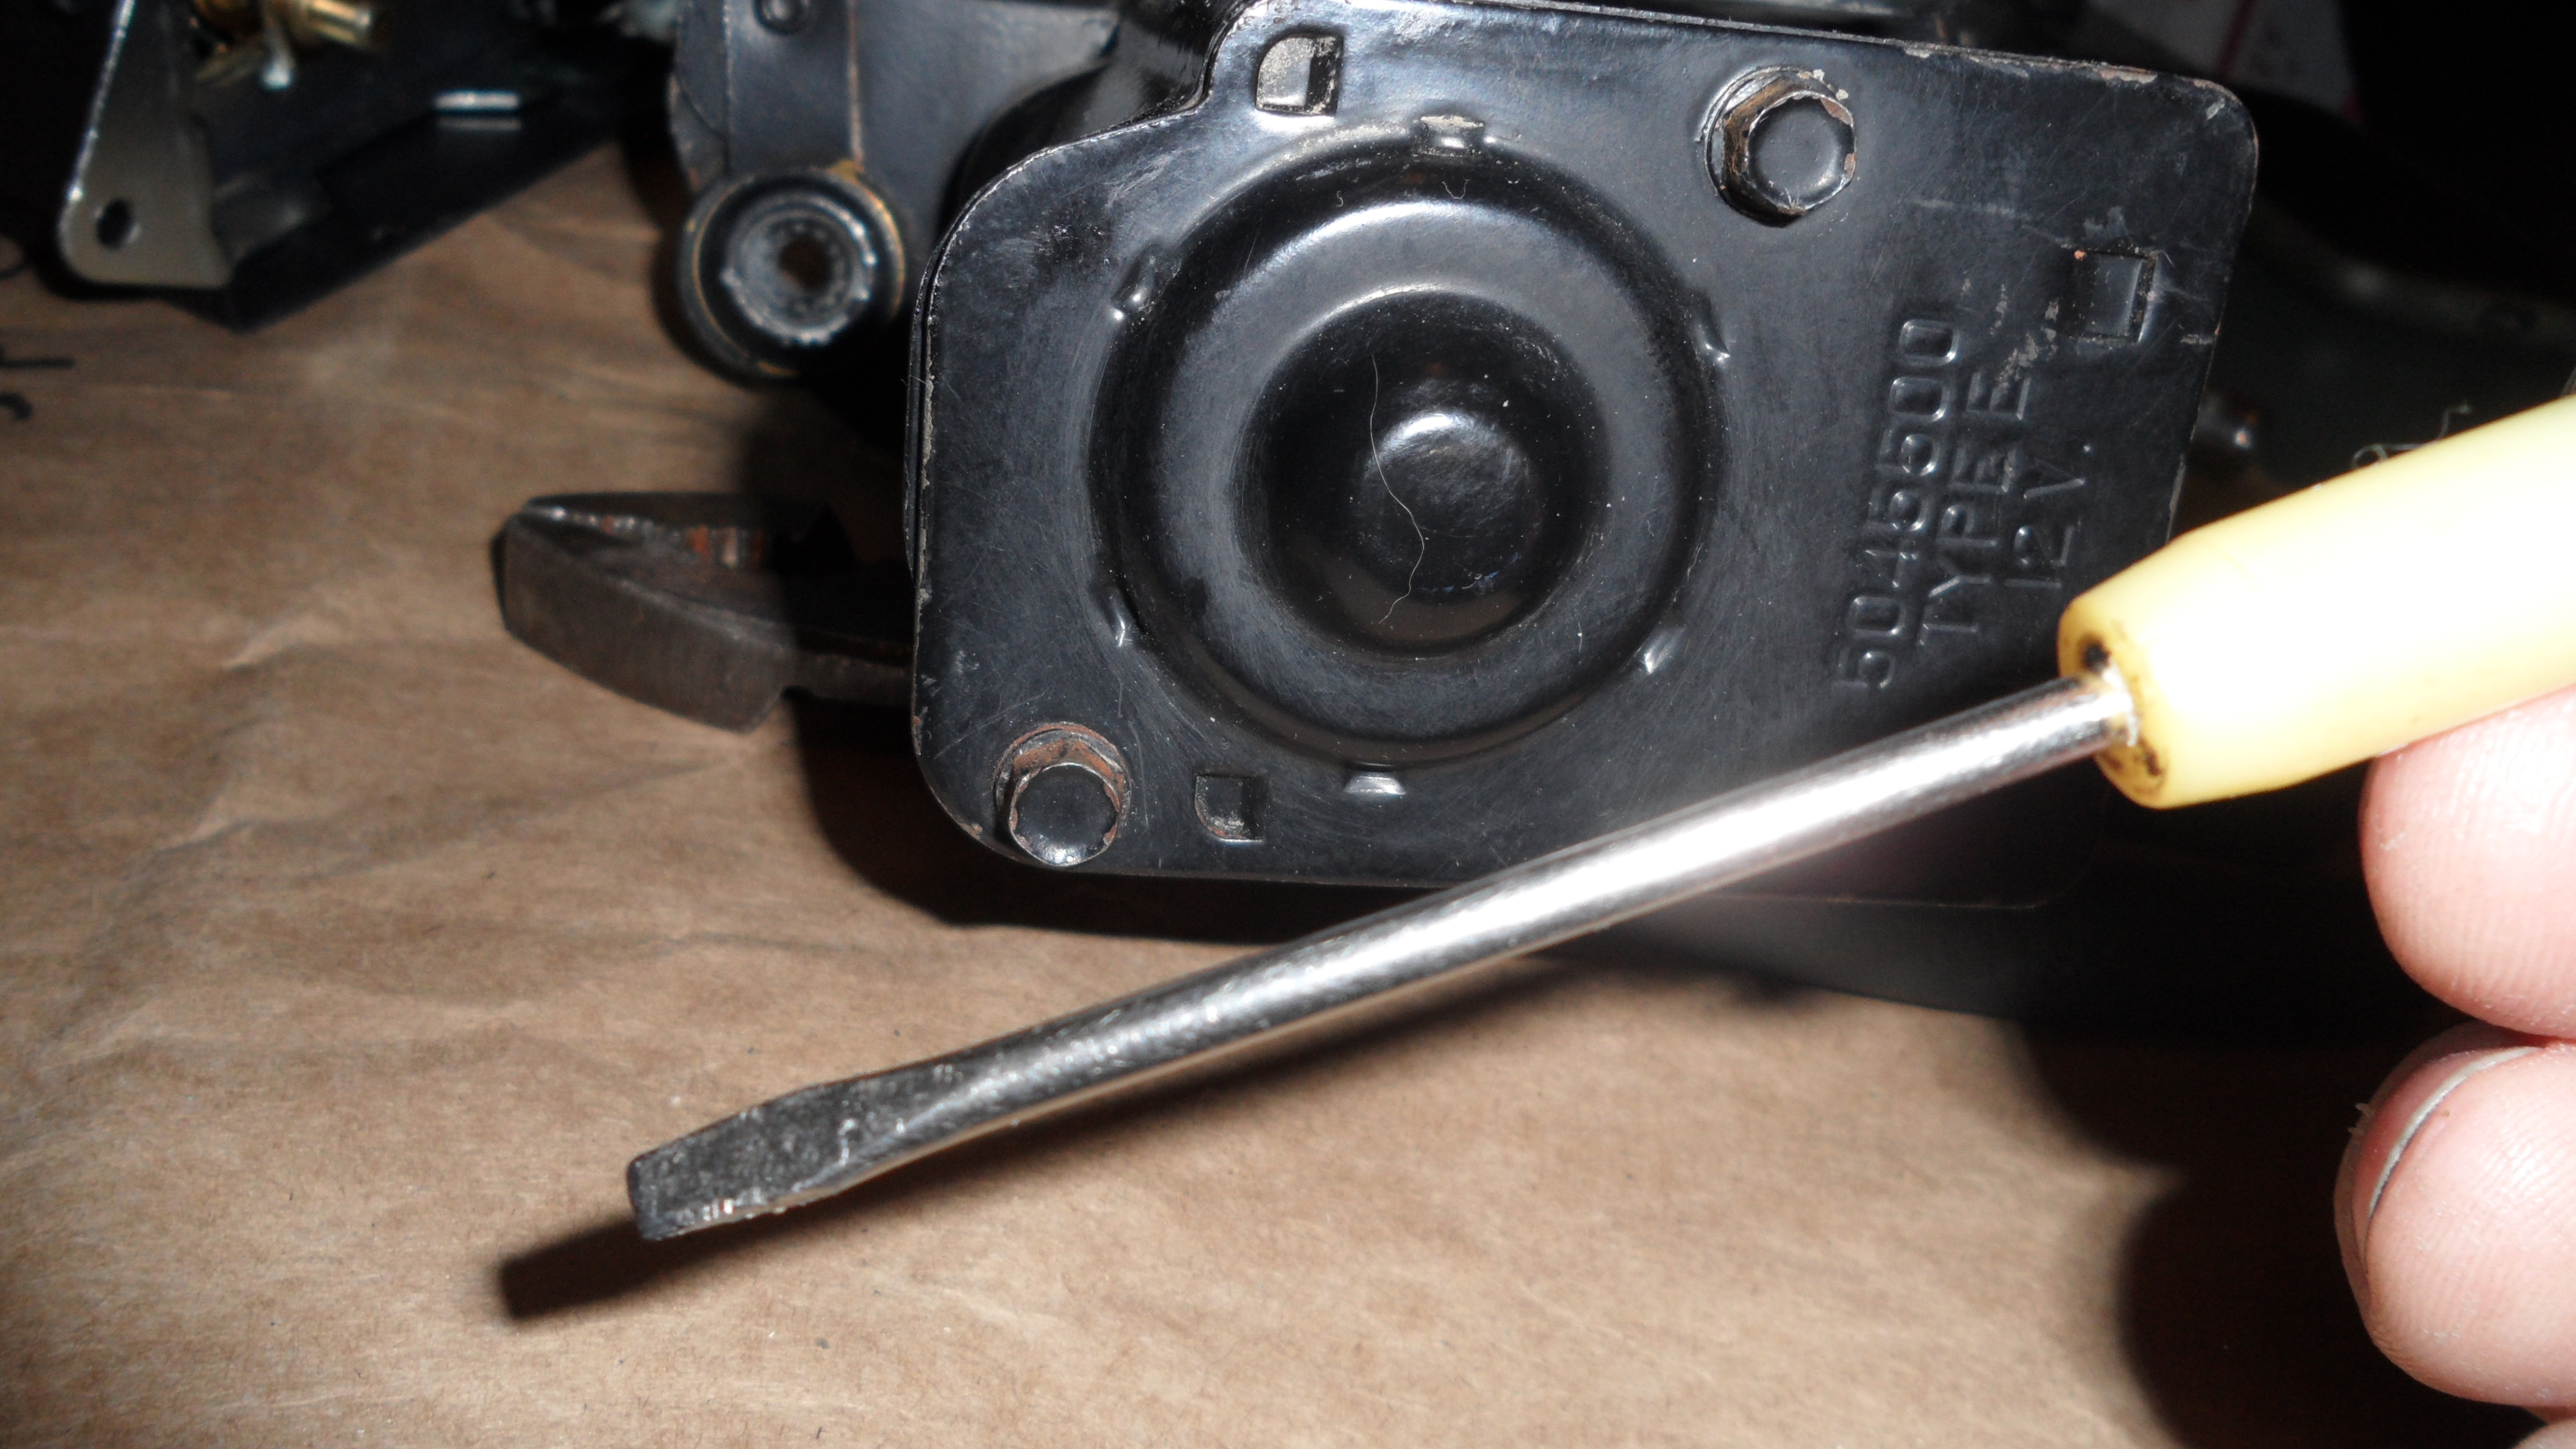
But the instructions do not tell me how to really put it together. Just basically just shows me what parts are contained in the kit. So I just learn as I go. I tore into taking off the old pump using a 1/4 ” drive ratchet, with a 1/4″ drive socket, with a 1/4″ drive extension was also needed.


Once I had the pump off it is quite an ugly mess to see how bad this pumps condition was even though considering its age. I’m just happy that it lasted long enough til I found another pump that was made on American soil and at the right price. Now I was looking at the gear drive on this beast that drives the pump and this is how you can tell it was original – the gear drive is made of solid steel and the pump where the gear drive connects was plastic and destroyed. Now, the other working parts that make this pump function was seized up and this would explain why it quit working, on top of why the gear drive was perfect and the contact point the gear was supposed to his was destroyed. Then onto my next challenge. Accessing how to get this steel gear off because back in the day this beast was pressed on and I have tools to pull off gears that are pressed on but I don’t think it will fit a gear this small. Nor do I think there is space to get in there. But look at the grease around it!


So I thought if I took it out onto my bench and I stuck the motor in my bench vice, and I got one of my old vintage Craftsman 5/8″ chisel and it would fit right between the gear shaft and the motor housing, and tap on it just gently with my hammer and see if it starts to move a little bit, and low and behold! It actually did work! But I was being very gentle because I don’t want to cause any real damage to the gears of my wiper motor. Now my chisel did get a little stuck but still trying to be gentle. Once the gear did start moving I knew I had it started so all I had to do is grab it with my fingers the rest of the way. WOW! I really love American made products!!!


Now, to go in clean up where the gear was sitting and any other surface that I feel like I want to clean. There’s no real reason to paint it, no one is going to see it, and it looks good anyway.
Now I take it inside and start putting all the new goodies on it. I started with the new gear drive, little plastic propeller, I got a little touch of grease, really any type would work, whatever you may have just to help put the gear drive back on the shaft. Once I got it started I took the motor back out to my bench vice and tipped it up into the vice and used a rubber mallet and gently tap in the gear back on the shaft, making sure it is on securely.

You need to know how far it goes on depth wise. So it would work correctly with your new pump. As seen in these pictures, it’s a lot thinner than the steel gear that was on this originally.


Once that is done we go back inside and we go to the installation of our new pump. Now with the kit there is a longer bolt and it comes with a sleeve with this bolt because the mounting bracket for this pump is made for different size motors and this bolt  and sleeve is there to help you make it fit your type of motor and they have supplied two shorter bolts and these bolt heads are size 5/16ths of an inch so you will have to change the socket on your ratchet


 for these bolts. Now make sure your gear drive and the activating arm inside the pump is all lined up and everything is working free, before tightening the bolts down completely. Then I can finish off putting my cover over the whole thing that has my favorite three words stamped on it – Made in the U.S.A.!!!


