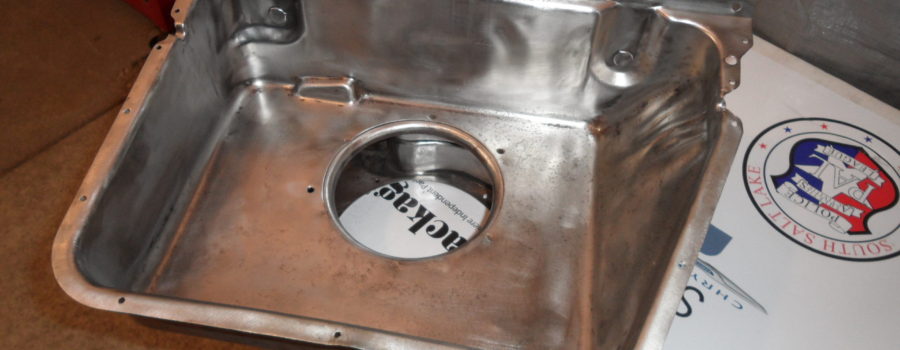
While I was still working on this restoration, there is still much stripping to do of paint and rust and mostly in the tight corners and nook and crannies, that’s hard to get into with my wire wheels. This is where I use some more 60-grit sandpaper with a flat tip screwdriver and having my sandpaper folded over once and moving it forward and backward to get into those t0ugh spots, I don’t apply a lot of pressure on my screwdriver or on my sandpaper to finish removing what needs to be removed leaving me a clean metal surface.


Now that I have the outer surface clean I start on the inside of the heater box. The area where the heater core sits is a pretty tough area to work in. Because it has it’s own tight curves and the spot welds for the heater blower motor that is welded to the box. Now I can turn my focus to the section where my heater blower motor mounts where there are signs of a lot of rust and paint that needs to be stripped off also.


Always Wear your safety gear when doing this type of work. Goggles and face mask!
Now in this section where the heater blower motor sits, I can access a lot of the surface metal with various wire wheels than the same as I did with the heater box. I had to get to some of the areas where the wire wheel wouldn’t reach with my gloves on and using sandpaper to get to these sections. 


And this part sanding by hand can take some time and so be patient while doing this, unfortunately, I don’t own a sandblasting cabinet! Now how I got this heater box to stay in position and adjust it the way I needed to, I had to get creative. I put it in my tiny little bench vice with a couple of small pieces of wood I had laying around in my little ” creation station” 


What I was trying to gain here was not to create any more work for my self or damage my heater box while working on it. Once I finally got down to the bare metal I grabbed one of my blue shop towels and I got a little water on it and wiped down the heater box to wipe away any dust or foreign debris for a clean painting surface. And now you will see a stripped surface as clean as it was new from the manufacturer.


