I got a call from my uncle. He needed some much-needed maintenance on his Buick because the mechanic that he had been going to hasn’t been quite reliable at doing the repairs and maintenance in a timely manner. The work the mechanic had done on his car had been way overpriced and some of the work that he had been charged for, wasn’t done.
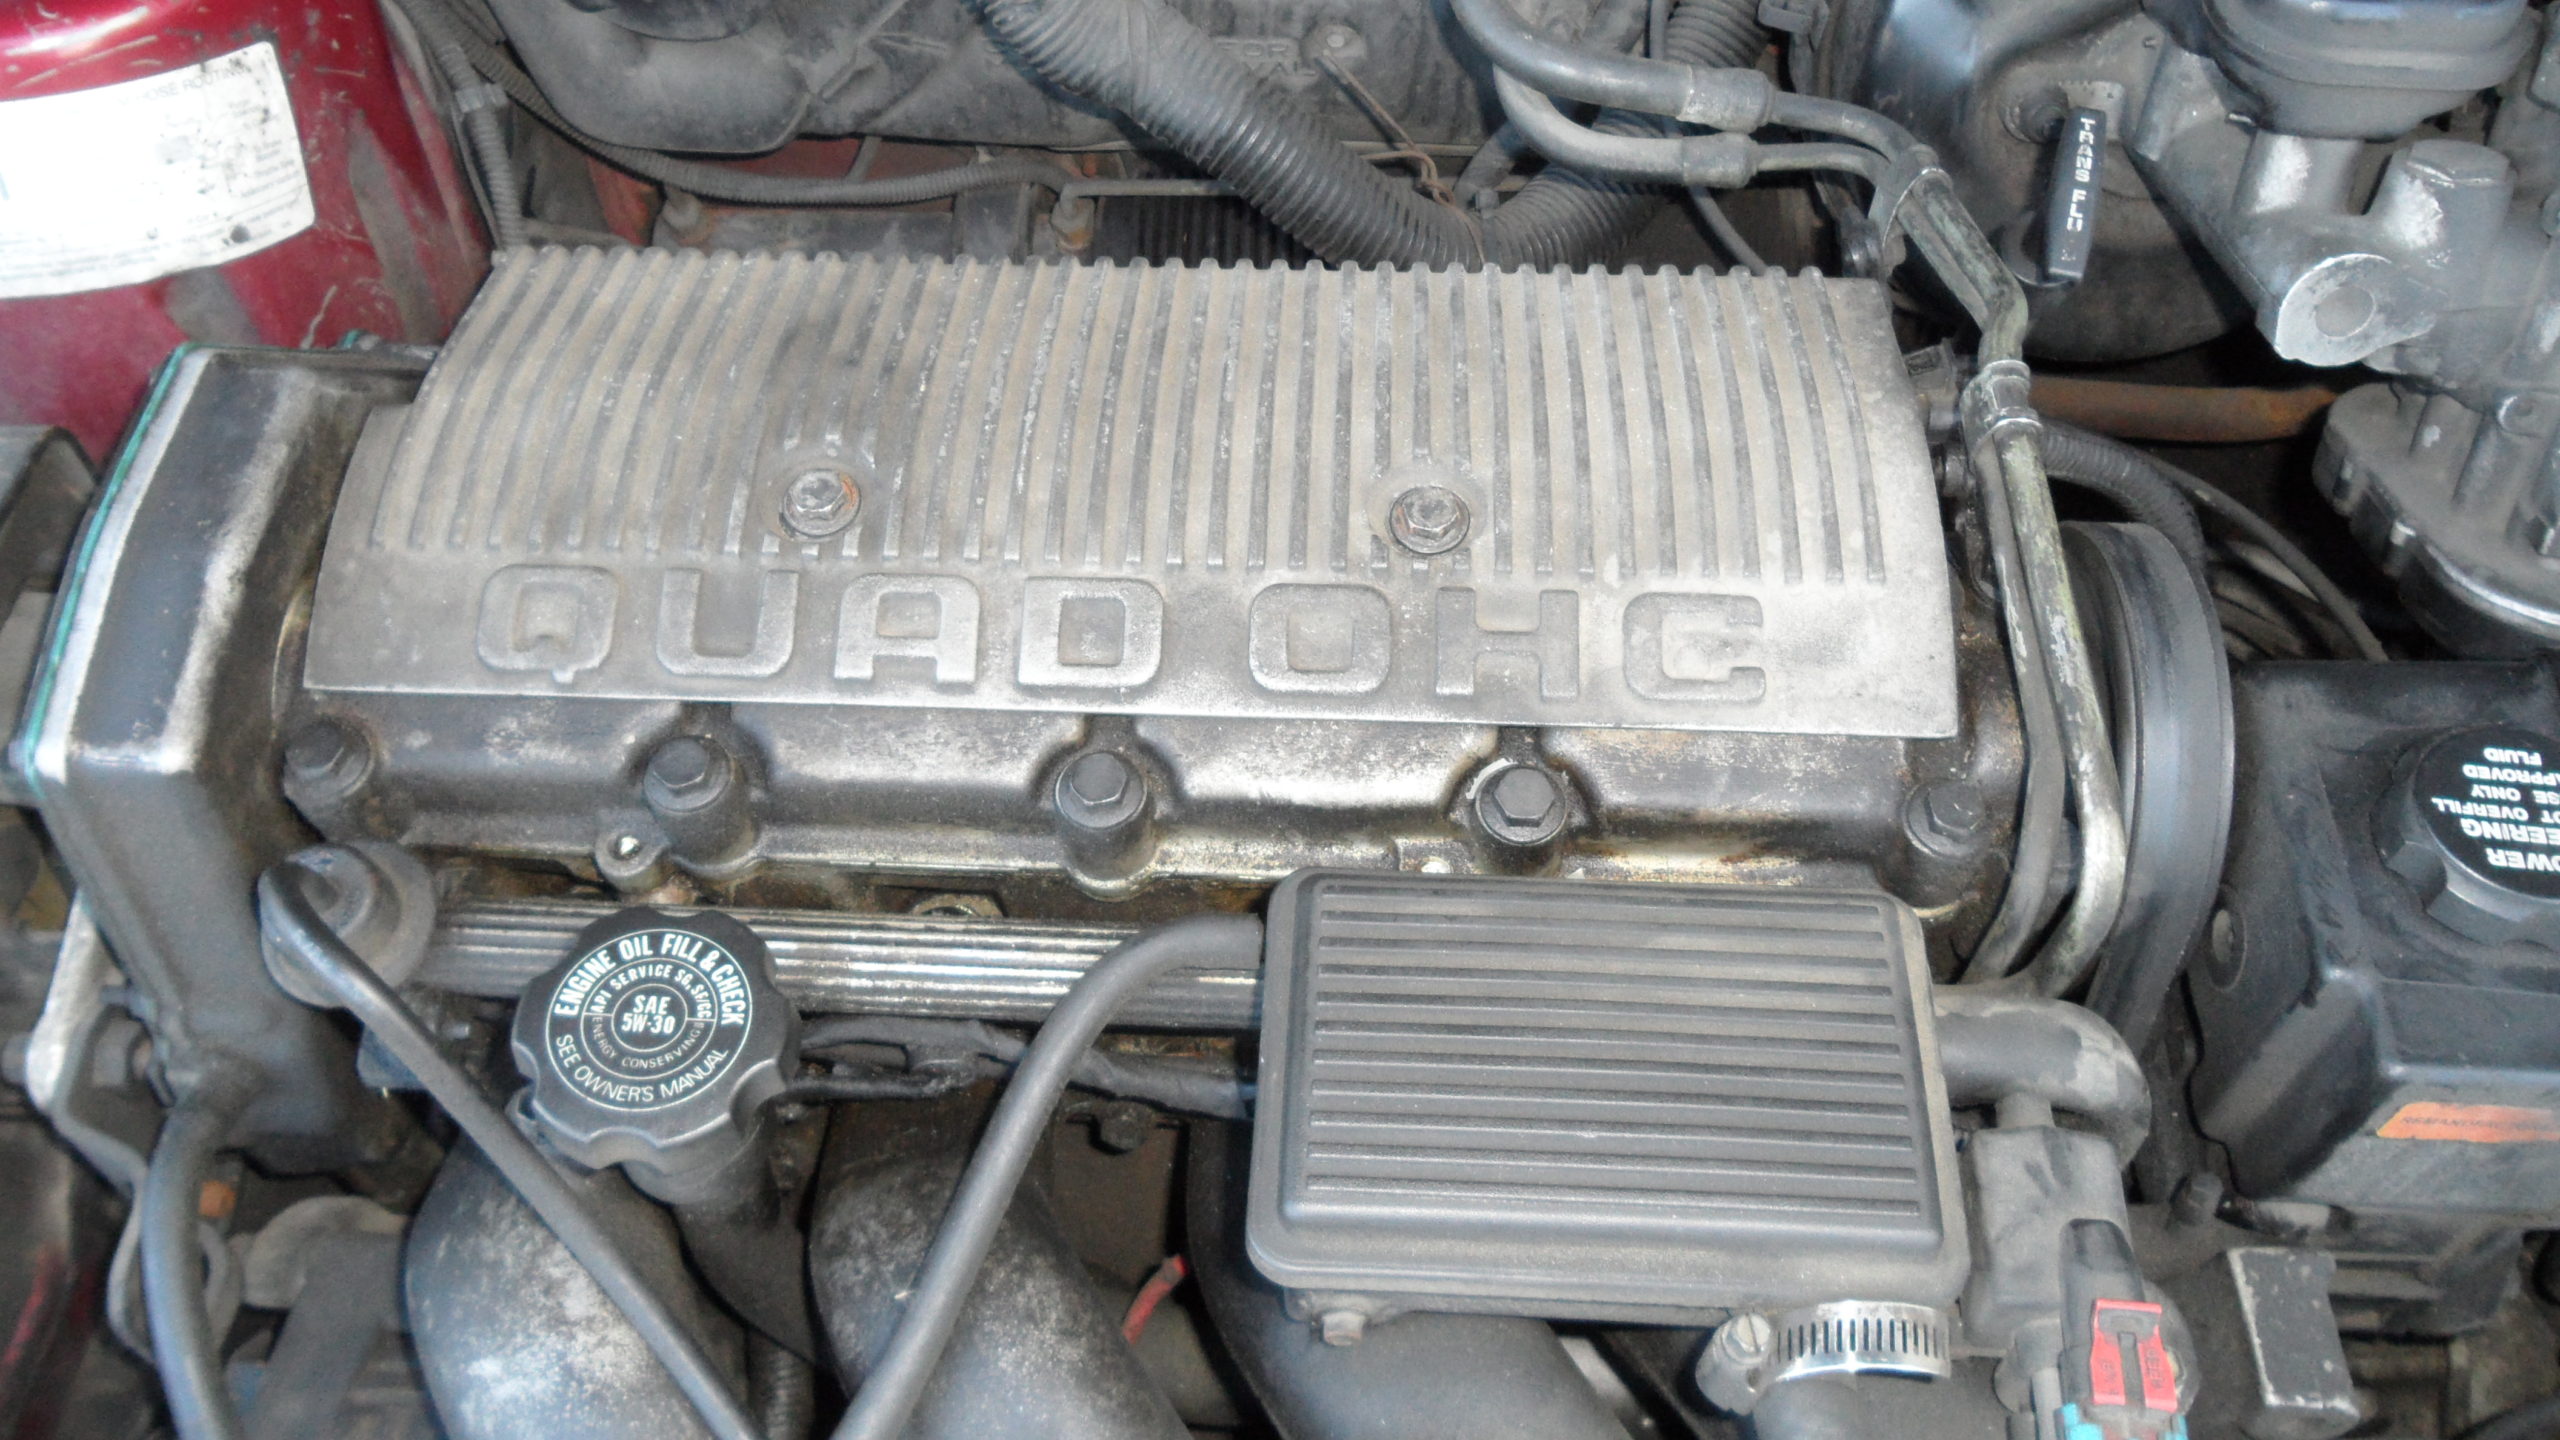
First I started with doing a tune-up starting with the spark plugs. First I removed the electrical connection for the coil pack that plugs into the cover for us to get at the spark plugs. Now I have to get the two bolts off the backside of this cover and the 2 on top to get to the spark plugs. Once there I have to decide which spark plug socket to use to pull the plugs for my 3/8’s drive ratchet and extension and my socket size is a 5/8’s standard size with a 6in extension.


I was surprised to find the spark plugs were all mismatched brands! I was so baffled to find the other mechanic had put in import car brand spark plugs in this American car! Pay close attention to the condition of the boots of the spark plugs going to your coil pack. Check for any burnt marks and that all plastic is in good condition & Don’t force anything with the boots because the clips holding them onto the coil pack will break easily if proper care isn’t taken here. So use great patience when reinstallation with all the parts. Don’t forget to plug back in the electrical connection at the end of the cover that you unplugged in the beginning.

2 Denso brand spark plugs.

2 NGK Brand spark plugs.


Now onto changing the fuel filter. Now, this fuel filter is located just above the rear accel of this car. Now on one end of this fuel filter, you have to use two different size wrenches, open end to loosen the line coming into the fuel filter. On the other end, you have to use a special transmission fuel filter line disconnect tool and my tool is made of pop-metal and will fit various applications. It does an outstanding job getting this off with ease!


It may best to have a pan underneath this to catch any fuel that may fall on the ground. Once you have this last line disconnected you can reinstall your new fuel filter in the same way as taken off your old one. Now your new fuel filter would come with a new plastic connection to with the end that connects from the fuel tank just in case you broke your old one. Once the new fuel filter is in, clean up your work area and you’re ready to go! Be sure to turn on your ignition and let the fuel pump run for a second before turning on the car giving it enough time to get fuel through the fuel filter and sending fuel to the motor.
And we’re done with these two parts of the maintenance that needed to be done. What he also needed to be done was to change the headlight bulbs on this car and I needed to show him how to get to them. I showed him by removing the grill bolts then removing the headlight assemblies with ease.


