This Chevy Tahoe needed some serious TLC. From past repairs that were done very poorly. The owner had told us, the last time the brakes were done he had a lot of trouble when it came to stopping or when needing to stop with brake fade and it concerned him to the point he couldn’t take it on long-distance trips because of it.


I took a look at it for him and found that the back drums looked very scary and needed to be replaced and the front pads were in more dire need at this point. So we started with checking and measuring the thickness of the rotors to see if they needed replacing or if we just needed to replace the pads. We’re in luck! We only have to replace the pads at this time!

Be sure your vehicle is secure with your jack stand before performing this job.

Removing Driver front wheel


I started by accessing the tools that I needed.
A 3-ton floor jack
A good pair of 3-ton jack stands
A 7/8th’s socket
A half-inch breaker bar
A pry bar
A flat bit screwdriver
A half-inch star bit or Allen wrench
A 6 inch C-clamp
A 1/8th inch flat bit screwdriver
There is also a hardware kit that you need to purchase separately when you buy the brake pads. You’ll have to replace them on this year of a vehicle because they do tend to wear out with time. The last person that worked on his brakes DID NOT replace them and they were very much in need of them.

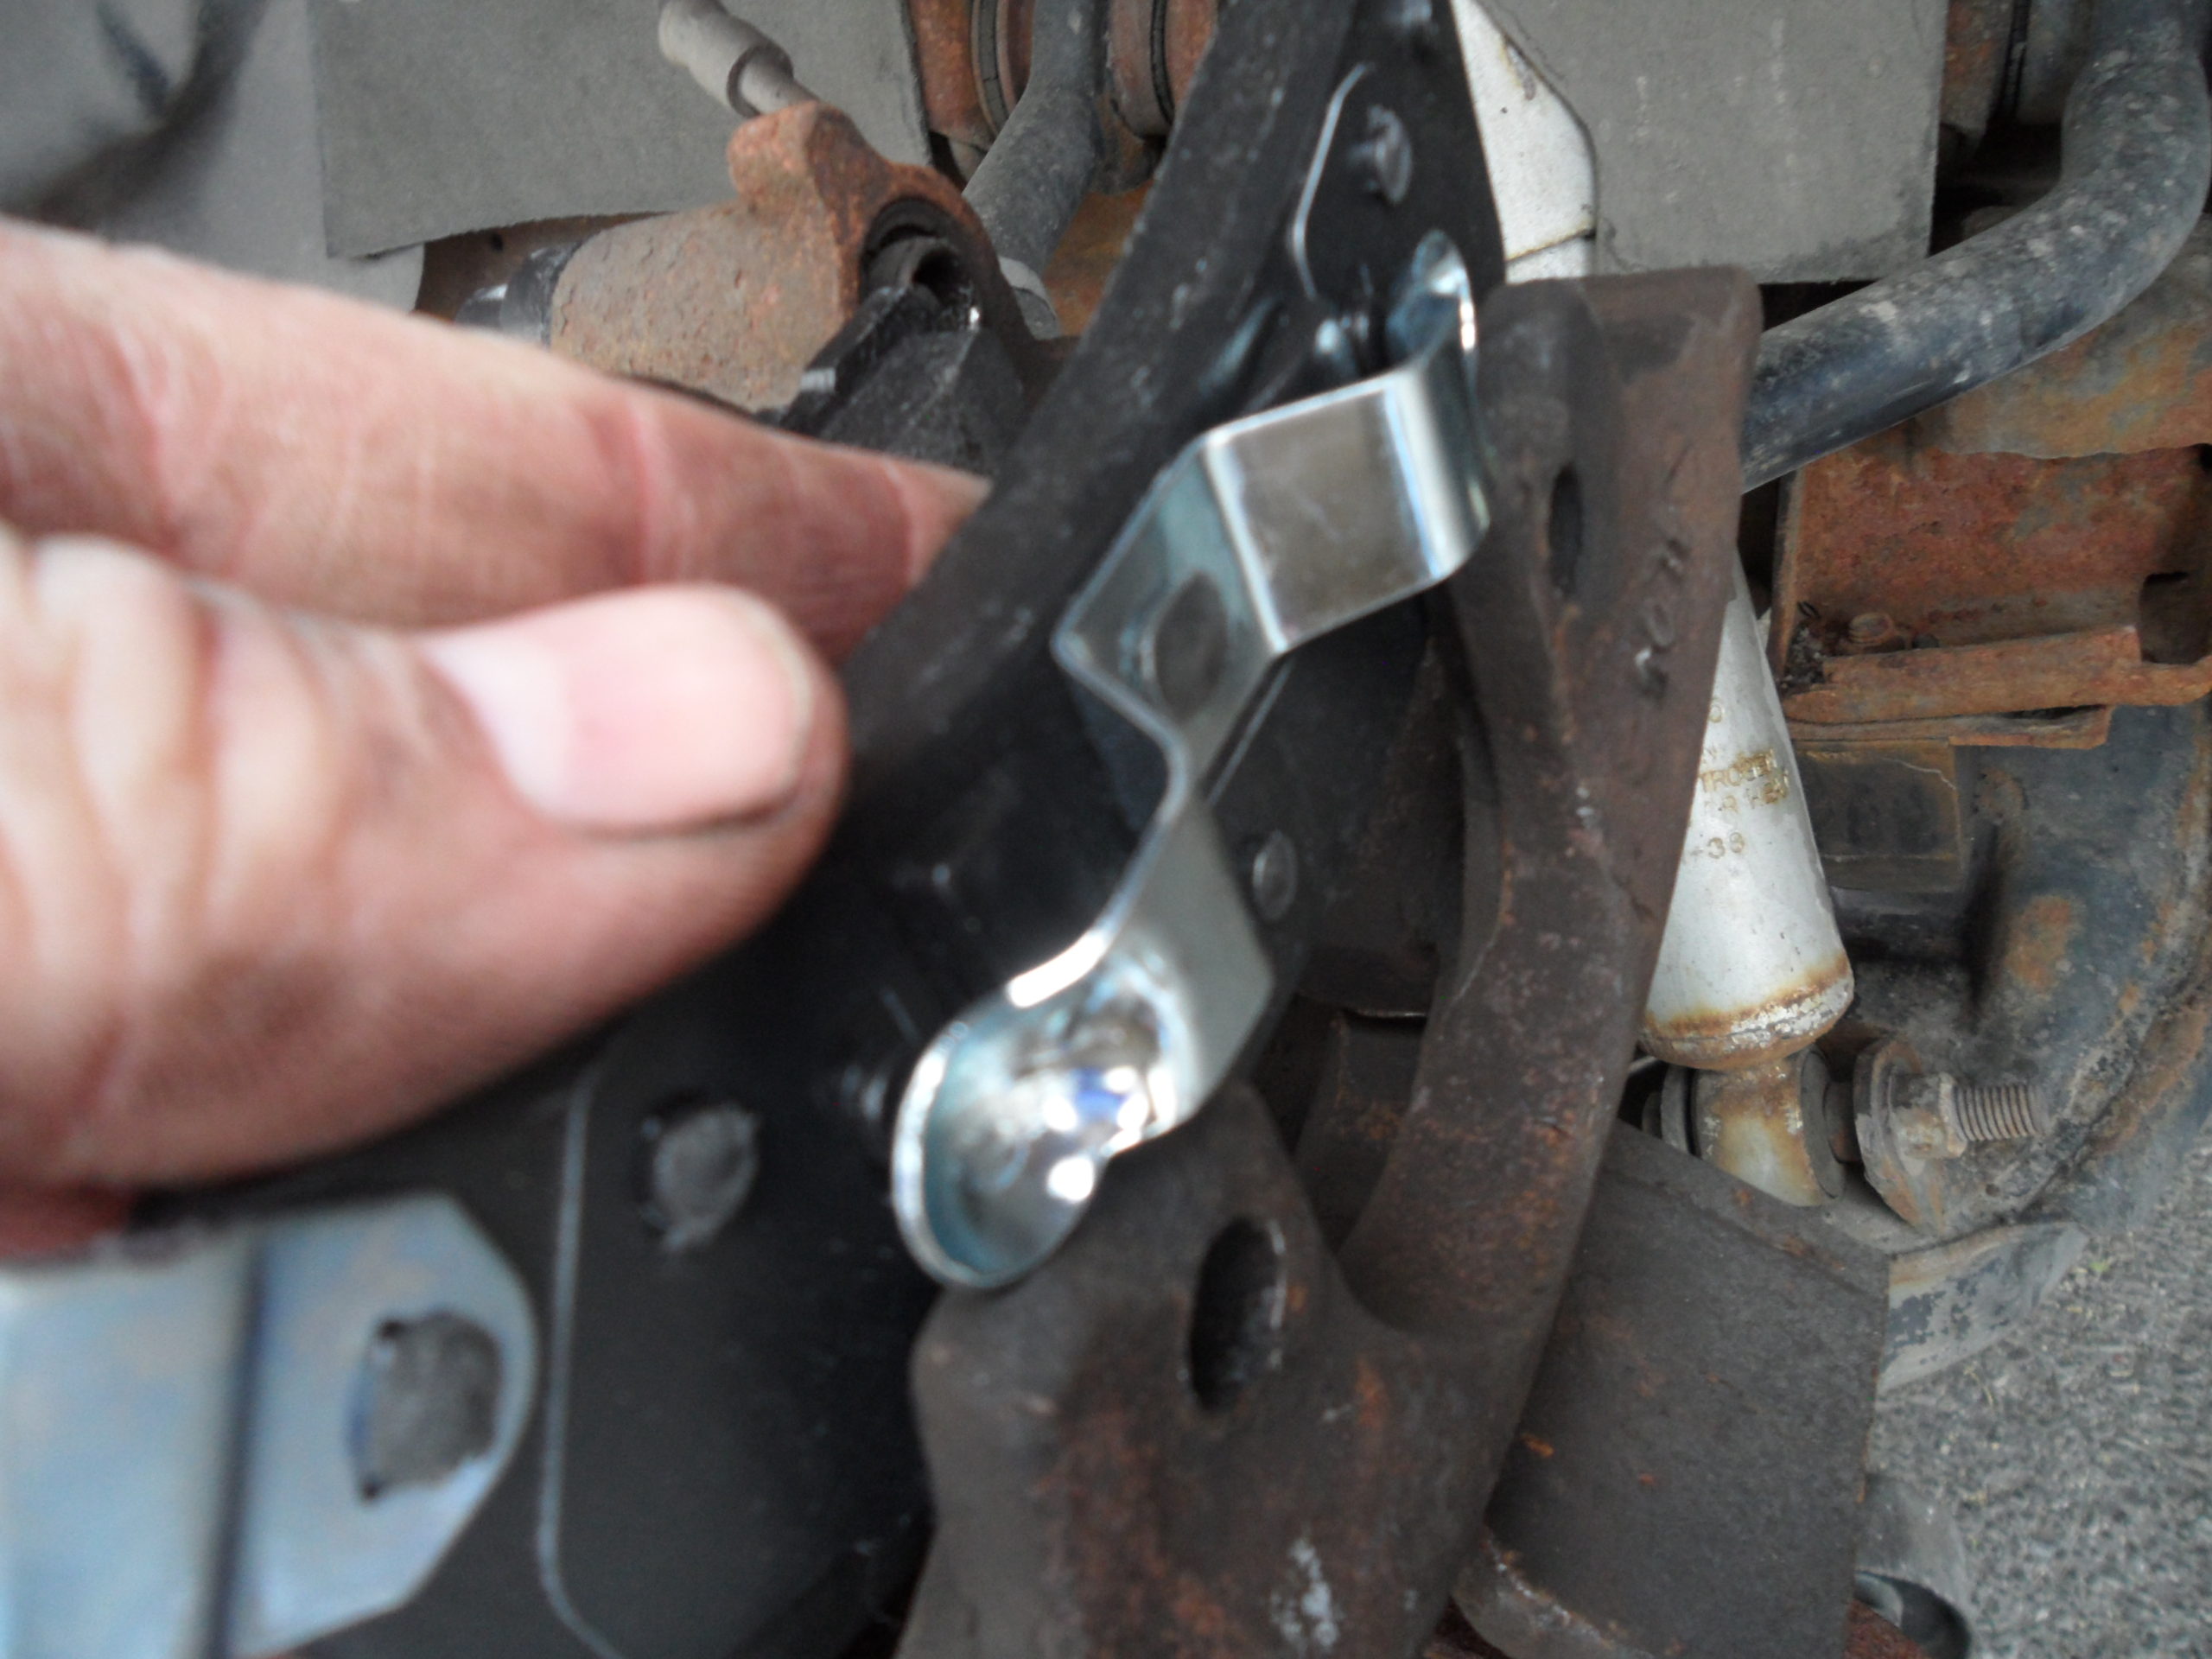
Looking at the NEW vs Old hardware the one pictured here that isn’t darker is my new one. The darker one is our old piece


New hardware
Block the wheels with a piece of wood in the front and back of your rear wheels. Next, make sure you have your lug-nuts on your front wheel loosened before you take the wheels off the ground. Now make sure you have your body jack(s) in a good safe position under the truck. Then go ahead and remove your tire then onto using your screwdriver or small pry bar to compress the piston so you can remove the caliper. After compressing your piston grab your star bit wrench and remove the bolts that hold the caliper in its mounting frame.


Once your caliper is out, remove the old pads -BUT don’t throw them away quite yet – Your old brake pad that WAS in your caliper that did not sit in the piston you CAN throw away. But the OTHER pad you can use with your C-clamp to compress your piston. Now doing this will provide you the room you need to put your new pads over the rotors making it easier and without causing any cussing! LOL!

No need for shims for this vehicle they have their own clips that hold them to the outer shell of the caliper.

Installing the new pads this is our back pad that clips into the piston.
Now, this is where you need to remember the hardware kit that you purchased separately that this truck direly needs because it has never been changed and don’t forget to soak your mounting bolts with brake lube that comes with your brake pads and this part is just as important as is having the pads on correctly. If there is no grease on the bolts it will be like grinding steel to steel and you won’t get the optimal life out of your brake pads.


When you are finished with both sides, reinstall your tires on your vehicle, and remember to tighten your lug-nuts in a pattern like we’re doing with this truck. It’s a half-ton and only has a six lug pattern so we are going to do it in a triangle sequence. This way the wheel goes on flat and straight and is correct like the professionals would do!


Take pride in doing your own brake work it will save you lots of money in the future and give you that satisfaction of doing something for your vehicle correctly AND yourself!

Now it’s time to take it for a VICTORY LAP!!!!!
P.S. I almost broke my neck because it stopped SO much better! The next job will be the rear brake shoes and drum replacement.


