This started innocently as I asked a friend who had his hood up on his truck. I decided to ask if he needed any help with what he was looking at. His trailer lights weren’t getting any power. So I asked if I could help.
They really didn’t know anything about electrical wiring with vehicles so they were happy for the help! First, we tested the fuses in the underhood fuse box to the trailer light harness. The results were: there was no power to any of the fuses. So then we went ahead and pulled all three fuses out. Then we took a test light and tested each individual fuse port and still came up with nothing. Then we went to remove the fuse box from its cradle in the hood compartment. Exposing the sections of where the wires come into the fuse box, so we could test each individual wire in this section. We found in that area there was STILL no power. 


Negative battery Post. Needs to be removed before performing a repair such as this.

Clip for Fuse box removal this one is next to the fender.

Removing fuse box from cradle to get at the wires for the repair.

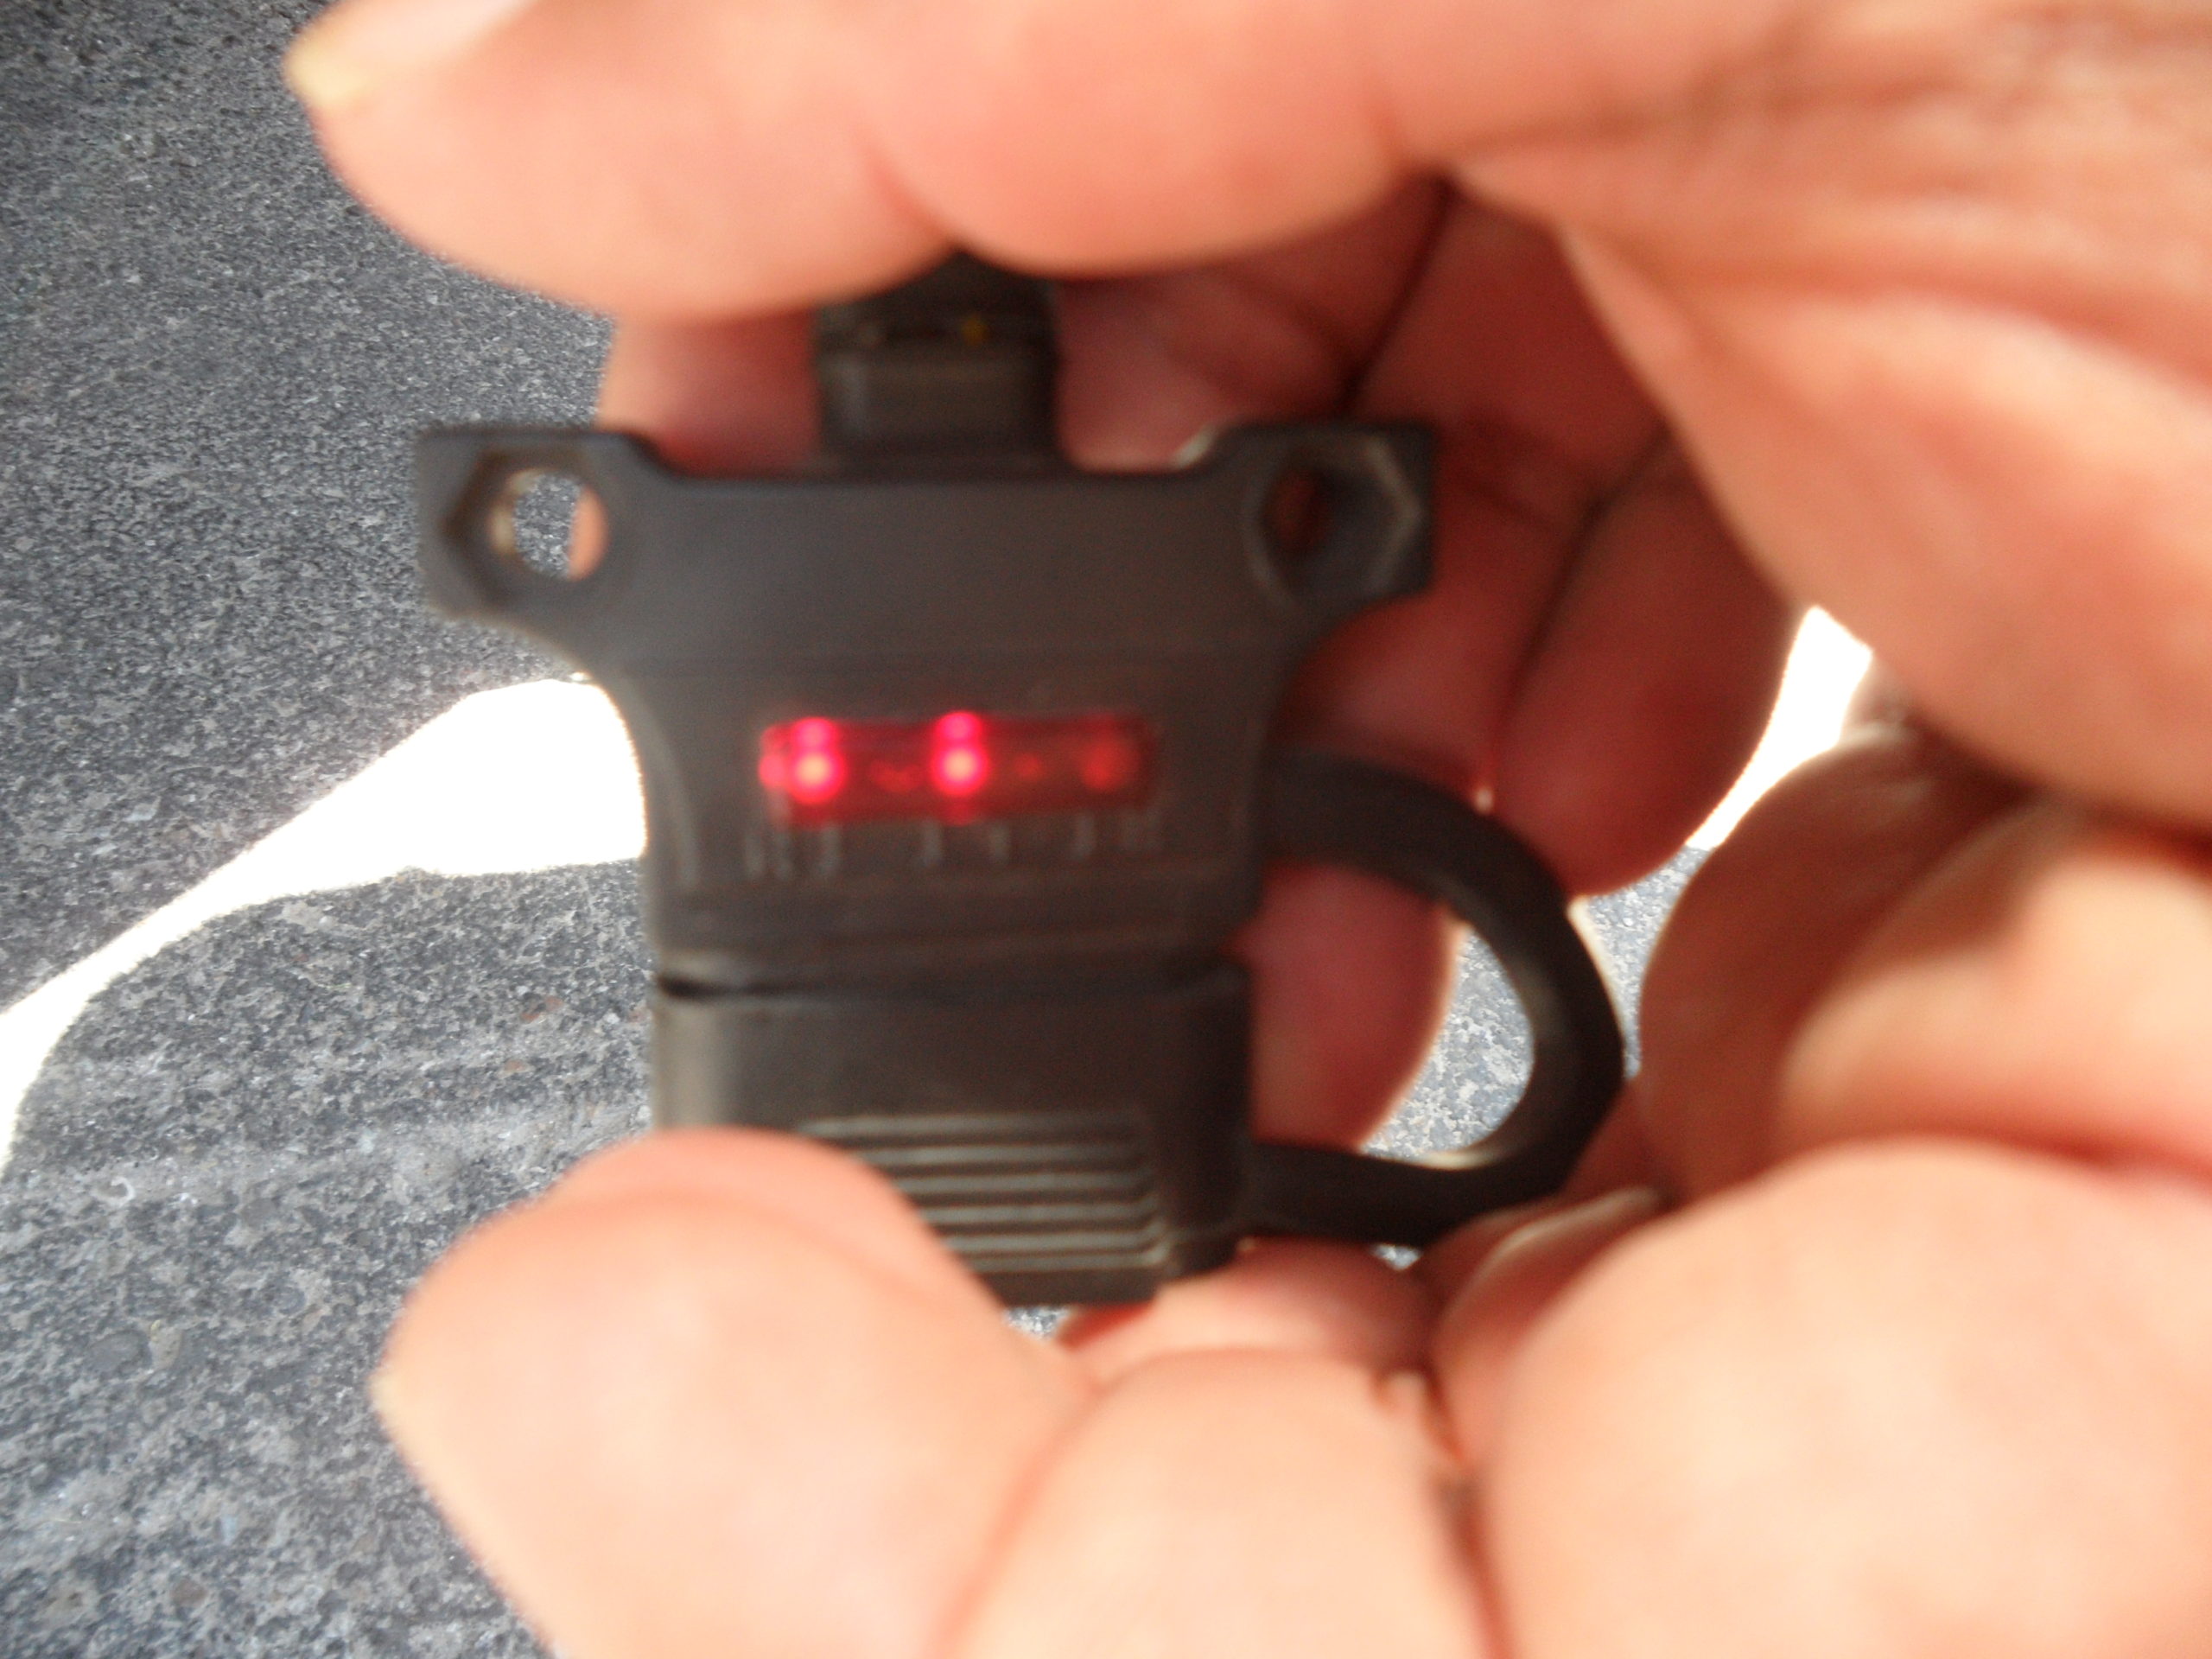
I know this picture is a little fuzzy. My main reason for showing this picture is to show that the top 3 fuses are for the trailer. 2 red & 1 in blue. And the wire replacement we did today is the fuse on the bottom and is the 10amp & in red.
So he went to the back of the truck to look at the trailer plug tester to see if there was any power being received back there. He confirmed: Nothing. So we decided to wiggle the wires in that section of our fuse box. While he was still in the back and I wiggled one wire, things started working. We found the culprit! The wire terminal had a loose connection between it and the wire connected to it.

the bad wire is light green. Here in our picture

After diagnosing this, we know now what needs to be done. I go on the hunt for the new terminal and schedule a day to work on it as soon as I find the part.
NOW, the fun begins! We have our terminal after searching at FIVE different part stores! I finally had to order it for next day delivery from one of them. For this job, I had to use an 8mm socket on a 1/4″ drive ratchet, to remove the bolt holding our plug in the bottom of the fuse box. Then the more tedious part begins extracting the terminal from the plug socket. Most people would use a terminal key to remove this, but since I didn’t have one, I used a very tiny computer circuit screwdriver to help release the fingers of this terminal from its hole. Once I start doing this I have to anticipate where the fingers are inside this hole for this terminal to remove it and doing it carefully without rounding out the hole so our new terminal will fit properly like the original.

Terminal Locks made to support the terminals from releasing from their position.
 Now my terminal didn’t come out through the back like I’d hoped it would, it came out through the front. I sat and inspected the old terminal before cutting it off from its wire. Why I did this, to match it with the new terminal and also make sure our blade fuse going back in will fit properly. Once this is done I can continue with this repair.

The Old terminal is out. But this one came out through the front instead of the bottom or rear.

Testing the lights before you close everything up so there aren’t any surprises to prevent having to tear it down again.

Reseat the fuse Box into its the cradle and reinstall all your covers.
Once I have it cut, I pull the wire through, I reinstall the new terminal and reinsert the terminal in the hole where the old one sat. Once that is done we reinstall everything backward of tearing it down. But I did not put the fuse box back in its cradle until everything tests out perfect. THEN we’re done.


