Looking at this, you see what is needed to access the Tensioner pulley. Then get the tools required for this job.
13mm socket serpentine belt tool(can rent from parts store)
pry bar 15 mm six-point socket works best
Phillips head screwdriver
3/8 drive ratchet
And a good pair of wheel chocks or 2 pieces of wood And It’s a good thought to have these in place while working on your vehicle any way you wouldn’t want your car to run away from you while your under the hood.

A pair of wood blocks would work as well. But I made these bad boys. Remember safety first.
Lucky for me this car was missing its plastic shields underneath the car. But with this car, I didn’t have to go under it to use my serpentine belt tool. It’s easier from up top anyway, even if this car had the covers on it. You need to have a flashlight to line it up or see the hole or square notch in the pulley arm.
So back to the project, you first remove the air filter box with a torq screwdriver, then a 5/16 socket for the hose clamps at the inlet, there is a clip in by the fender. BE CAREFUL here, using a flat tip screwdriver and patience! You may have to push the top of the box towards the left side or towards the driver side to get this bugger out!!! Sorry I didn’t get THAT picture. Remove the bottom section with an 8 millimeter, 1/4 inch drive socket on an extension, there is only one.

Best use a to remove this one instead of a screwdriver.


One of these bolts is just that. A bolt. The other bolt is a guide. Now the fun begins getting to the pulley. Before you remove the belt, you need to check and see if your car has a sticker for the belt routing diagram that would typically be on the radiator cover or the underside of the hood from the manufacturer.

Belt Diagram Before tackling this project be sure you have taken a picture of the belt routing or drawn a picture of it on a piece of paper. I promise it will save you a BIG headache Later.
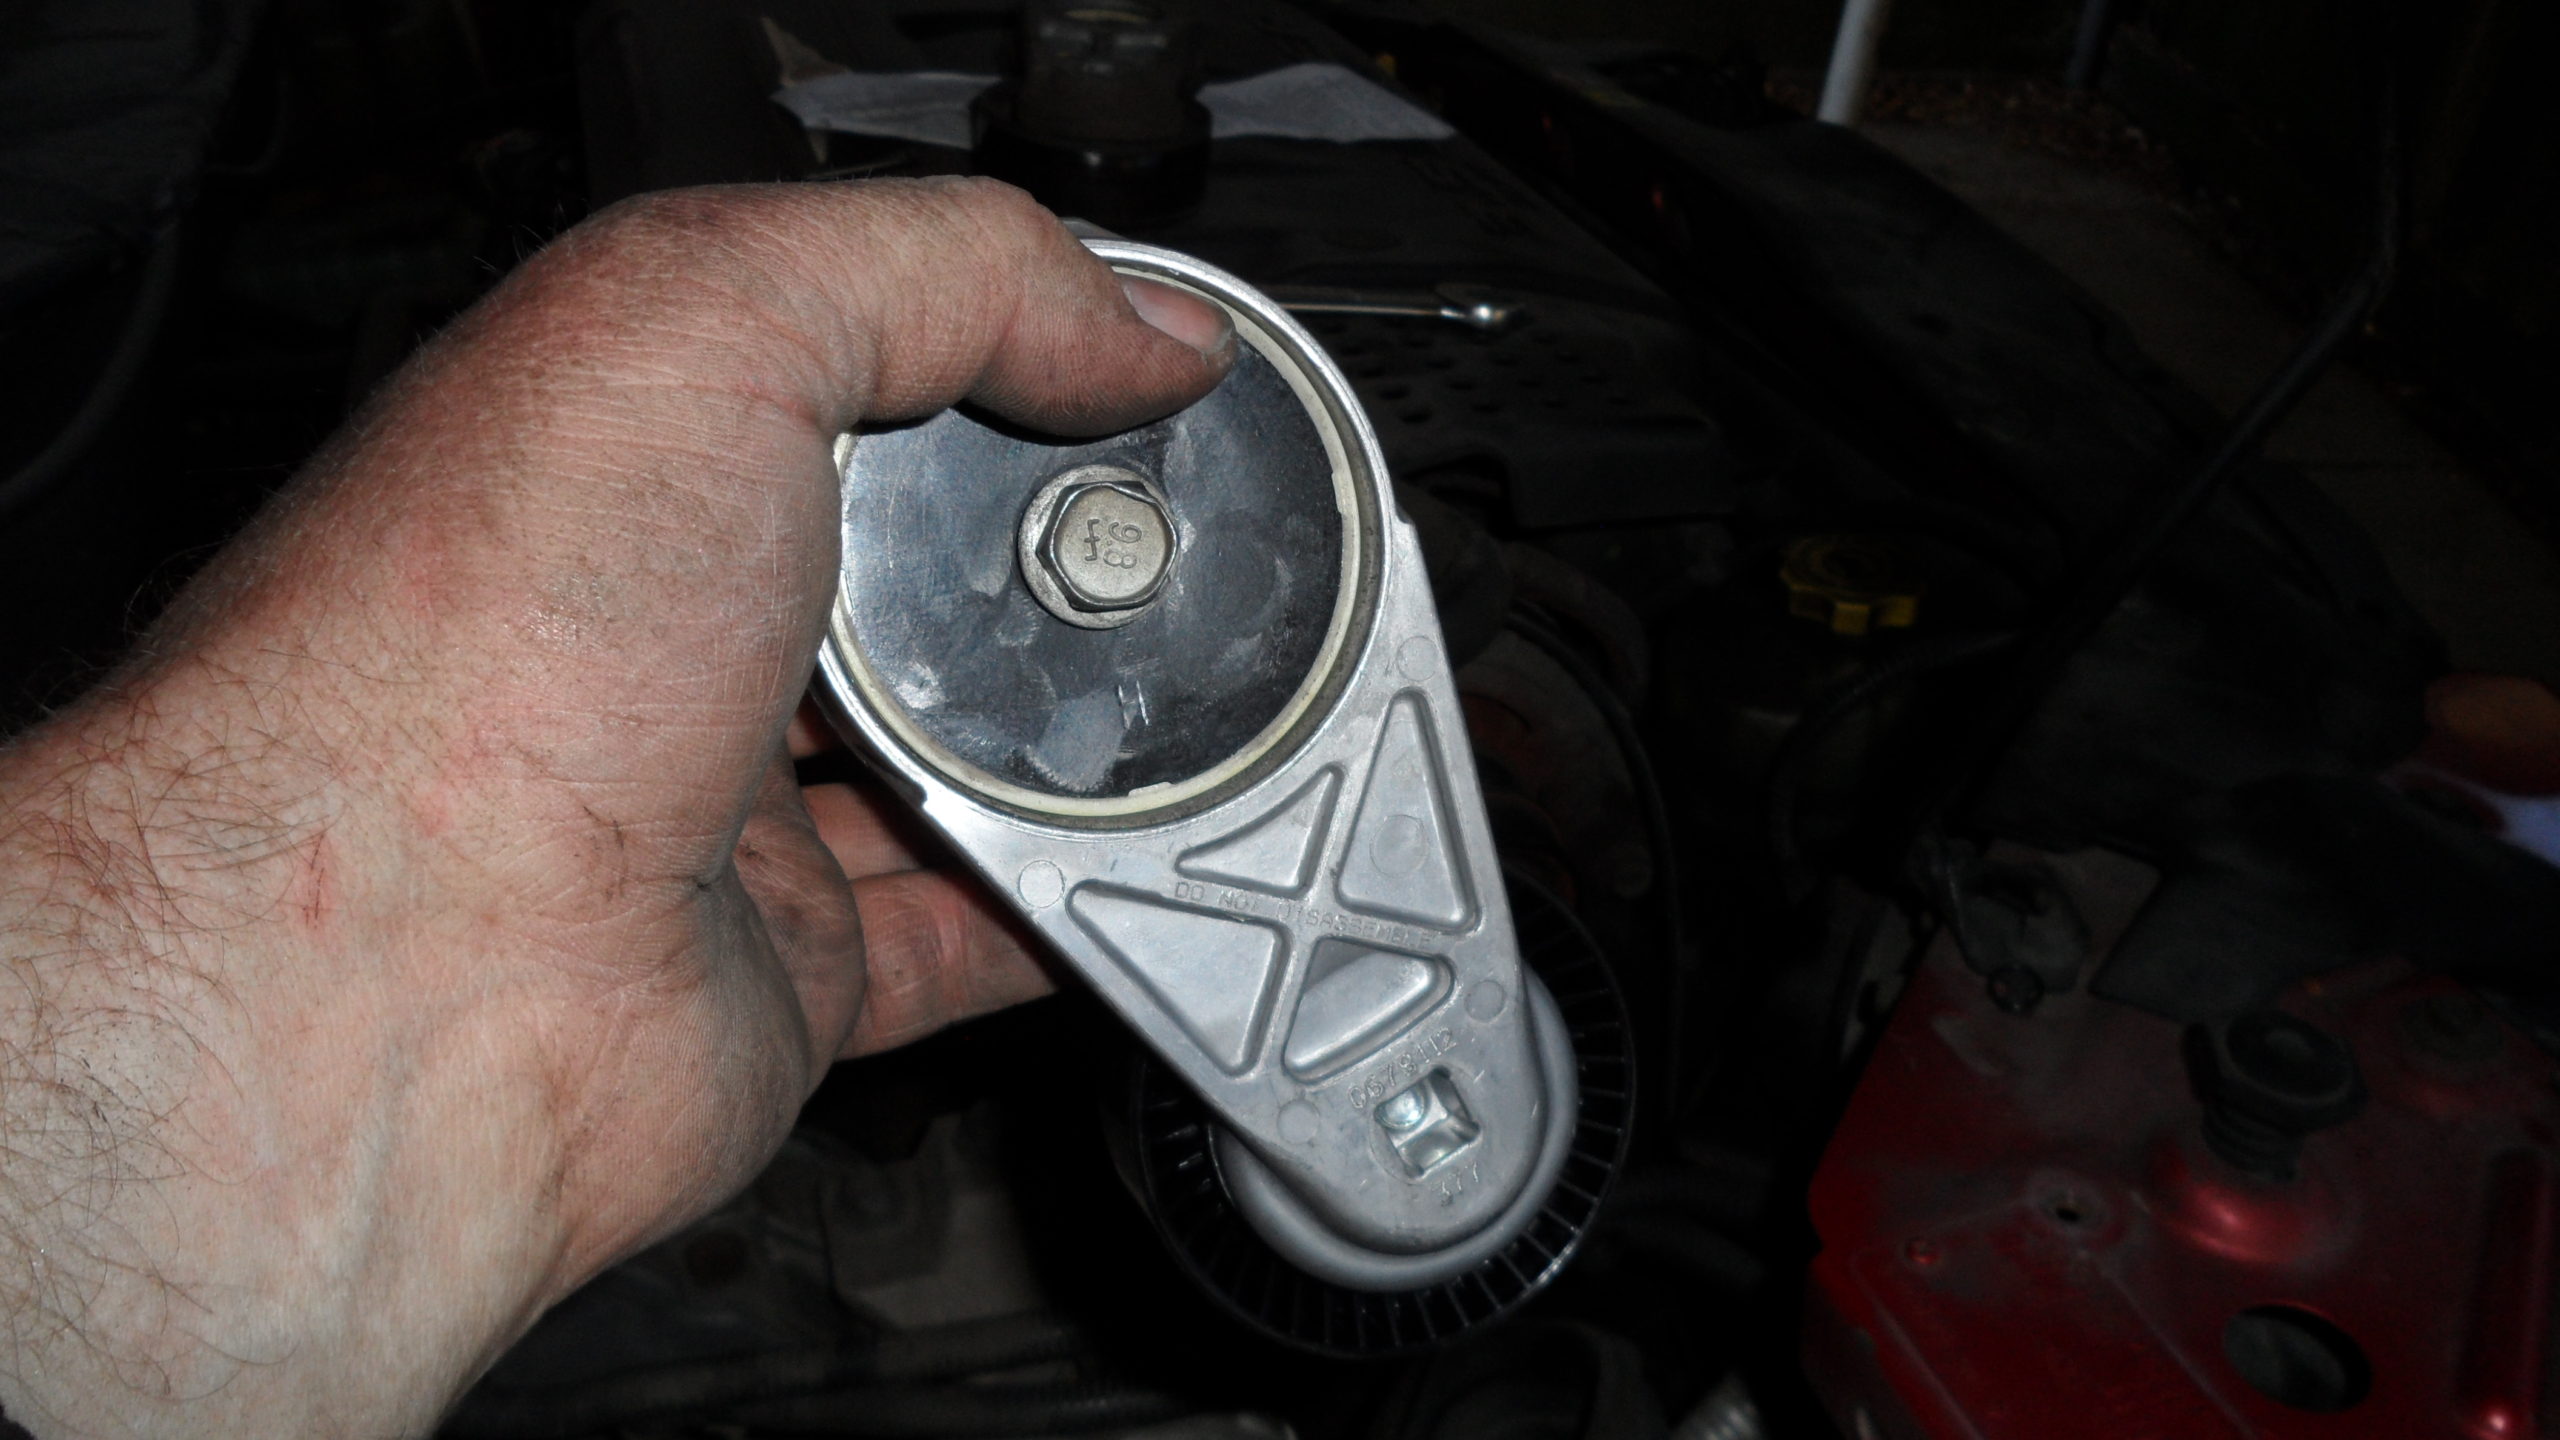
If you can’t find it you need to take pictures or draw a diagram before removing the belt so you have a guide to reference. Now, for the removal of the belt tensioner pulley. The bolt size is 15mm on my 3/8 drive ratchet. But only to break it. I used a shallow socket because I was short on space here! Darn front-wheel-drive cars! LOL! I finished with an opened ended 15 mm wrench, then finger it from there. It’s a tight space holding the pulley tight against the motor to get the bolt out, what a pain! Oh, by the way, we also replaced our belt here. It was getting pretty smooth NOW! Okay, the Tensioner pulley is out! Now in this car remember it goes on backward. You will see a little knob on one side that’s the back. This goes against the engine. As an alignment knob only.

Remember to compare your old part to your new part.

pay close attention to the knob on the new part and your old part this knob goes into the engine my bolt is in wrong. only for an example to not do.
Then once you have the pulley mounting bolt started you better start the belt behind it and watch the rest of the darn belt, it will move like a slippery snake on you!!!! If you’re not replacing your belt, just have a pry bar or long screwdriver hold it for you unless you already have the Tensioner.

This is the correct way to install this tensioner.
Anyway back to the reinstall, feed the belt under the pulley, and try to keep the tension at the same time until you’re ready to use the serpentine belt tool one last time. Yay! The part is finished!

Re-installing our tensioner and a new belt. Now looking downward our bolt isn’t all the way in and tighten down we wanted to get our belt in first while everything is still loose and we had plenty of wiggle room for our belt routing.
Checking everything one last time before starting the car to be sure it’s really finished and no extra bolts or nuts except for screws for the airbox then reinstall the box after everything checks out fine. YAY! We are finished! Victory Cruise.


