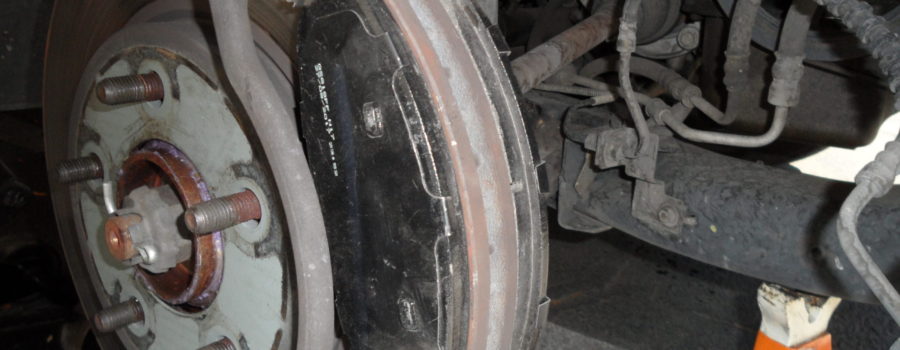
First – start out assessing if it’s front or rear brake pads needing the work. The customer assures me it’s the front because its noise is coming from the front. After my own inspection, it IS the front pads. So I prepare to jack up the front left wheel just a little bit only to loosen the lug nuts. Then once their loosened, then I brace the car with my jack stand. (On a side note, the parking lot where we live has a blacktop and whenever people use a jack stand, it sinks in and leaves a bad mark.) So I have solved this! I came up with some old wafer board from all the remodeling they’ve been doing in our complex, and resting the jack stands on them so it doesn’t sink!

Now, back to the brakes. We took out our old pads to match and use as a reference at the parts store. For now, we hung the caliper up with an old wire clothes hanger on the strut spring, just as I always do with all my brake jobs, or any other project related to doing anything with removing calipers. Then it’s off to the parts store. Now we’re back to the start where we left our Pacifica in the air! Now, I inspected the caliper before we left, and the brake lines, so if we needed to buy any brake lines while we were at the parts store we wouldn’t have to go back again! So I got started after we had our new pads so I started with throwing out the old shims and put in the new ones.
Then the pads. Now I checked the mounting lugs for the caliper and its rubber boots, so to lube them if they need it, but they were well lubed and very squishy. (Pull in and out with the to hear this) It’s also a great way to test the rubber boots. No need for the brake grease on this baby girl Chrysler! Then I compress the pistons while hanging on the strut. I used my trusty 8″ C-clamp for this and an old brake pad from this car.
REMEMBER: Don’t throw those away until you’re totally finished.
Once done with the pistons, it’s on the reinstall. First, I put on some Blue Loctite or thread locker. Then thread them in. Now looking at these pictures, this car comes with its own helper lug. If you look at it. It has 2 rounded sides and 2 flat sides! Be sure that one of these flat sides are at the bottom of the caliper.


Because otherwise, it may turn on you if it isn’t. Once you install the bolts, then your tires and lug nuts need to be torqued to 85Ft.Lbs. Then we do the same to the right side front brakes. I did get to use my new safety tool that nobody should be without! Shade tree mechanic – wheel chocks!
Use ALWAYS if a car is put up on a jack and a wheel is removed.


