
This post came to be because of a failed window motor for our ’01 Alero sedan. Then we ran into another problem while fixing the regulator. Our lower mounting points to our window have broken off from age, making us have to find a new passenger side window glass.
First I looked around the salvage yards in hopes to find a good front passenger window. I carefully inspected the window before I removed it. I checked for any cracks in the glass or deep scratches and also the mounting points on the window glass. Then I first started with my flat tip screwdriver #2 to remove some bolt covers that are on the door panel for me to access.
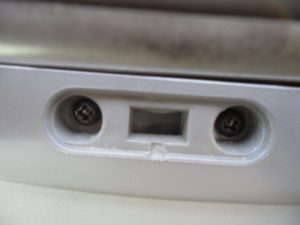
Door screw cover holding door panel on.
Screws Under door handle
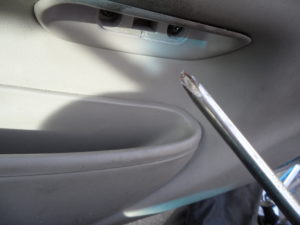
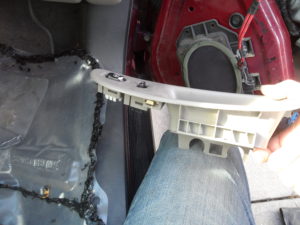
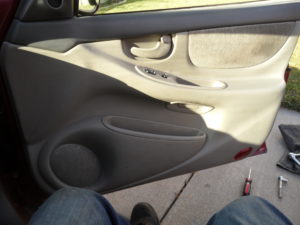
The door panel screws are next. The screws are removed with a #3 Phillips head screwdriver. So there are three screws in this door panel that need to be removed to pull this panel. Once I got those out I moved on to pulling the trim panel that contains the switches for the power window and the door locks. Here I used my flat tip screwdriver to gently lift it up and NOT FORCE it.
The screw is located under the reflector
The screw head uses a #3 screwdriver here.
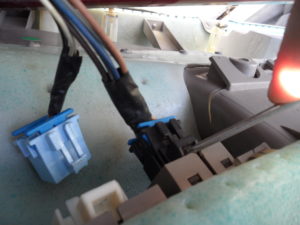
I went ahead and removed the plug connections from the window and locks. Then I removed the door panel with the flat tip screwdriver. I was careful not to pull it with much force in fear of breaking the door panel clips. Once I got the door panel loose, I just lifted it straight up by the window and it was off and out of the way!
The door switch panel removed
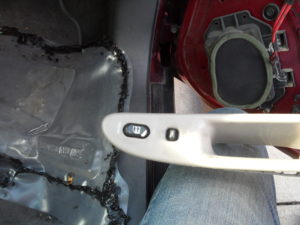
door switch panel makes removing the door panel easier.
Power switches for windows and locks
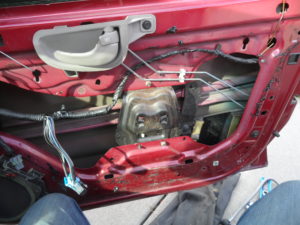
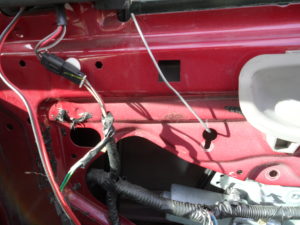
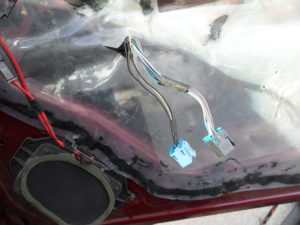
There is a sheet of clear plastic with a black “tar” like glue holding this plastic on. Just remove it and don’t lay it door side down. The next piece is held in place with three 10mm nuts.
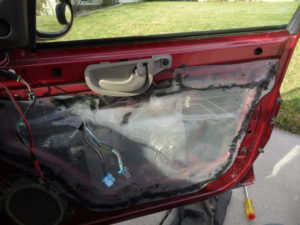
the plastic sheet needs to be removed
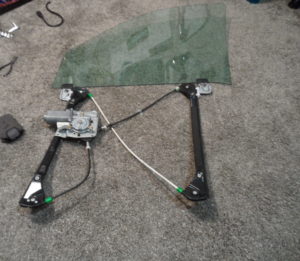
When I returned home I decided to assemble it on our carpeted floor to see how easy it is to assemble first so I wouldn’t make mistakes. Here is how I laid it out on the floor. For my reference, it’s simplified so it will be a quicker installation. I learned a new trick recently from a fellow mechanic who told me if I soak the plastic retaining clips in hot water before installation they would have a better chance of not cracking – WHICH – is EXACTLY what happened the last time I installed this particular side years ago.
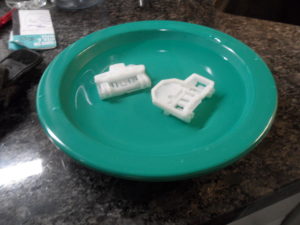
Soaking our window retaining clips in Hot Water.
I soaked them for 15 mins, changing the water to keep it hot every 5 mins. to increase their longevity. Now onto installing our clips to our mounting brackets. Make sure which mounting bracket goes to the right mounting points on the window. Make sure they are going in the right direction as per the window regulator cable.
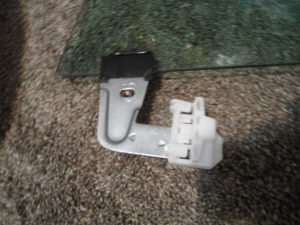
A test fit is how I did it making sure for proper placement. Front of the window!
Test fit. Rear!
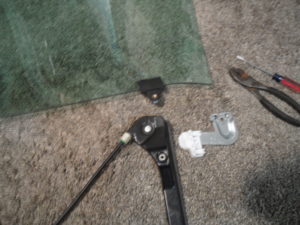
The lineup of each part.
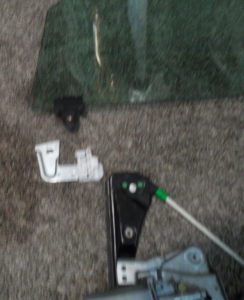
making each part work together
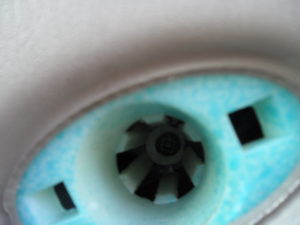
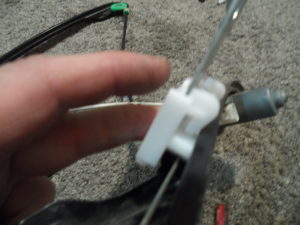
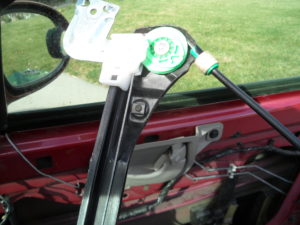
There is a lead stud on your window regulator and these cables are driven by your motor. You have to match the right lead stud with the correct clip and mounting plate. If not done in the correct direction you will have to take everything apart and start over! Once it is in the right direction I installed my clips to the cable stud with a pair of pliers and snaped them in easily. Then snap the clips just over the edge of the rail of the regulator.
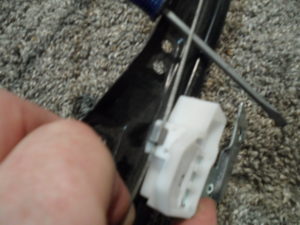
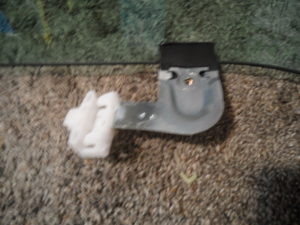
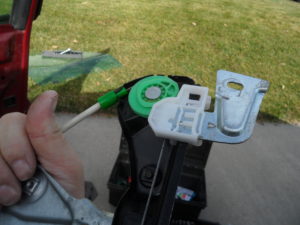
Moving onto our clip match and lead slug install lift your cable with our screwdriver as a help till the cable and clip are connected
Lead slug and cable connection.
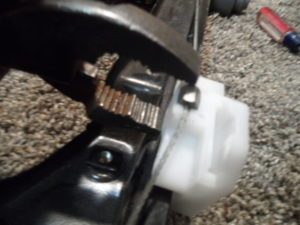
Flipping the clip into the rail until it locks in a working position.
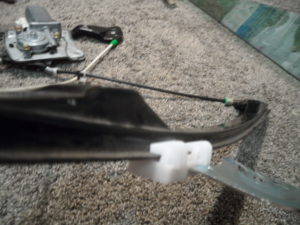
Flipped into position on its rail for install
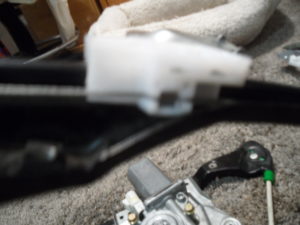
Now move to the other clip
As you see in the pictures, I laid it down with the window and bolt it to the bottom of it gives me an idea of what it will look like finished. Now to physically install it into our door. First, we remove our panel by removing 3 screws and the door trim holding the power window switch and door lock.
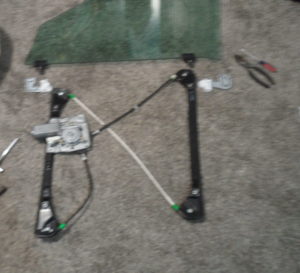
Test fitting it all before install
All together now to install into my car
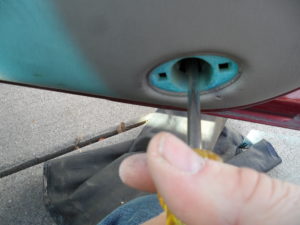
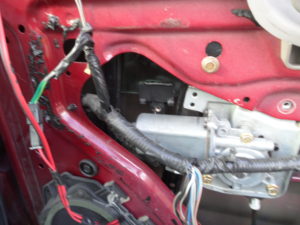
To do this I use my screwdriver. Once it’s up I gently remove the plug-in connections. I can now gently remove the rest of the door panel and the plastic sheet. Then I remove my wire coat hanger holding up our old window. But hold on to your window so it won’t break inside your door. Once that is done I gently remove the old window through the top, set it off to the side, then grab the new glass. Insert it in the door. I hung it back up with my wire coat hanger then I install the regulator.
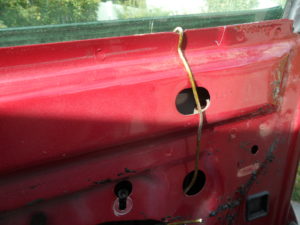
Wire coat hangers I use mostly for some of my repairs work well here.
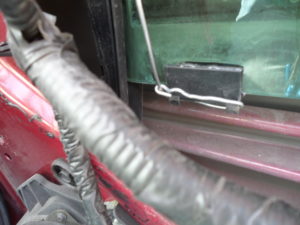
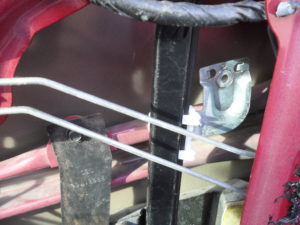
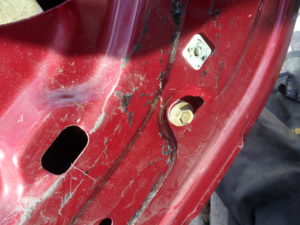
Window base mounts are broken off. So I wrapped my coat hanger wire around them just till I buy a new window.
Coat Hanger wire is used here just holding up our windows at its base.
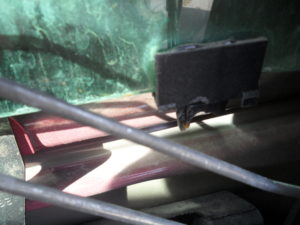
Here is a little trick I thought I’d try, I plugged in the power to my window regulator and I rolled it down halfway and then released my window glass and brought it down to meet the window regulator to bolt it up together. Hoping this would make it easier to access the bolts and steady the window. Once I tighten up the bolts for the regulator. Then I can test it while the panel is still off to see if everything runs smoothly without any hiccups. Our test comes out with a green light we can reinstall everything in reverse of the disassembly! Once we’re finished with all that fun pat yourself on the back and enjoy a job well done.
New clip
New clip

The window regulator is like folding a piece of paper. Easy to fold for re-install in the door.
Rear mount

Front mount
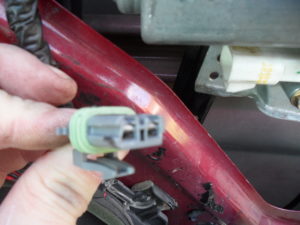
the plug for the power window motor.
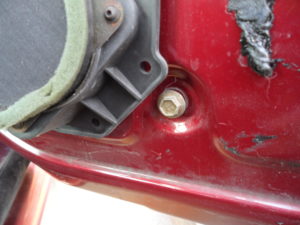
Regulator mounting bolt
Mounting bolt#2
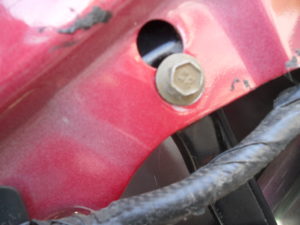
Mounting bolt #3 plus motor
Mounting bolt #4
Replace the door plastic before the panel
Be sure your wires are out for your switches
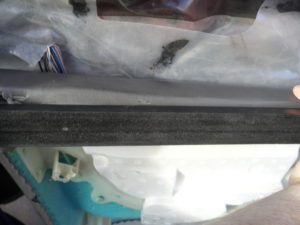
Replace your door and window molding with the door panel
Finish line A wonderful job done right.

And using only the most simple tools most of us have in our house draws.
a successful power window & window replacement too.


