For this project, I had to replace the thermostat housing on our old ’66 Chevy C-10 pickup because the original one had some bad pitting in it from old age and rust from the many years it has been on this truck with its original engine.
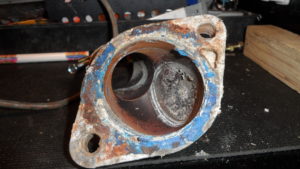
I noticed this leak after the vehicle had been warmed up. It would leak coolant where the hose connects to it. The hose and clamps were new at the time of installation. I diagnosed it as being the pits on the housing itself. I picked up another housing from a salvage yard that was in better shape.
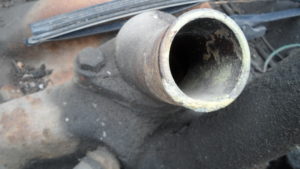
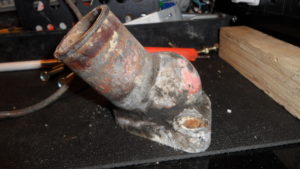
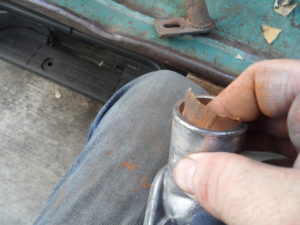
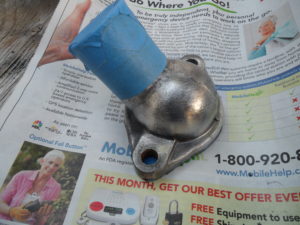
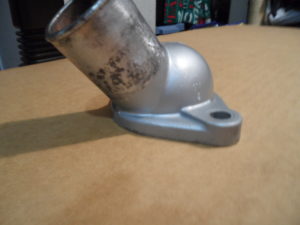
thermostat from salvage yard still on junkyard truck
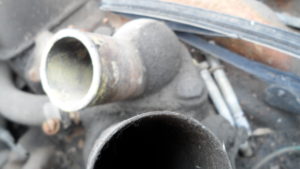
Needs cleaning!
So I will clean that one up and pray it performs better after it’s been cleaned up.
The tools I used for this project is as follows:
1) A medium grit wire wheel attachment
2) My bench vice
3) 80-grit sandpaper
4) A good pair of mechanics gloves
5) Any masking tape on hand will work
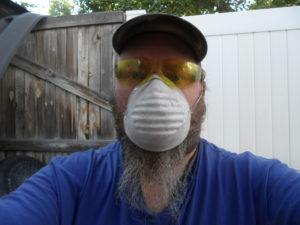
6) A PPE dust mask
7) A spray can of engine enamel (aluminum)
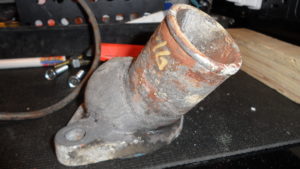
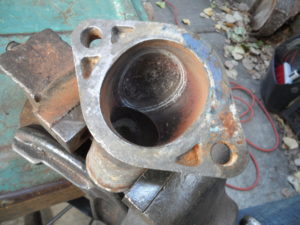
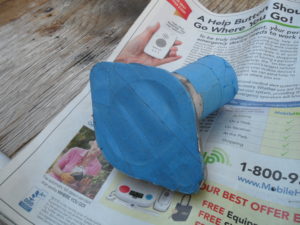
Next, I locked my bench vice onto my work table and inserted my housing into it. Then I got the wire wheel ready to go and started stripping all the gunk off my housing. Go at it slow with only the weight of the drill on the outsides where the drill can get to.
Cleaning the mounting base is tender. Don’t clean it with a razor blade or a knife. Or a file you might Nike it and it won’t seal to your intake manifold. Be gentle with this using a wire wheel or a detail brush like brass, or a soft metal brush is fine here.

Now on the inside of the housing, I had to use my fingers and sandpaper to get at those small areas and be patient because it is a long process and after all, it is a labor of love for my little Chevy.
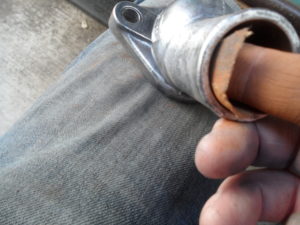
I not only used sandpaper on the inside I also used it on our outside to clean the area where the hose connects to hopefully minimize any pitting where it connects to the housing.
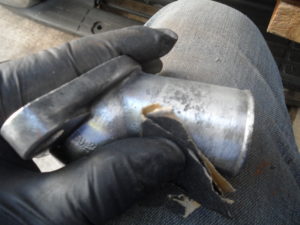
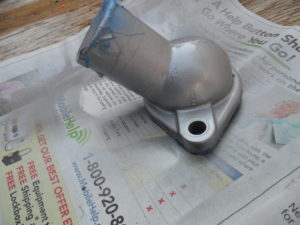
After using the wire wheel. We finish with the 80 grit sandpaper to work out some of our pits.
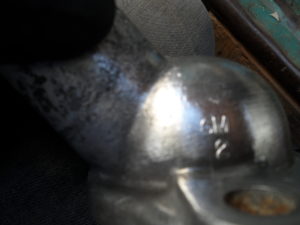
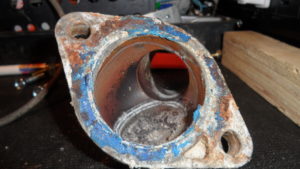
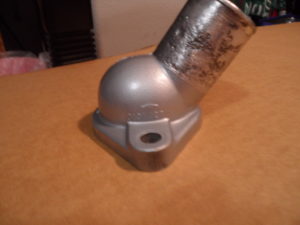
Original GM stamping
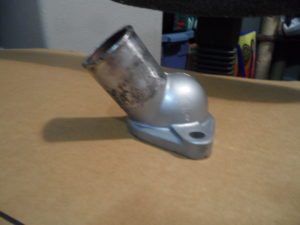
What I’m shooting for is to make sure I get all the rust spots out so it looks brand new. Like N.O.S. stock appearance!
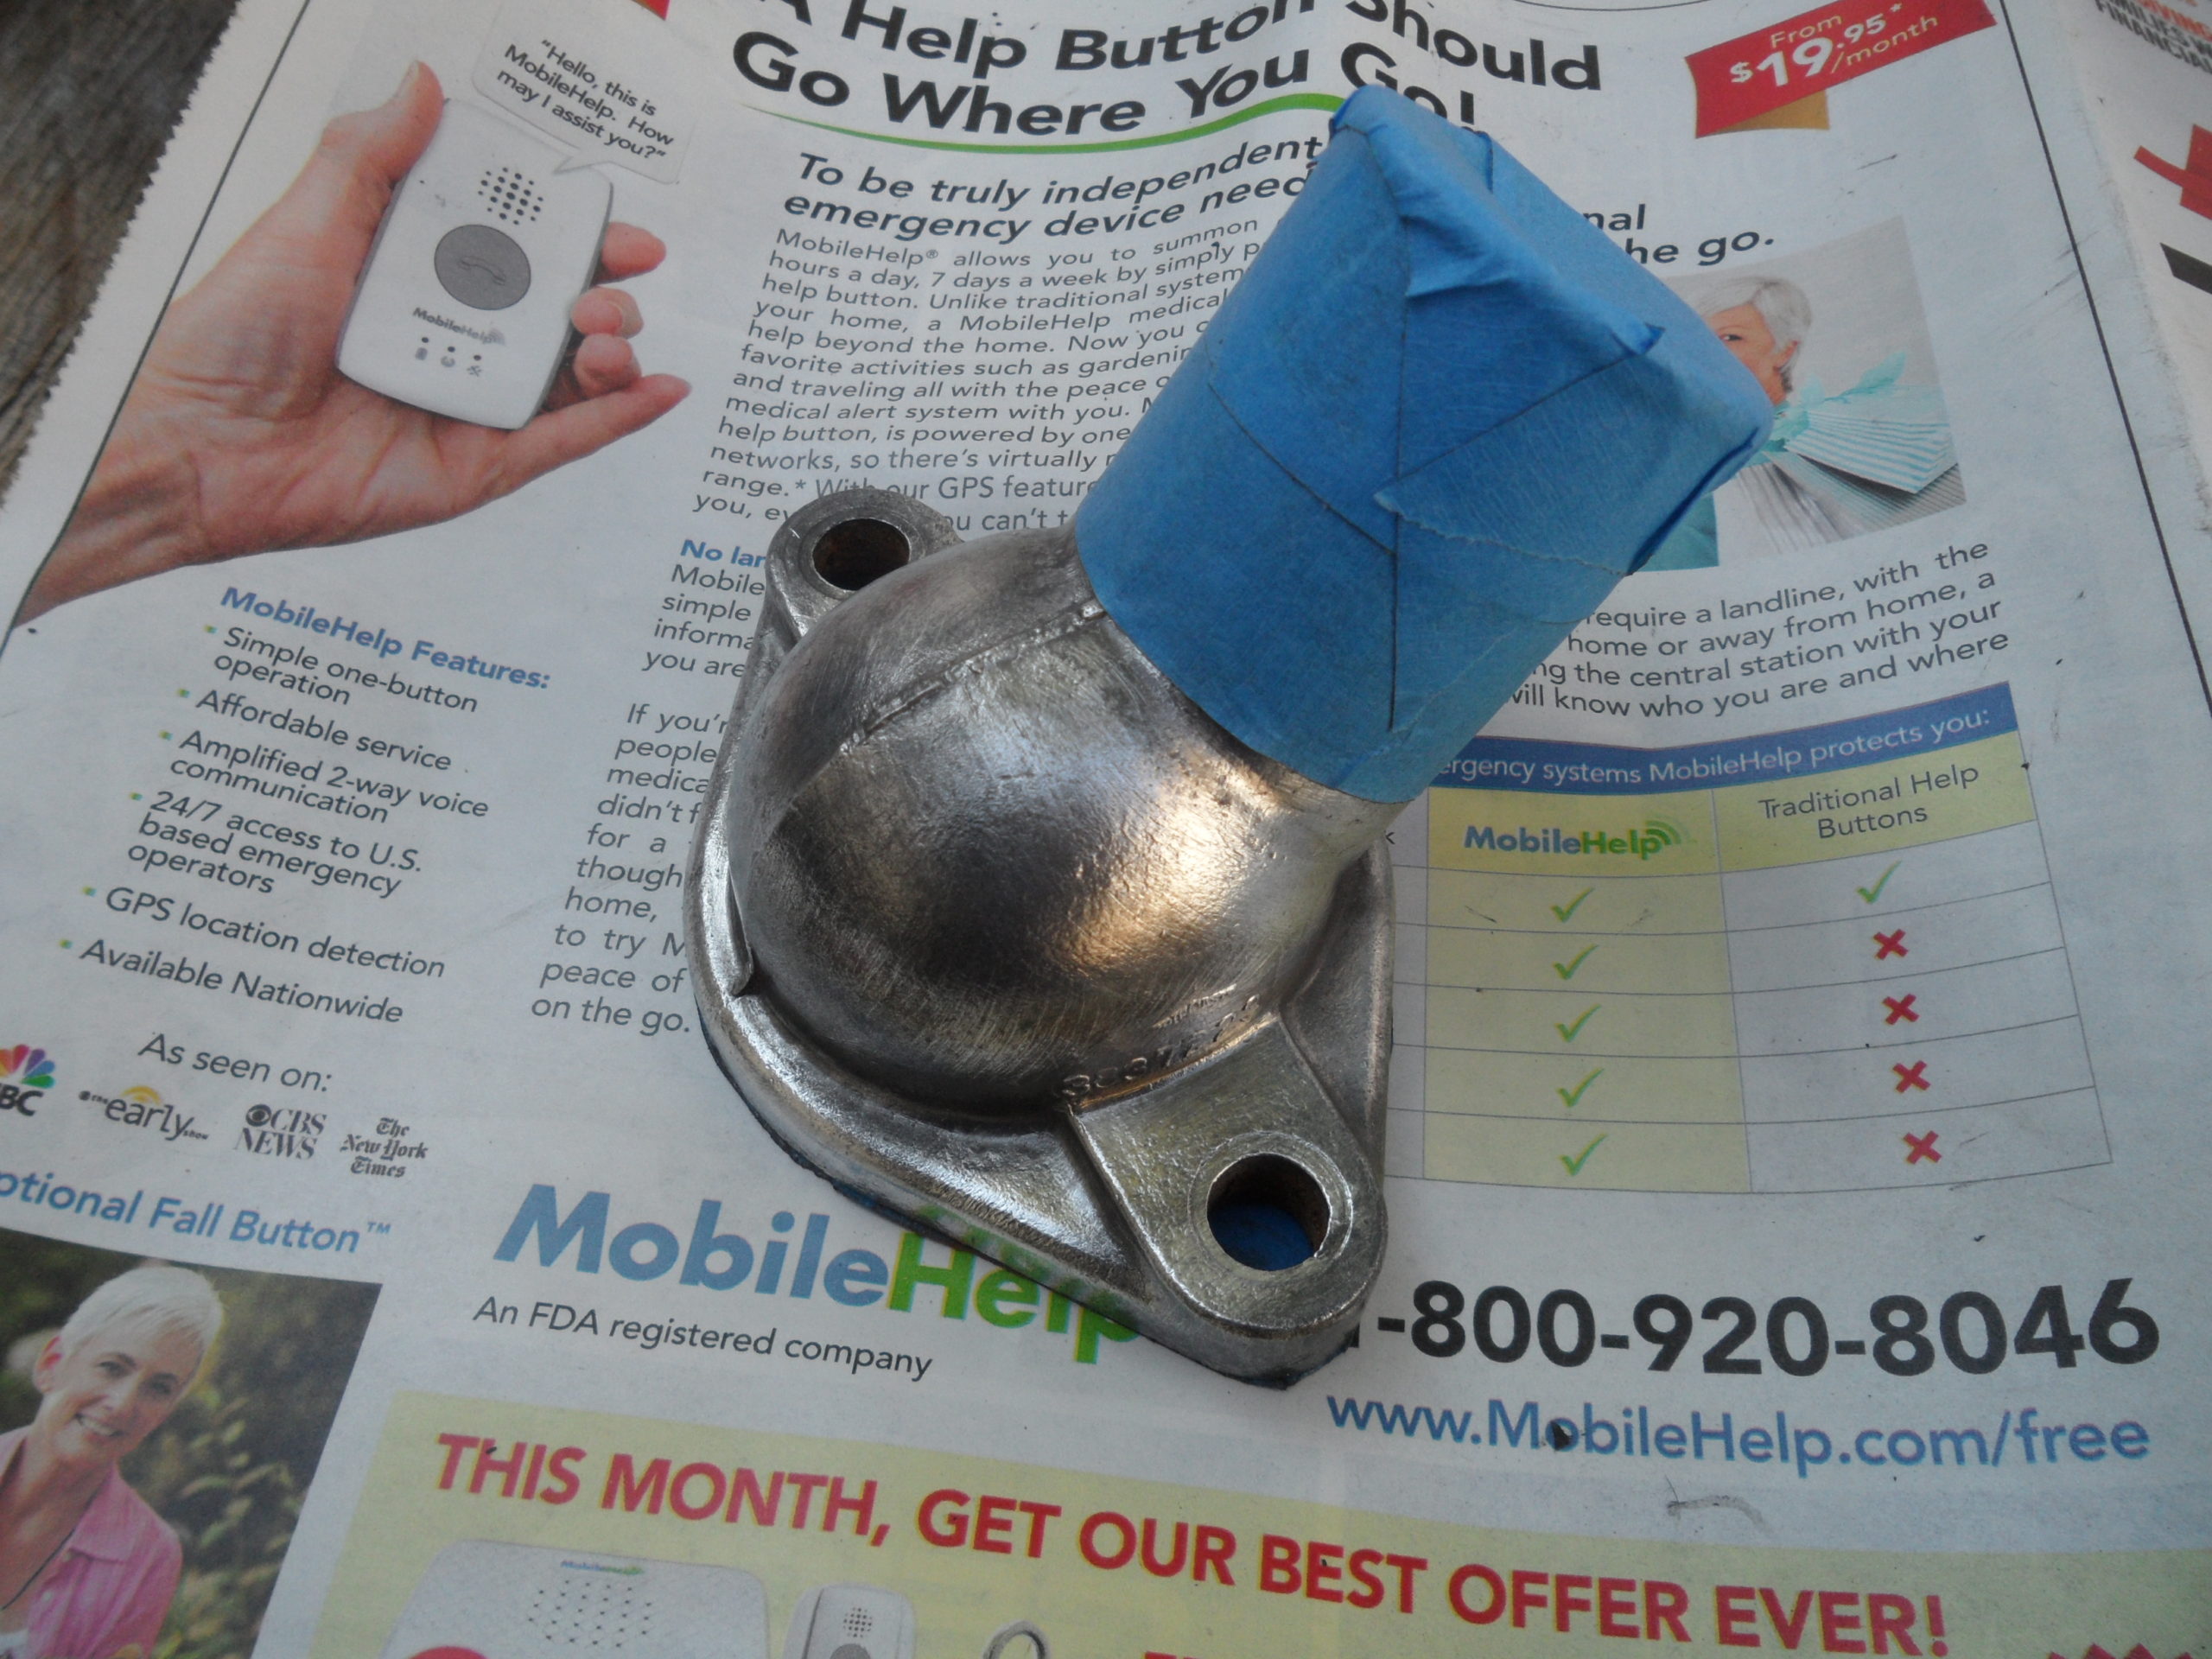
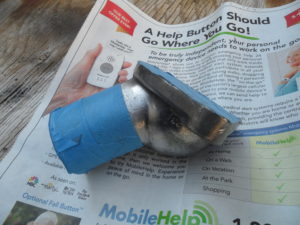
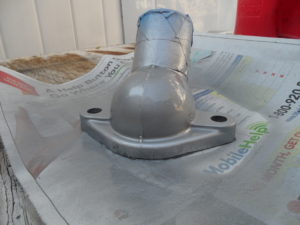
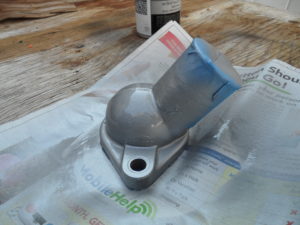
Once I was satisfied with the looks of it after all the cleaning I wiped it down with a wet cloth or paper towel and dried it with another towel. Then it’s ready to be taped off at the inlet of the housing to prepare to paint. Then I put down some newspaper for a clean surface to spray paint the housing.

When spray painting an item, you do light even sprays at a distance of six to eight inches from the item you’re spraying. This will give you the best results and better the chances of your paint NOT running.
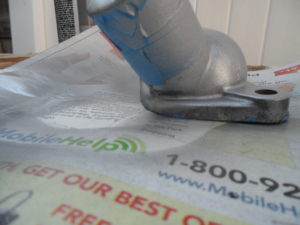
I waited about 45 mins then I checked the paint to be sure it was dry. The results look excellent! We have done away with the pitting problem. The excitement of installing and not having to see a leak again.
We are looking AWESOME!!!
A fine part.
A better part
A lot better
This is the fun part! Checking for leaks and guess what?! No more leak and I get to drive my truck again! YAY!!!


