When starting this project, I had no idea that I was going to need the strength of Super Man to get the lug nuts off because the owner of this truck put them on so tight because he’s had it come off once and he didn’t BOTHER to advise me of this problem before starting this job. So he and I both wrestled these four lug nuts because one was already stripped out and gone. I slapped the owner for not mentioning it to me before! (Good thing he is also a friend, otherwise, He wouldn’t have got away with it!)

Hard Lug Nuts to Get off. I choose to use an old-style X-wrench.

My homemade wheel chokes. You should ALWAYS use wheel blocks or a board or rock when you are using a jack to raise ANY Corner of the Vehicle.
After finally getting them off, I started on the front left wheel and he went over and started on the right front. So I had to move my jack over to the right front wheel because he started taking lug nuts off before the jack was even over there.

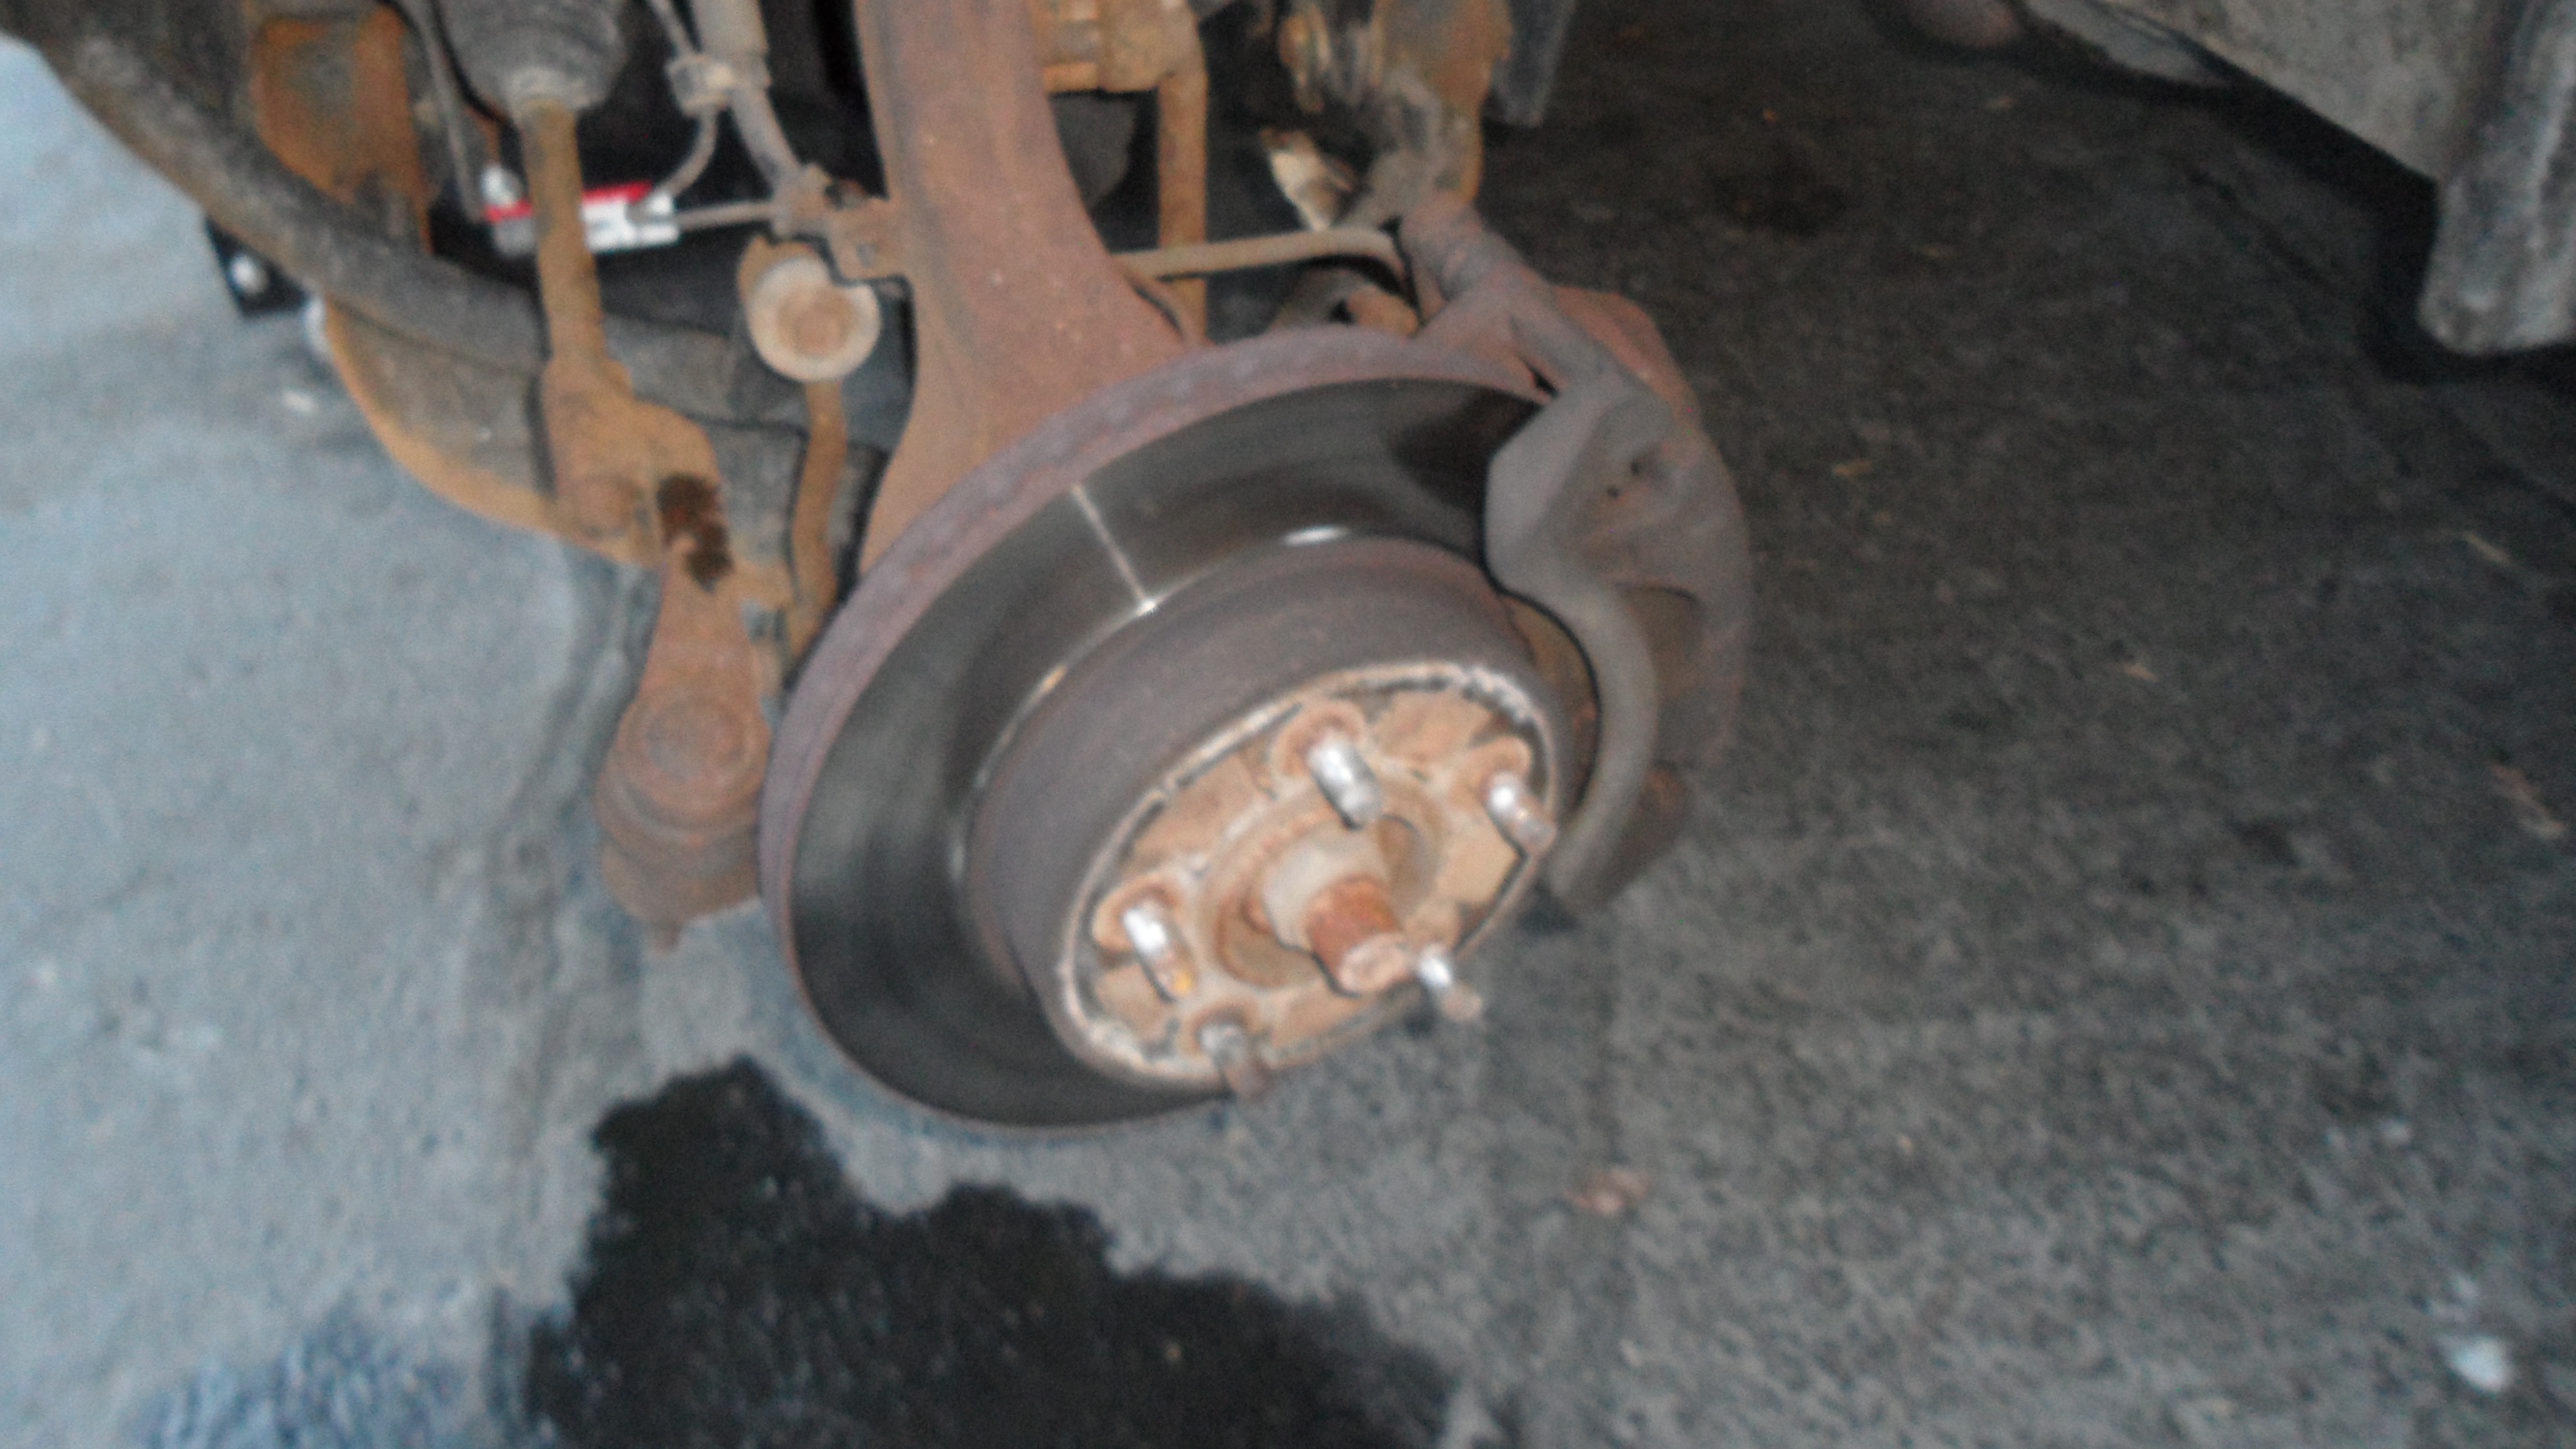
Left Front Wheel After taking the wheel off.
I suspect another slap is coming. Once he had his wheel off he got his tools out, I went back to my left front wheel and started tearing the caliper off and the bolts were on there VERY tight. Once I had them off, the brake pad shims were missing for this wheel, I am so grateful I have been doing this so it would be done right.
As a result, of the other two shims not being at the top, It caused the pads to wear faster and wear on the rotor even harder. So I went over to the right side to see how the owner is fairing and from what I could see, his side had all four shims and not as much wear on the pads and rotor.

I went back to my wheel, I continue to finish what I started. These shims are tiny, and I looked closely to see how the original shims came out so I could put the new ones in the same way.

Brake Pad is almost steel on steel.

Compressing the Caliper piston with my 6-inch C-clamp. Also using an old brake Pad between the piston and the pad with C-clamp.

Getting into position to compress the piston with my 6-inch C-clamp.
If the shims had come out separately from the pads you would have to feel the area where it sits these shims fit into to know exactly how they fit in because these shims have a high side and a low side and they only fit in one way. So be patient otherwise your pads won’t slide in so easily.

Be sure you have your jack stands in a secure spot. Before you remove your jack or tires


We would have put grease on the caliper bolts but the rubber boots were in such perfect shape there was no need for lube on these mounting bolts so all I needed to do was compress the piston with a C-clamp while it was hanging from my coat hanger on the strut. Then I put Permatex Thread lock-tite on the mounting bolts for the caliper and I torque it down to 65ft. lbs. Reinstall the tire and I’m done on the left side!

The Back Side Of the Brake Caliper After Installation shows the dust cap is still on this Jeep.

Blue Permatex Lock-tite is used here as required by All manufacturers.

Job Complete.
Then I go over to see how the owner is doing on the right side of the vehicle and of course, all he needs is help finish putting in one of the shims while he argues with me that it’s not going in right. (Another slap!) I put it in for him then the back pad was finally put in. I showed him how to compress the piston with the C-clamp and one of the old brake pads while I was looking over his shoulder. I gave him the thread lock to put on the caliper bolts and had him torque it down 65ft.lbs., reinstall the tire and we were done!


