• Home
  • Tips & Tricks
  • 1966 Chevy
  • About me
  • Contact
Inspired Love for CarsInspired Love for Cars
  • Home
  • Tips & Tricks
  • 1966 Chevy
  • About me
  • Contact
Fixing old tool boxes so they may move them easier.

Fixing old tool boxes so they may move them easier.

May 27, 2020 Tips & Tricks


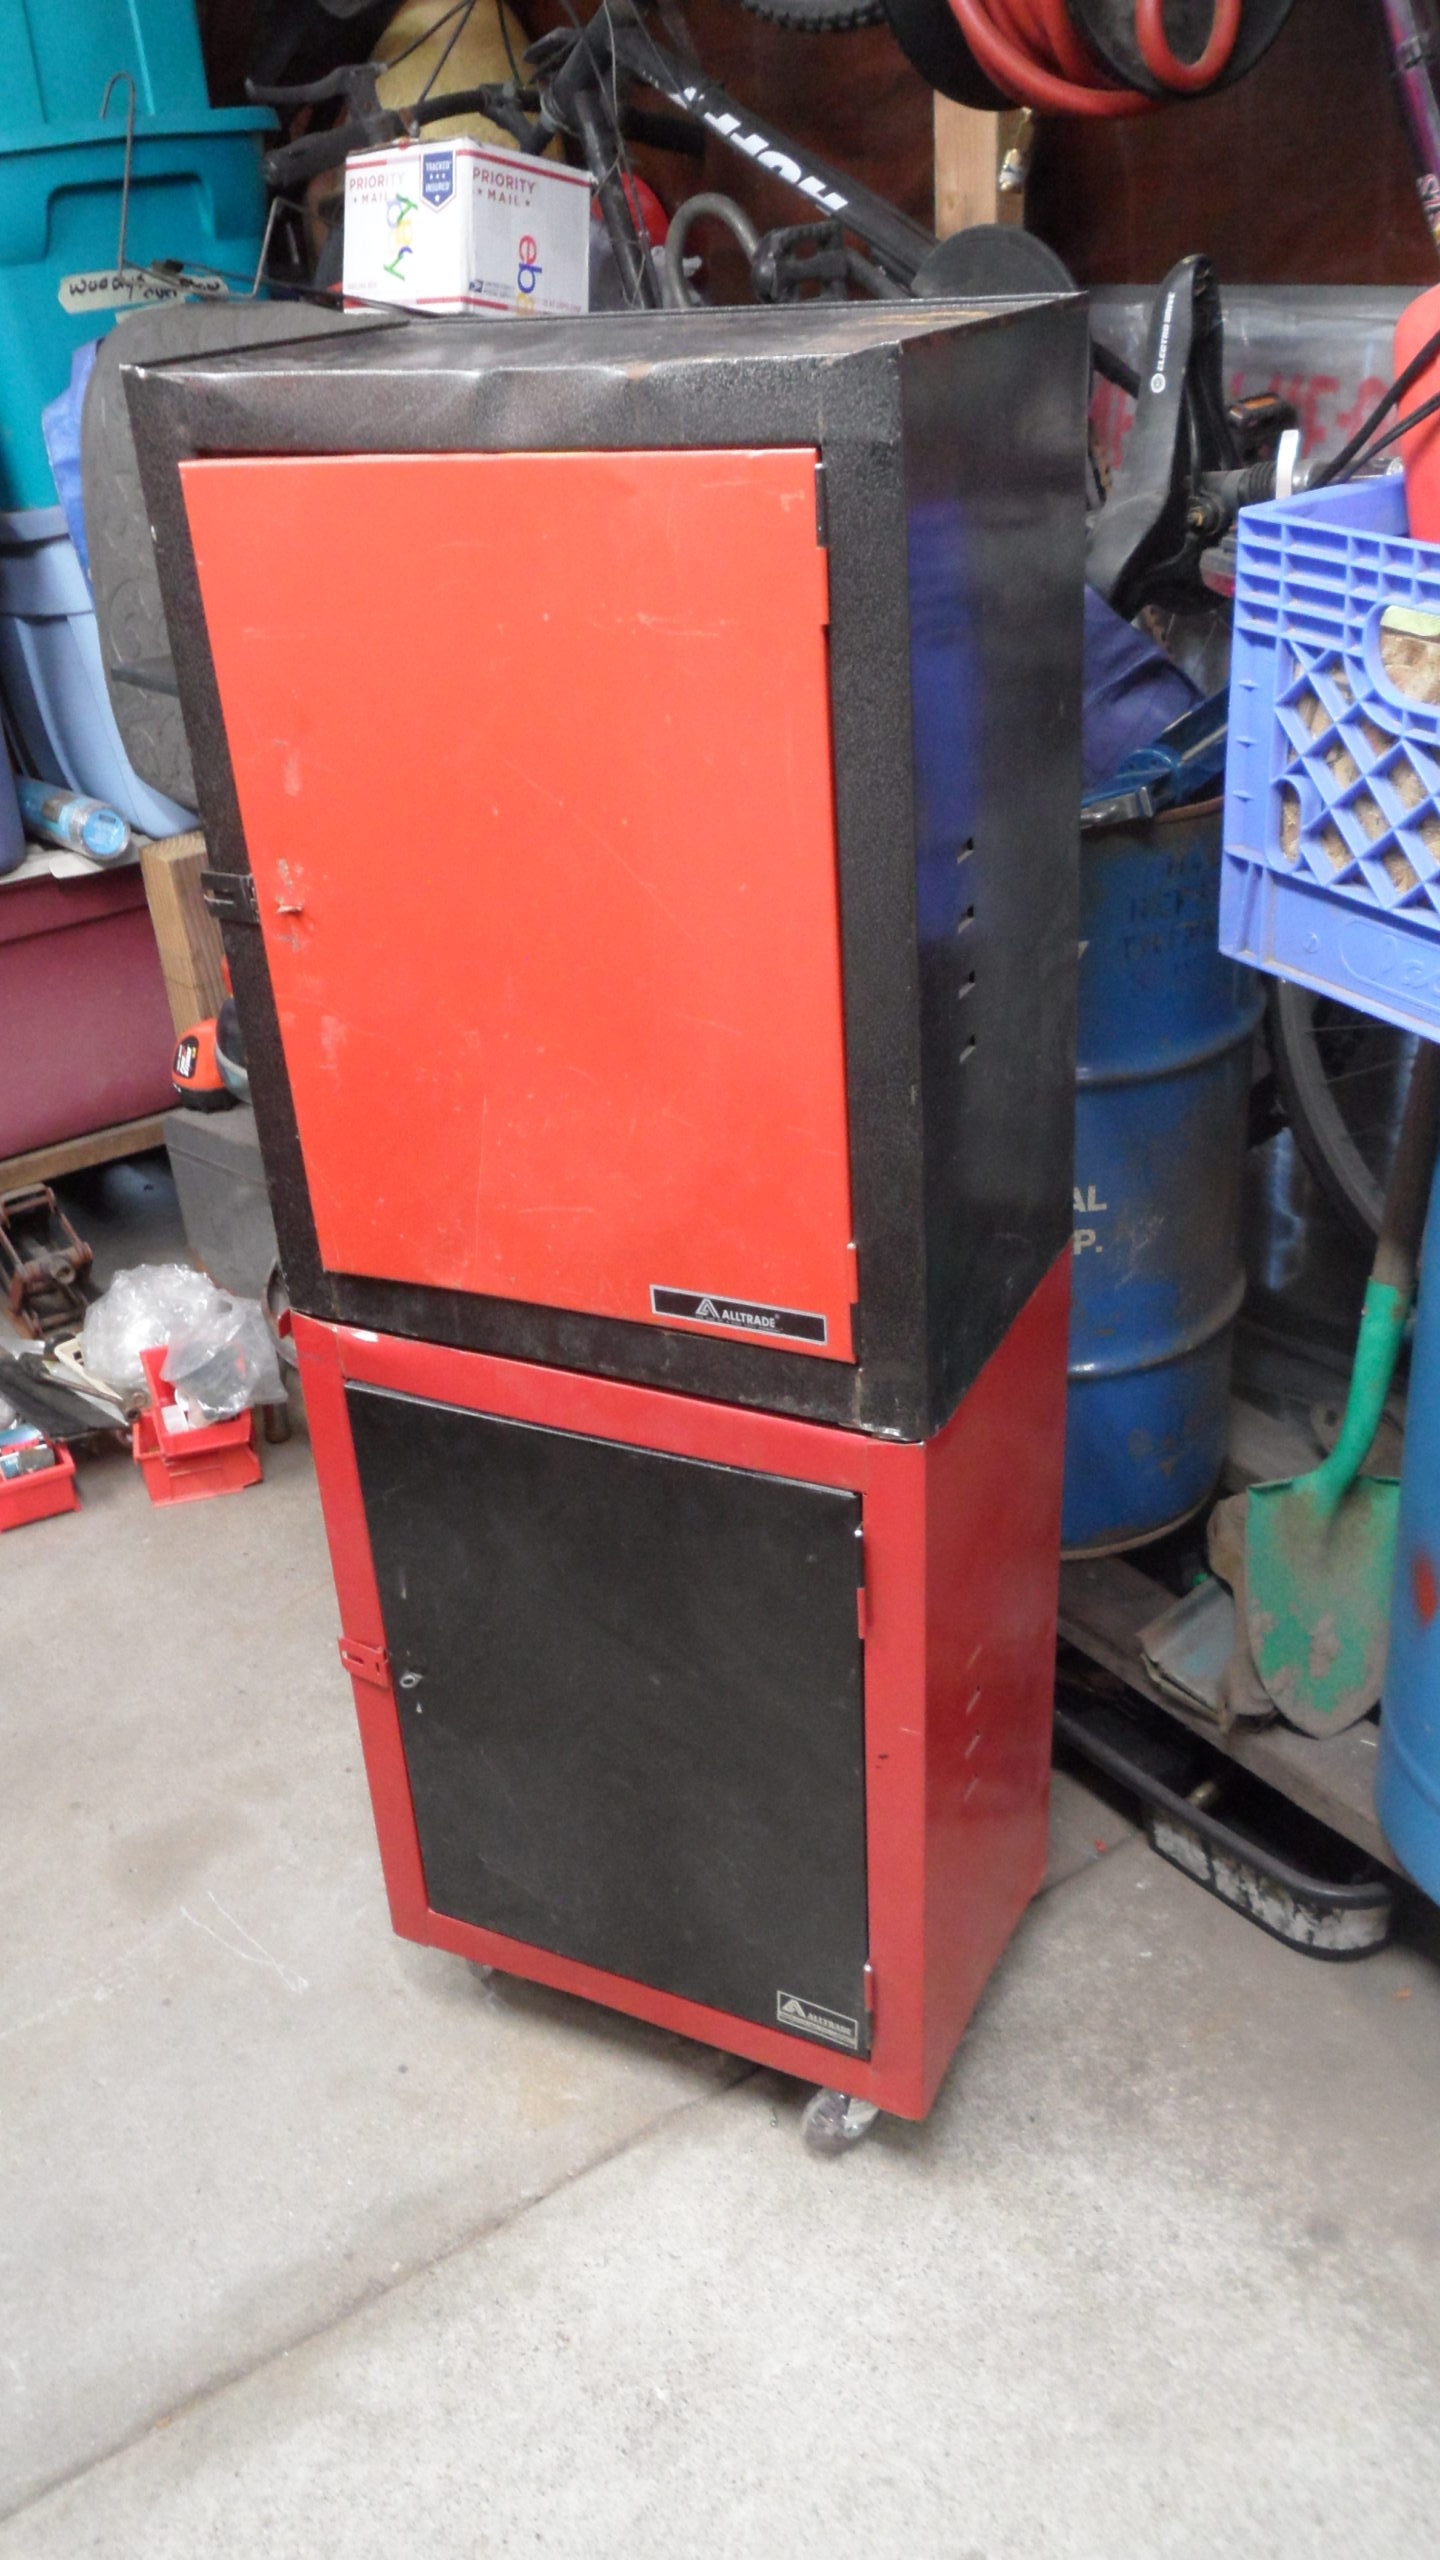
I was fortunate enough to score two of these neat little vintage toolboxes at an estate sale for $4 each! I was super excited to get them home. With my limited amount of space on my patio, I chose to stack them on top of each other. Eventually, they became very heavy and I started having problems when I needed to move them around my patio. The bottom wheels were not moving well with all the added weight and they would start tipping over so I decided to reinforce them and put larger wheels with ball-bearings in them to make it easier to move them around on my patio.


First I started with 1 1/2 by 1 1/2 inch piece of steel box iron a neighbor gave to me he had leftover from a tour bus he was stripping down. If I didn’t happen to have the box iron I could’ve used a couple of solid pieces of 2 x 4 wood. They also would have worked well with this project, be resourceful, and use what you got!


I emptied my toolboxes of all of their contents and get them on their back and do some measuring to see how much steel I needed to fit into the floor of each toolbox. Once this was done, I started drilling holes to mount them to the toolbox floors.

Once I got the 3/16th inch metal screws in and tightened down for each box ( these screws came with the box iron that I got from my neighbor) then the next step was to drill mounting holes with a 7/16th inch drill bit to mount the two boxes together.  I used four 3/8ths inch bolt and nut combo and the bolt was about 3 inches long so it could make it through both boxes and the box iron with washers at both top and bottom of the bolt and nut.                                                                                                                


Now the next step is just adding the holes in the bottom toolbox so I can finally install my new heavy-duty wheels! Vintage renewed!!!! Now it rolls around like a dream. Ball-bearing wheels saved the day.                                                                                      

Share
52

You also might be interested in

Reverse Lights ’66 Chevy on the cheap!

Reverse Lights ’66 Chevy on the cheap!

Aug 23, 2018

How to Restore Classic Reverse Lights on the Cheap Like[...]

2001 Oldsmobile Alero Brake Pads and Rotors

2001 Oldsmobile Alero Brake Pads and Rotors

Aug 27, 2018

My wife’s Lil’ Olds brakes needed work! They were making[...]

’66 Chevy Battery Tray
Battery tray from my 1966 Chevy C-10

’66 Chevy Battery Tray

Aug 29, 2018

Well, I did this battery tray because it was in[...]

Hi, I’m Woody.

I love everything and anything to do with cars, trucks, tools, and mechanics or restoration work! I can help you fix and restore vehicles with minimal cost,  but with solid results.

Latest Posts

  • Door handle replacement 2001 Toyota Corolla
  • Headlight repair for GM ’99 to ’06 full size truck & SUV
  • ’99 to ’05 Chevy full size trucks: Antenna replacement
  • Misfire Trouble Shooting ’99-04 GM Trucks (Part 2)
  • Misfire Trouble Shooting ’99-04 GM Trucks

Categories

  • 1966 Chevy
  • Other car stuff
  • Prevenative maintenance
  • Repairs – general automotive
  • Shade Tree Mechanics
  • Tips & Tricks
  • Uncategorized

Contact Us

Send me a message and I'll get back to you, asap.

Send Message

© 2025 · Inspired Love For Cars.

Prev Next