Working on a 2006 Trailblazer that has been giving the owner multiple codes, but these codes could not be read until the truck had been running after it warmed up in the day. Or somedays she couldn’t even get ANY signs of life in this truck. But most of her problems would only happen in the early AM hours. One day the owner looked some info on what her truck was doing on the internet. Someone suggested putting a little electric heater by the PCM (Powertrain Control Module). So she tried it and it worked! 
After discovered this we now have a much better idea of how to go forward. So we started going to junkyards close by and looking for Trailblazers with exactly the same PCM for her specific engine. She found a couple of different ones and put them in herself but they didn’t work. I asked a good mechanic friend if he had any idea where to get a new PCM unit that wouldn’t cost an arm and a leg. He sent us to a company named Flagship1.com. 

Once we got the new PCM delivered I was able to get to her Trailblazer to put it back in. We found out there was a KEY PROCEDURE instruction for installation that comes with the new PCM that helps you to go through and help the PCM and ECM recognize each other. If you don’t have the Key Procedure then this whole job of changing the unit is totally worthless. The truck still would not work! 
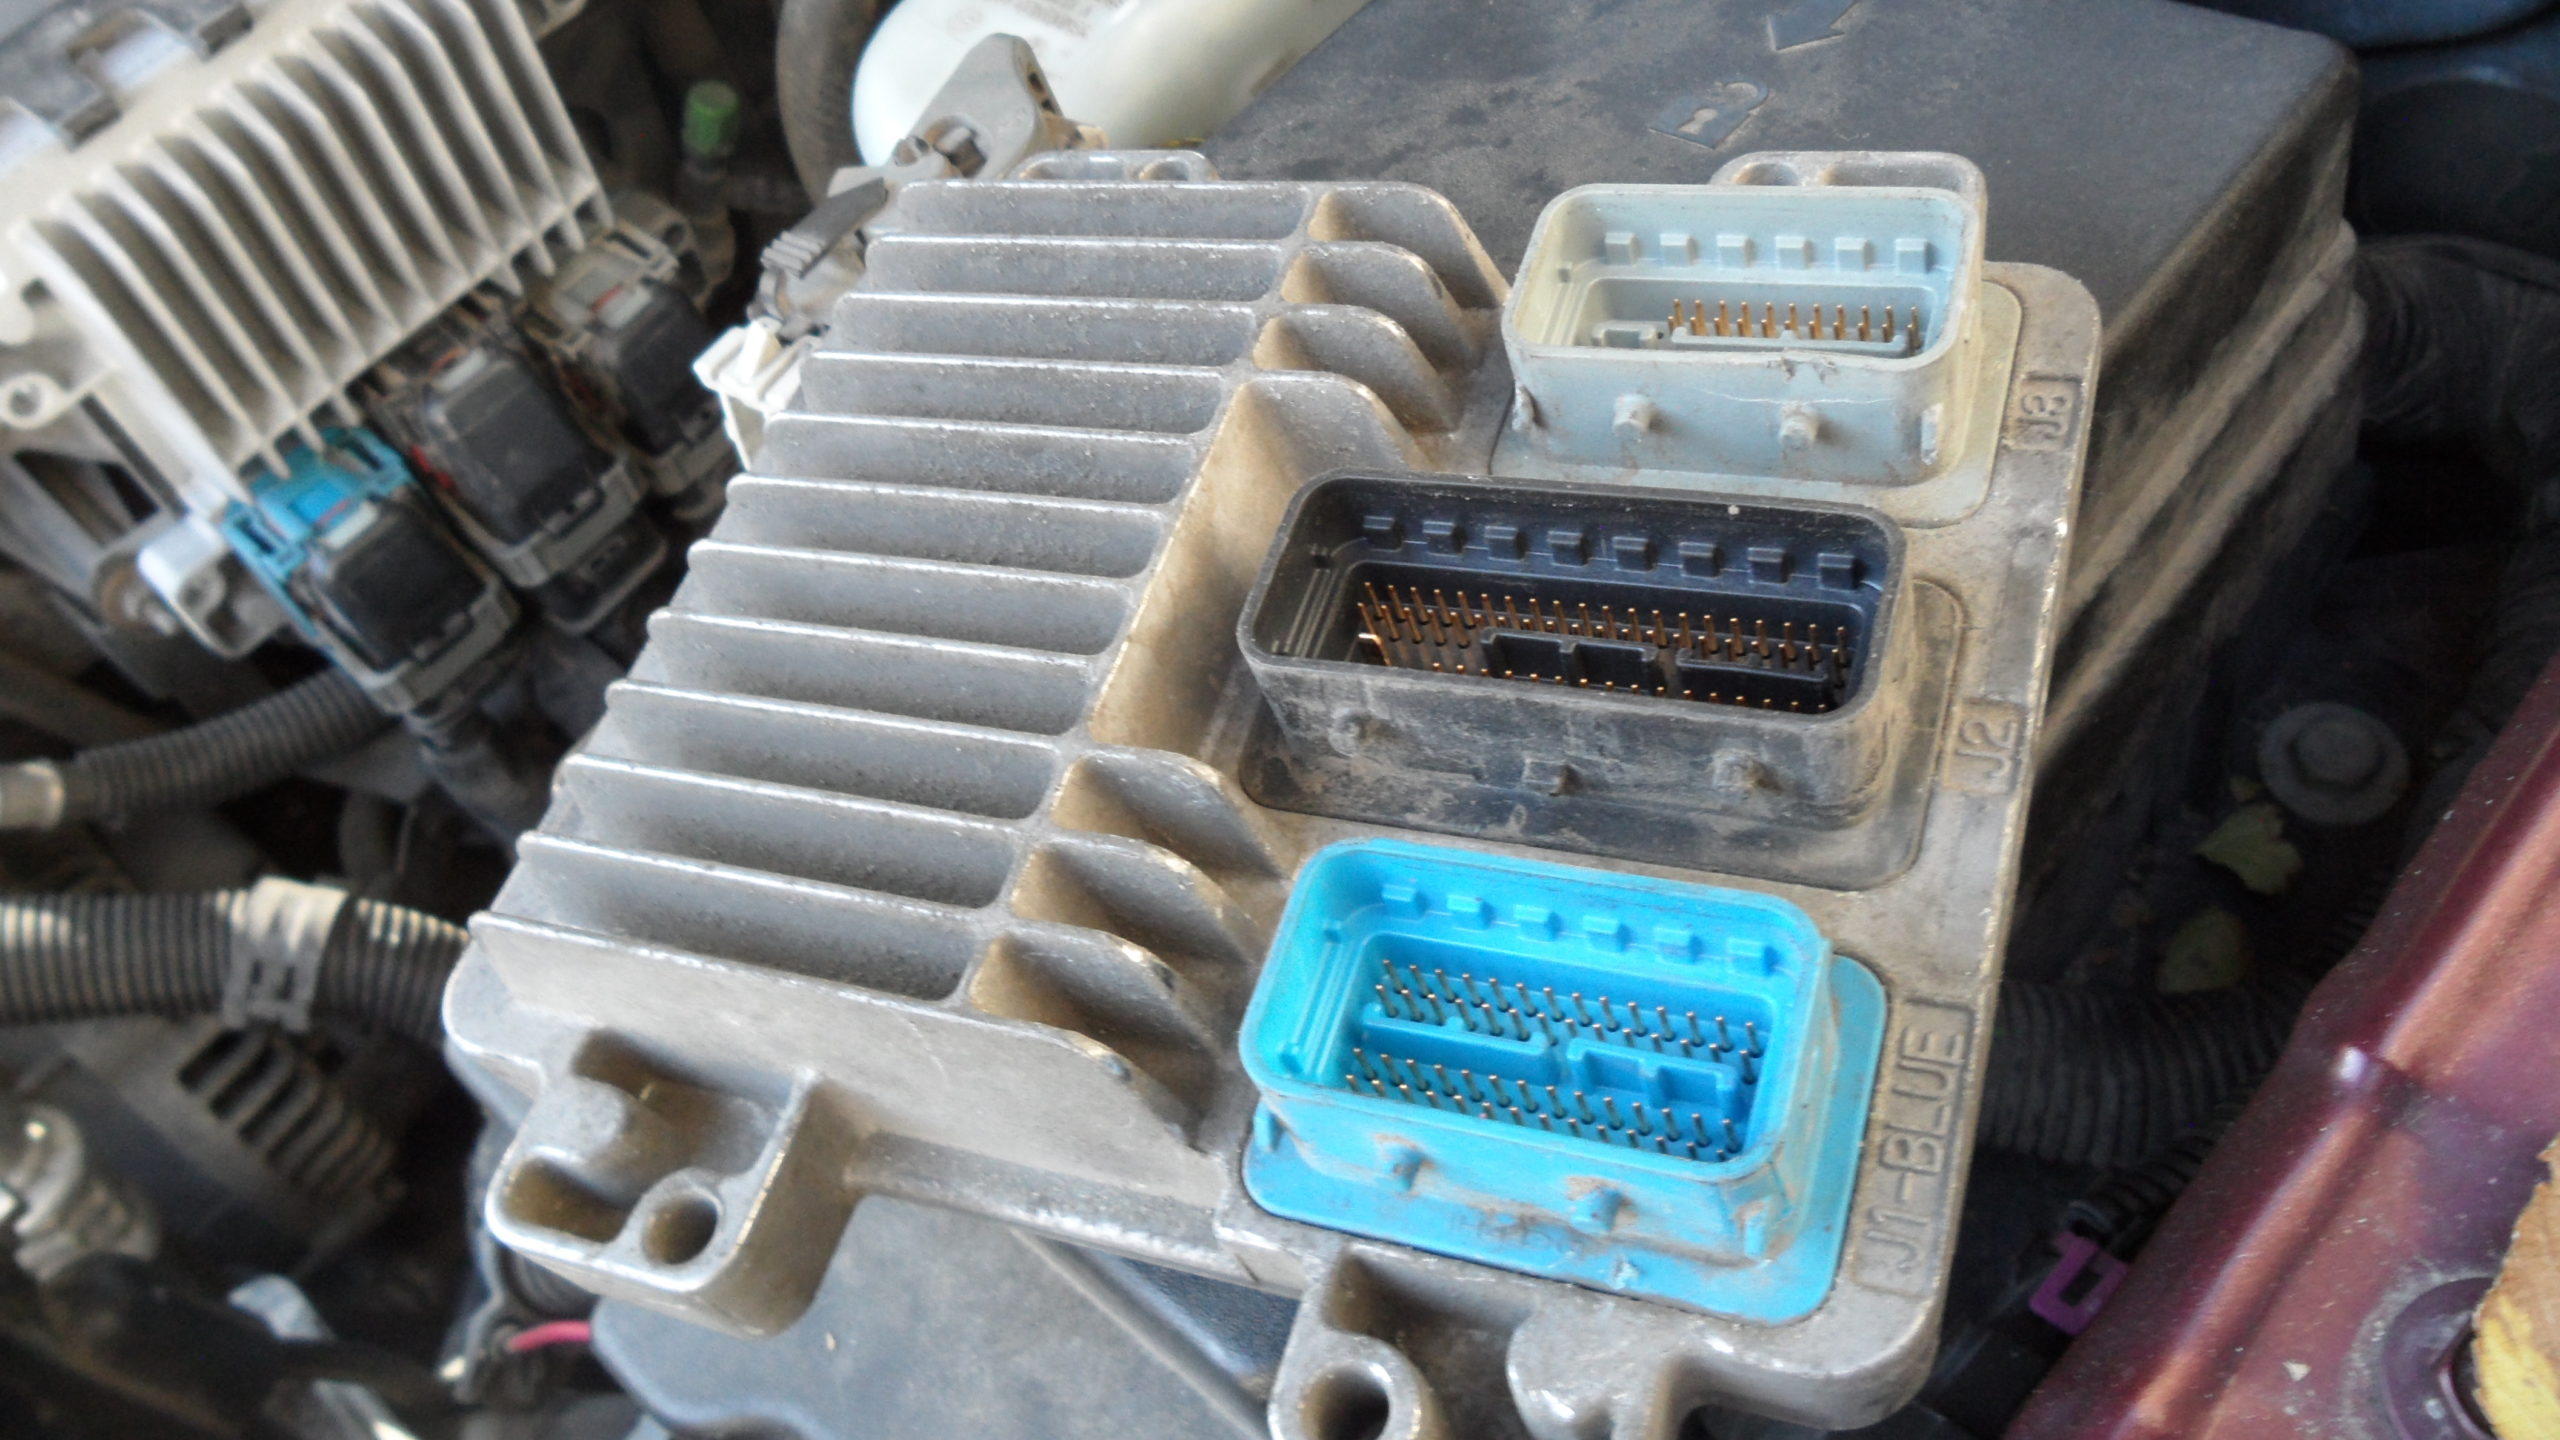
But before we remove the PCM from its location from under the hood, you need to remove the negative ground connection from the battery. This unit has 3 very large connections on them. And you will need a tiny flat tip screwdriver to push on the clip of each one and lift up on the handle where it would help push out the connections one at a time and believe me this is a very smart design. 

Also, take a look at the end of each connection where it plugs into the unit for any defects or burn marks. Looking at each connection, they looked great as you can see each connection comes off with ease. Be patient with each one when you push in the clip to release the handle. Once that is done you can start by lifting the mounting clips to the base holding the PCM in place. 
Once I have the PCM out, I set the old one off to the side, I grab the new PCM and get ready to reinstall it to its mounting base on the engine. Once I hook up the battery I can get inside the truck and I can start the Key Procedure. When you start this Key Procedure you will notice a dummy light on the instrument panel and doing this Key Procedure, pay close attention to that little light. Because that light is the only thing telling you if you are doing the Key Procedure right or wrong while you’re doing that procedure. There are THREE steps in the procedure and you must follow them to the exactness or else if not followed you will have to disconnect the battery to reset EVERYTHING and try again. The Key Procedure is LENGTHY at BEST so YOU DO NOT want to have to do it again. 
After getting all the instructions done correctly the truck actually started right up after sitting for 30 seconds after the last procedure. I and the owner were jumping for joy and screaming Yahoo! The owner had been without her truck for 3 weeks until the part had finally got here.


