
Preventative maintenance is a REAL good habit to get into when you have a new or used vehicle! This should be on top of that list for anyone. First off we’ll gather the tools needed for this job. This type of maintenance doesn’t need any special tools.
1) 3-ton floor jack
2) pair of 3-ton jack stands
3) a good pair of wheel chocks (or a couple of bricks or some pieces of wood)
4) any type of pan to catch the excess fuel
5) 2 open-end wrenches (to loosen the fittings)
6) a roll of shop towels, or grease rag, or paper towels
7) 14mm deep socket on a 3/8ths drive ratchet
8) small type of brush (for cleaning thread fittings)
9) Safety Glasses ( for any spraying of fuel after fittings are loosened)
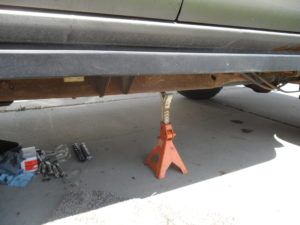
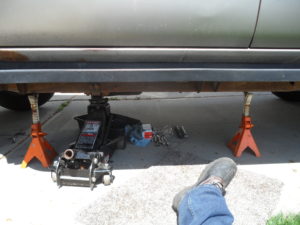
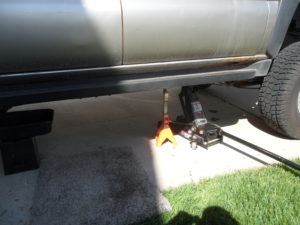
We first start with jacking and bracing the vehicle. We place our floor jack right at the frame rail. Then we use our jack stands to brace it but you will notice in our picture we put one at the front of the vehicle and one at the back. But the rear one is higher because our driveway is on a slope and we are trying NOT to let the fuel run down the frame rail, so we lifted it higher so it is more level.
jack stand placement is very important when working under a vehicle.
Safety is key in any job done where a vehicle is raised in the air.

2001 Chevy Suburban
Even though my truck has its tires on it isn’t a reason not to use jack stands. It gives me more working area under it too.
Leveling the vehicle so the fuel wouldn’t run down the frame.
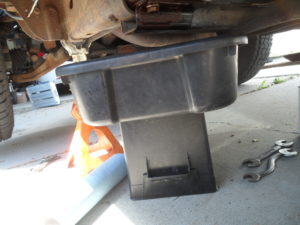
Drip Pan and a battery box I bought many years ago are just right under my fuel filter so to catch my fuel.
Before removing the fuel filter fittings there is one procedure that needs to be done first for your safety. The first is to remove the gas cap from the fuel tank. Next, remove the fuel pump relay from the fuse box. Then try to start the truck, usually, 2 or 3 rotations of the engine should be sufficient. Then all you have to do is remove the negative battery cable and you are ready to work! And Don’t forget your Safety Glasses Right HERE!
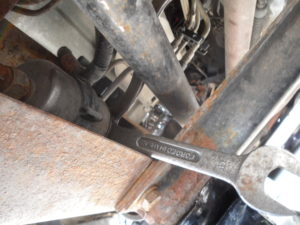
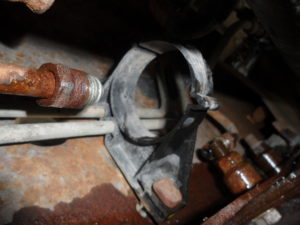
Now we start by removing the filter. Before loosening the fittings on the fuel filter and the fuel lines you will need, BOTH wrenches on each end at the same time to loosen them. Then lay down your shop towels or shop rags or paper towels. Once that is done, then you can loosen the retaining bolts to the filter mount and they’re located just outside the frame directly through from where the fuel filter is located.
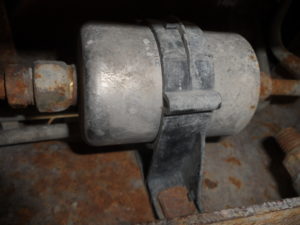
Old filter
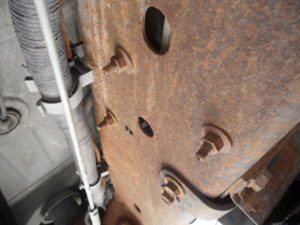
Fuel Filter mounting bolts need to be loosened to be able to remove the filter from its housing.
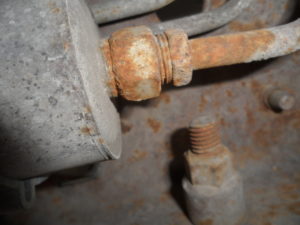
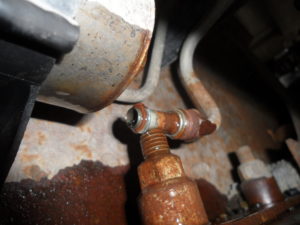
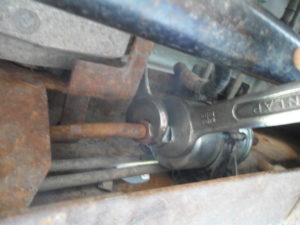
fuel filter fittings
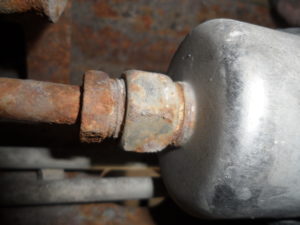
filter fittings are a bit rusty.
Once those are loosened, this is where you need to use your shop rags or towels or whatever you could find for your drip pan. my drip pan is directly under the fuel filter but I did have to raise it to the truck hoping to catch every drop. Because my driveway wasn’t level so this is why I raised the rear end to prevent any fuel from traveling down from the location of the pump in hopes to collect every drop.
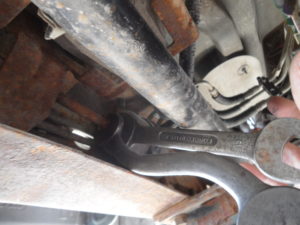
These old wrenches worked out very well for our job.
our wrenches made it easy to remove the fittings
These old wrenches were very helpful.
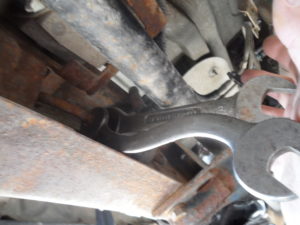
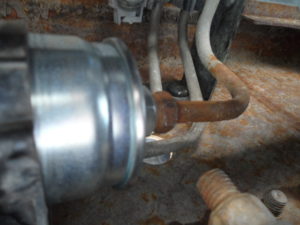
fittings are removed from the front
Our Old filter is out!
Now to reinstalling our fuel filter. On your new part, it will show a flow direction with an arrow so it is “dummy-proof” (Which is a GOOD thing!) First I cleaned the threads of the fittings with a small detail brush (brass brush will work well here) then wipe it off with a fresh towel. Then gently screw in by hand, one at a time. This will aid in not cross-threading the threads. Once that is done grab your wrenches and tighten them down as tight as you can get them.

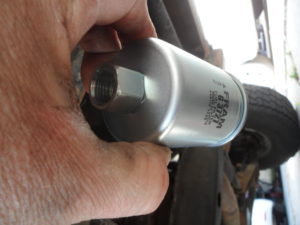
New Filter pay close attention to the direction of flow
rearview of the filter
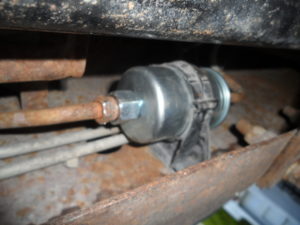
new filter is in Now.
we have it tightened down now!
tighten down and no leaks!
Don’t forget to re-insert the fuel pump relay and replace your gas cap and reconnect your battery connection, and start your vehicle. Check for leaks. If no leaks, VICTORY CRUISE!


