In this post, we talk about front-heated O-2 sensor failure. This came about one day as I was running errands. The truck started acting sluggish and hesitant. So I nursed it home and plugged in my scanner and it gave me the code:
Bank-2 front heated o-2 sensor upstream.
So my next step was to actually go under the truck and tested the plug for proper voltage and also check the connection as well to be sure that it hadn’t wiggled itself loose. Lucky for me that part hasn’t been replaced with the previous owner. That’s a good thing for us.
The next step is to get the sensor ordered. Now I have the part and this is a very simple and easy job to do! We only need 3 tools for this job and of course, you will need your PPE safety glasses:
1) 8 mm open-end box end wrench
2) 1/8th tip screwdriver
3) a big 7/8 inch open-end wrench
The first step is to remove your negative connection from your battery. You do this step with ANY electrical repairs on these newer vehicles. Our next step is crawling under the truck and pulling this sensor it is pretty easy to get to since it’s located on the passenger side exhaust pipe, between the header and the catalytic converter, and the frame rail. I’m using the wrench instead of an O-2 socket because I don’t have the socket and the location of our sensor is much easier to take out with a wrench and you have more leverage with a wrench than you would with a socket.
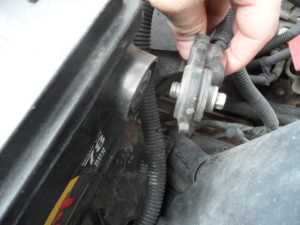
Negative Battery Post needs to be disconnected before we can begin
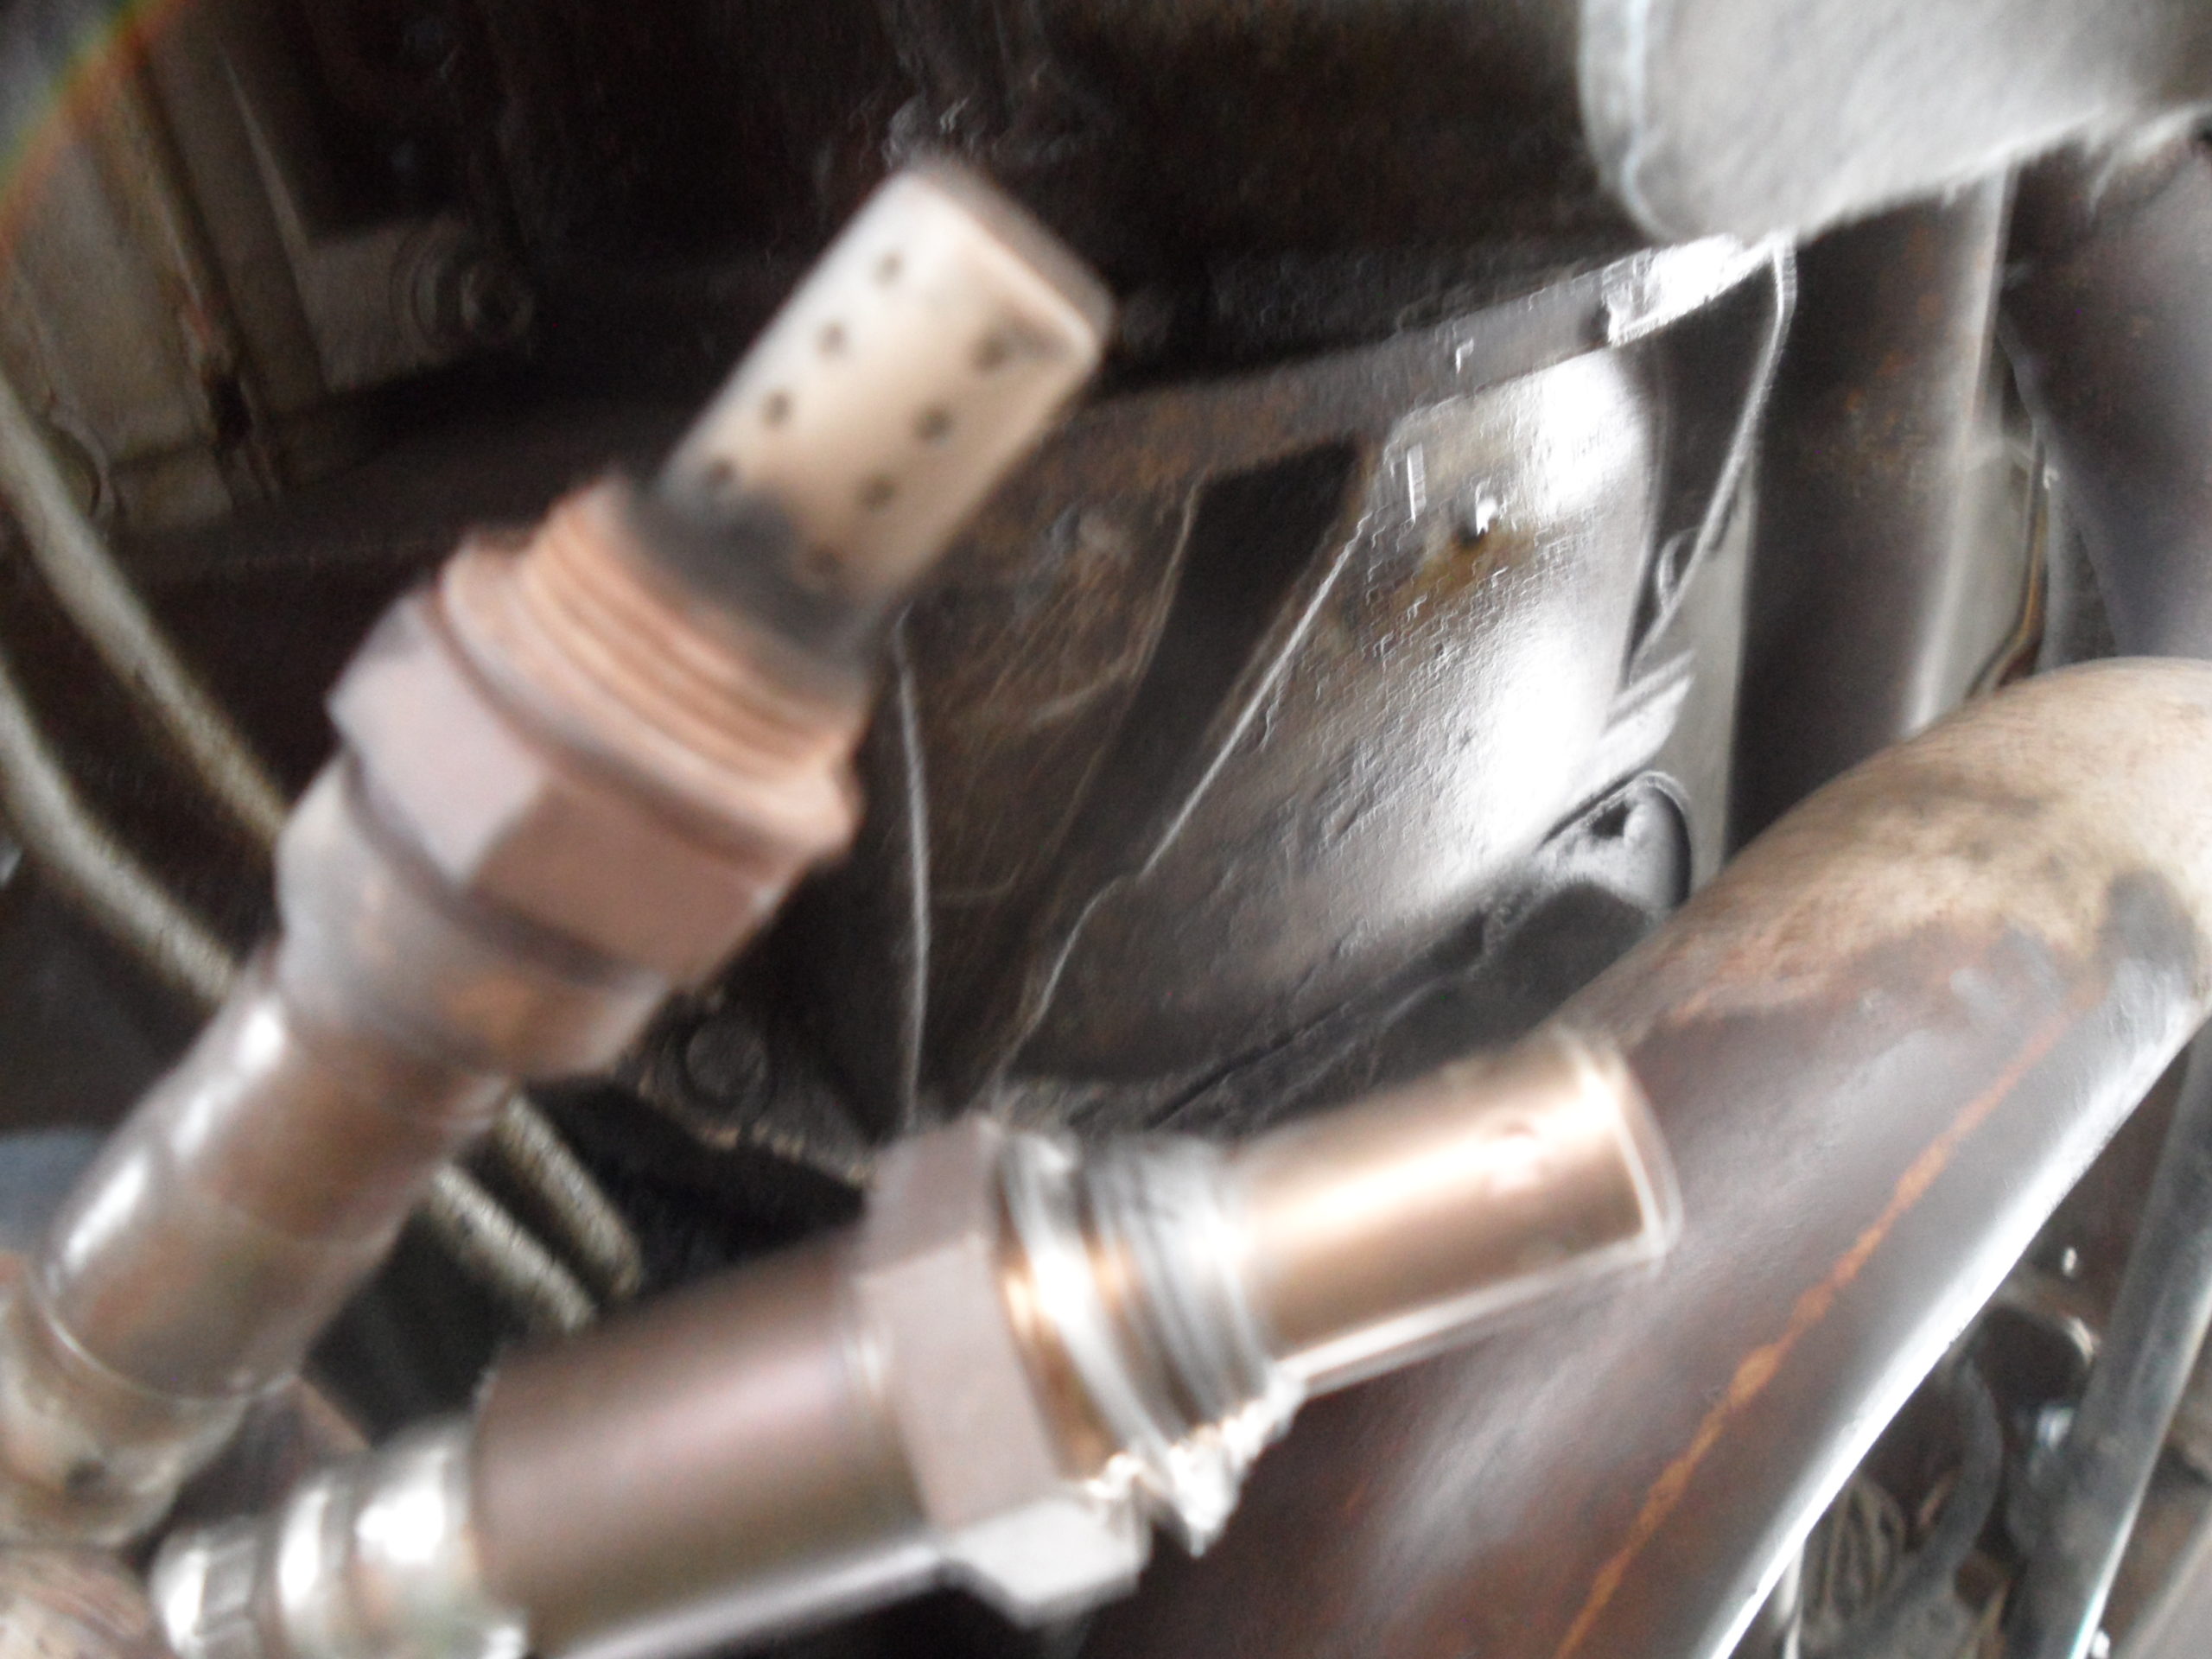
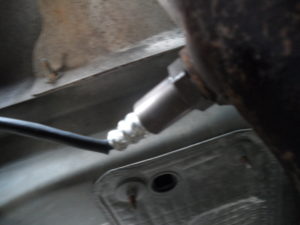
Our Old O-2 Sensor looks like it may be the stock one.

using our 7/8’s wrench on this sensor is the most useful tool here.
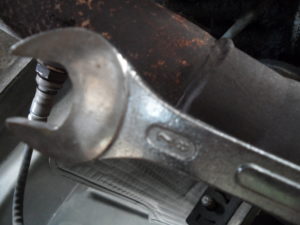
This wrench was the best way for us to reach our sensor with the limited space. And I prefer this way myself.
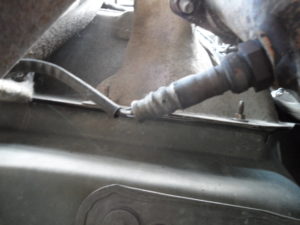
Once your sensor is loose, we can move our attention to our connecting plug which is located on the frame rail just down the frame from the sensor. Now if you look at your sensor connector you need to pay CLOSE attention to how it locks back together when you are ready to plug in your new one.
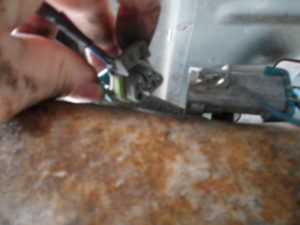
our sensor plug connection. Remember to use your 1/8 inch screwdriver here.
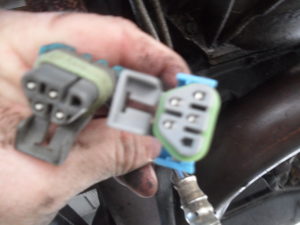
Comparing plugs is something I always do just a habit.

New Sensor & Old sensor.
We installed our new sensor and we’re ready to reconnect our battery and check for any codes then test drive it.
This is where your 1/8th tip screwdriver comes in. You may need it to release the little clip-lock. While you’re trying to release the two from each other. Once they are separated, you can finish removing the sensor from the exhaust pipe. Once it’s out you can compare it to your new one. Installation is reverse of removal and don’t forget to reconnect your battery. Check and make sure the code is clear. If the code is gone, it’s time for a victory cruise!


