I bought this battery charger because I wanted a backup and I got such a screaming good deal on it I couldn’t pass it up in 2008. At one point I loaned it to a neighbor and much to my surprise I found that it had been dented on the top pretty bad while it was charging his battery overnight while under the hood.


I wasn’t very happy about it and he said he had no idea how that had happened. Soon after this, the charger wasn’t working as well. The only feature that was working on this charger was the 50-amp jump starting feature. And I was quite irritated. Once I found out from Sears that they would not take it back and repair it. So I wrote a review on the Sears website to complain about how mad I was because they used to have a warranty that they would replace anything with the Sears/Craftsman name on their products.

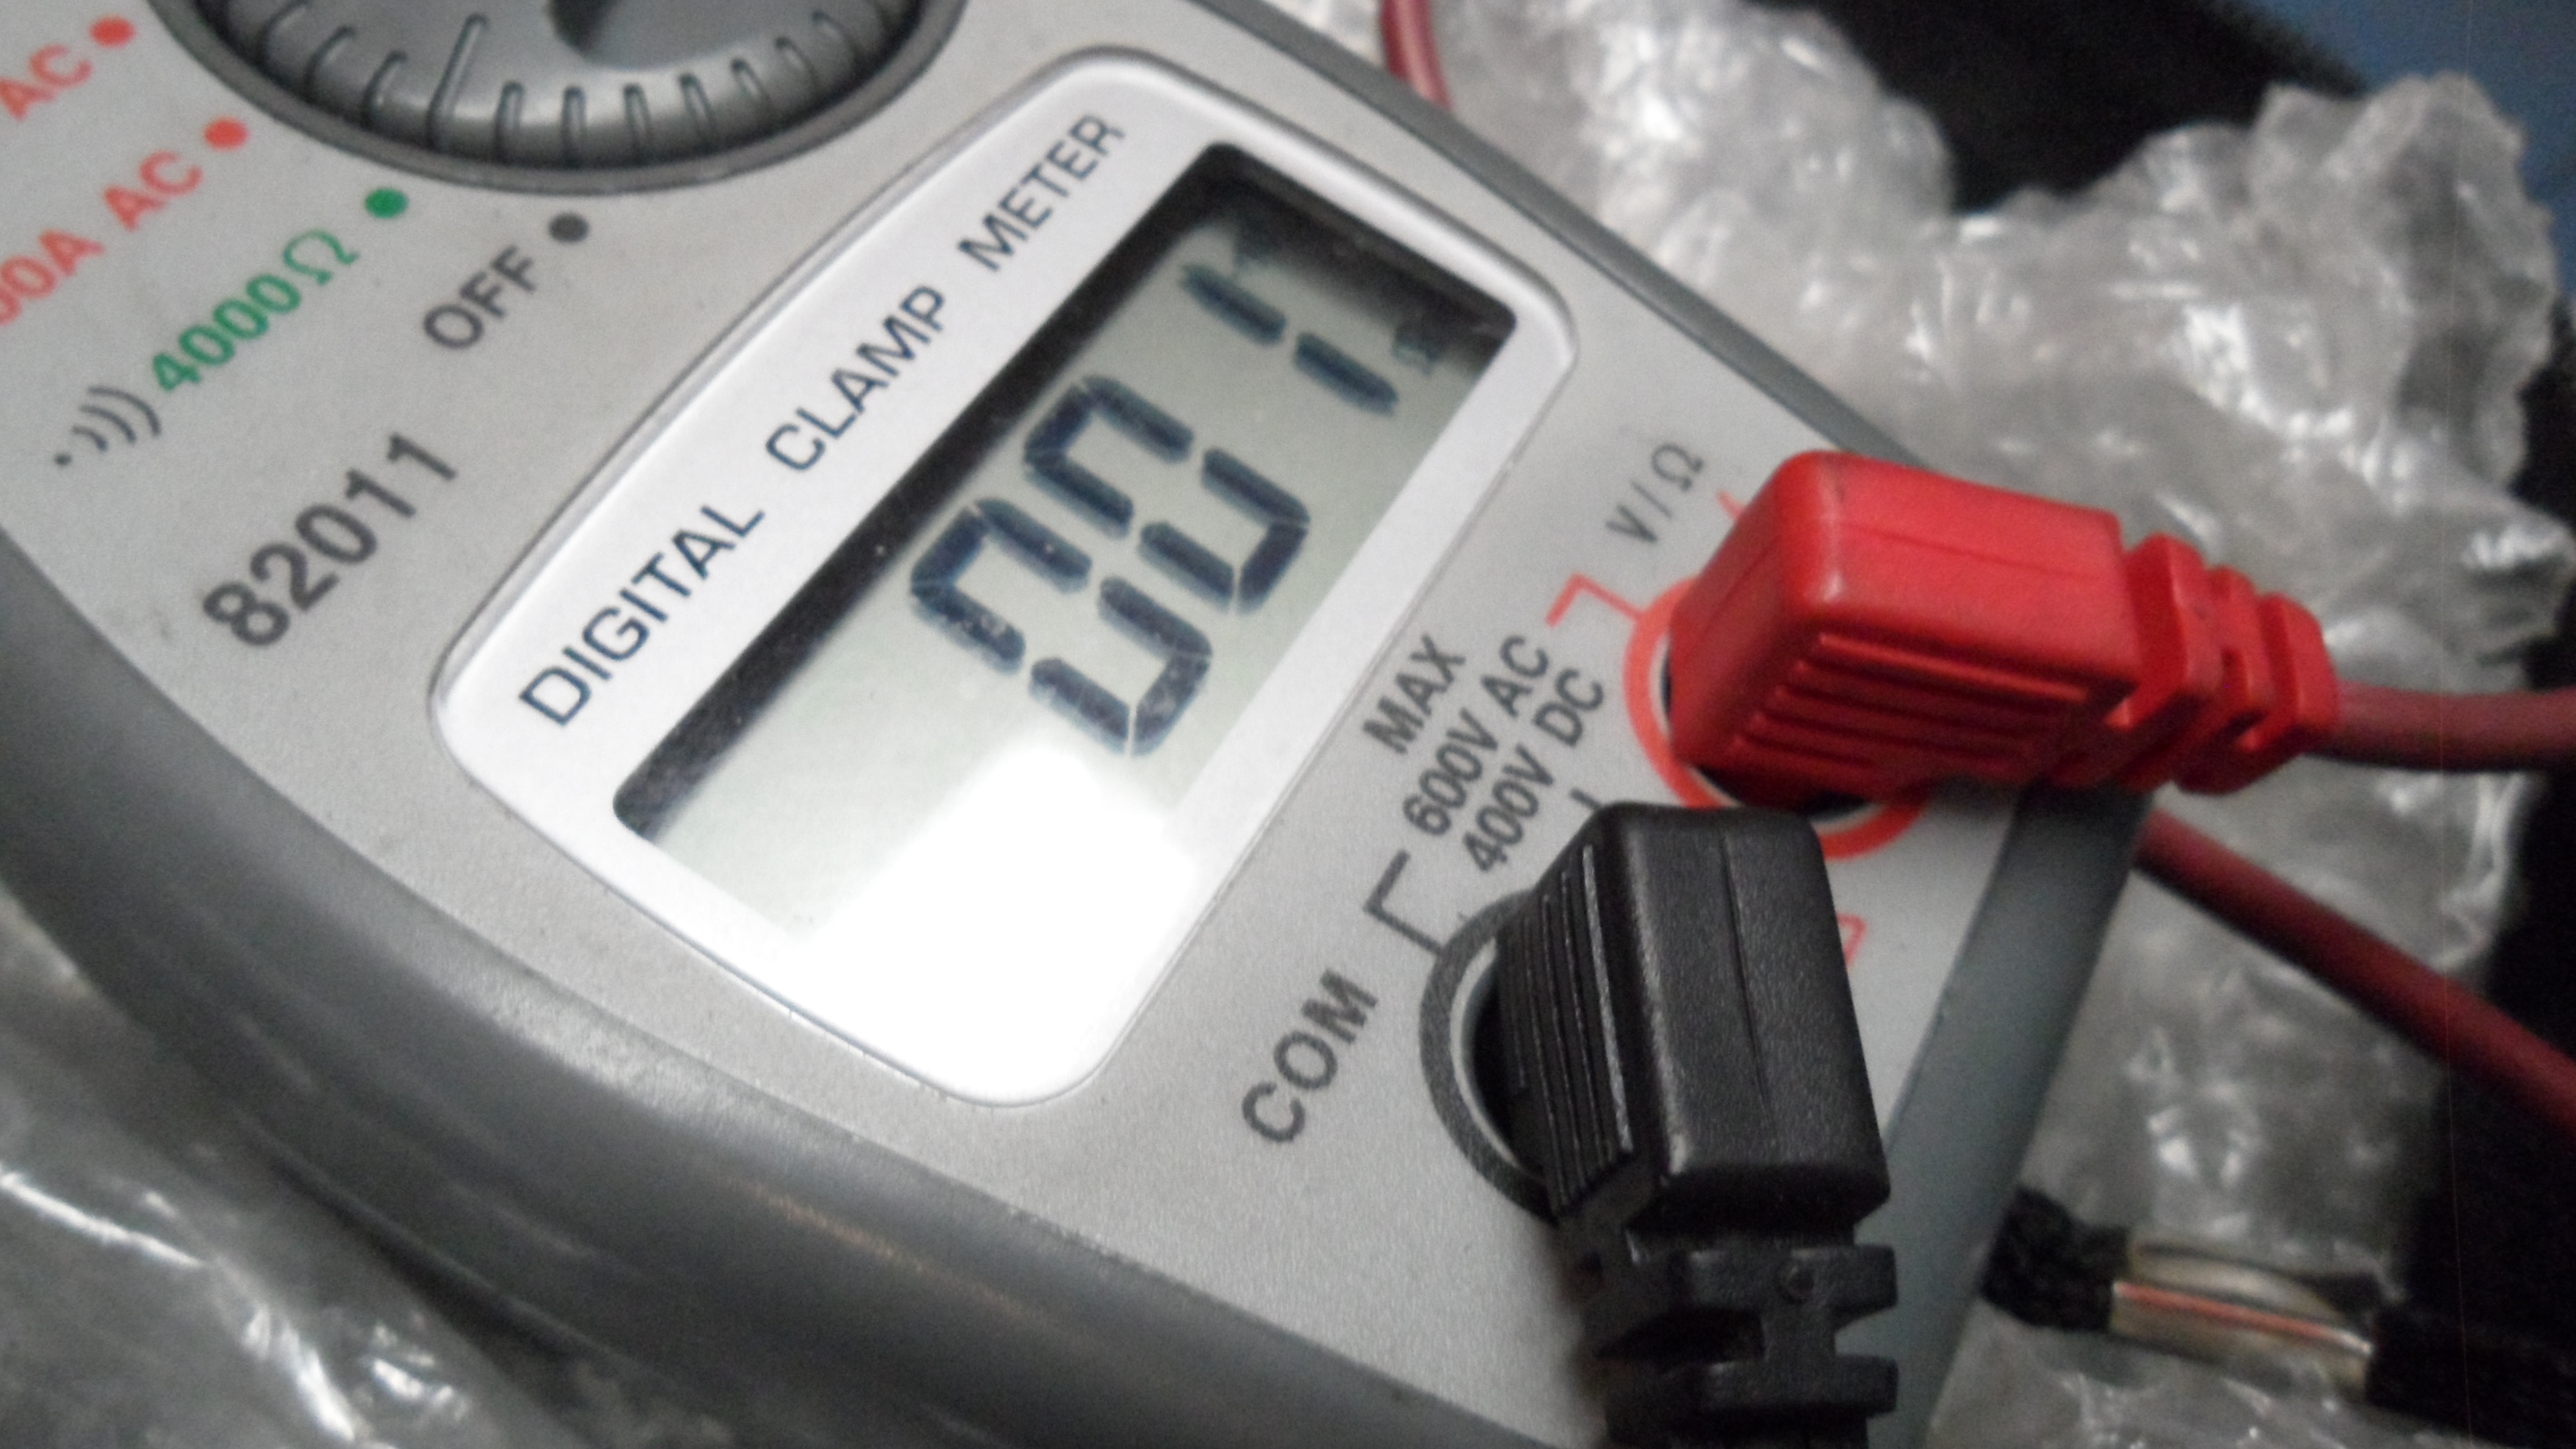
So after that, I just put it in storage and never used it again. Fast forward to now. I took it upon myself with what I’ve learned about repairing electrical tools to tear into this charger and do a troubleshoot to see what is wrong. After I had it opened up. I grabbed my multi-tester and set it on the right setting to test it for an a/c testing then I would get the old battery I have to do the dc testing when I’m ready to do that.

But first, I set my multi-tester to do a continuity test on every wire from point to point to test to make sure there is an electrical current going through each one and it is also to help me to check each contact point. Then, I do a continuity test on the power supply cord which is a 3-phase power outlet cord and everything looks good there. Then I do a continuity test on the battery cables that goes from the charger to each one of my battery alligator clips and everything turns out fine there also.


Once everything is done there, then I am ready to test it with a battery hooked to it. Once I have the battery hooked up, I can do a test on every circuit and monitor everything from the amps meter to the selection switch that helps you select from amp to standard to the switch that helps you select how much volume you want the battery to charge and also to select the 50-amp jump start select switch. While monitoring the battery charger in its charging mode, I’m able to do a proper test of the capabilities of my charger and find out if there was a problem with my charger after the incident of it being dented.


Now, I didn’t have the proper charging lugs from my side mount battery so I improvised with a couple of bolts I had laying around that fit perfectly in the battery and this WILL work because I’ve done it a couple of times in the past but I would not suggest doing it on a CAR. (Just a side note: I did notice after opening up my charger that there was a little bit of rust inside the bottom of my charger and this could have been the problem but it doesn’t seem to be the existing problem now.)


Sorry I didn’t get a picture of the part showing a test with my multi-tester that the battery charger is sending a strong current to the battery current of 12.2 and that is a good start for a charger I thought was dead! It may have just had a temporary short from the damaged top of being under the hood of that vehicle and where ever and whatever the moisture came from that may have caused it to short out. But it is once again working great now!

Ready to back into service.

All finished.


