
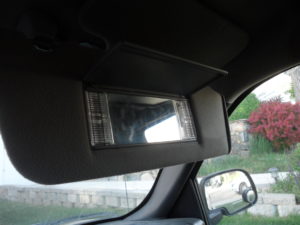
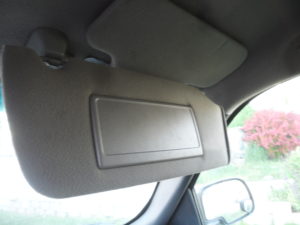
Our post today is a sequel to our [Dome Light Repair] in February of 2022 this year. What we are trying to accomplish here is to upgrade the sun visors on our truck to be 3-way sun visors from an LS version of the full-size SUV.
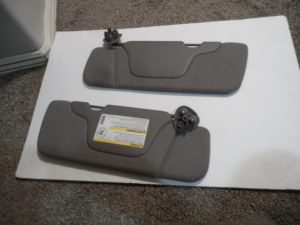
I started searching online for the specific year and color and I wanted to find a pair locally to check them out in person. I got fortunate and found a pair that fit all my categories! They were in great condition and the price was too!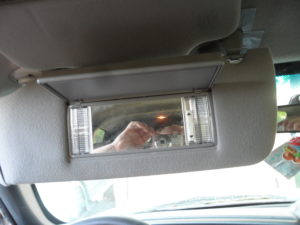
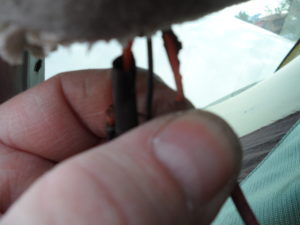
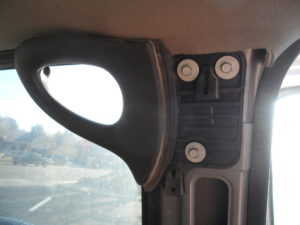
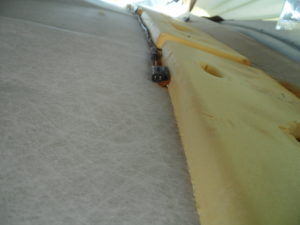
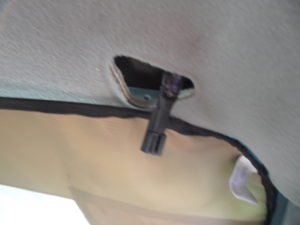
Then I started to go through the wiring electrical of the truck to see if I needed to build a harness to supply power to the vanity mirrors. When I started to search for the electrical wire was at the driver-side windshield pillar. So I popped off the windshield trim. This helps me expose if there are any wires above the headliner we can tap into for our sun visors.
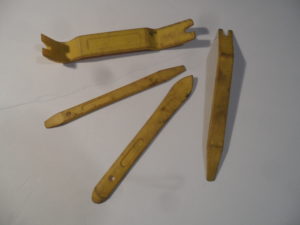
The tools we are going to need for this job are:
1) Door trim tools (You can usually find a good set for sale at any auto part store)
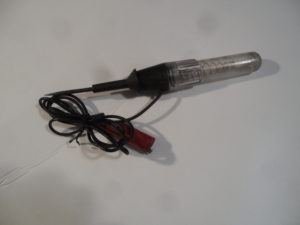
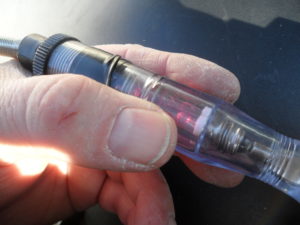
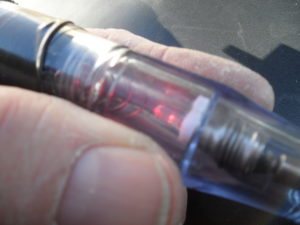
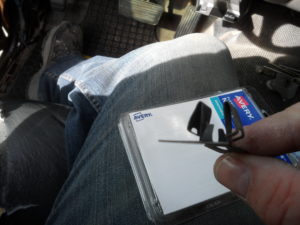
2) A continuity test tool (One of the best investment tools I have made)
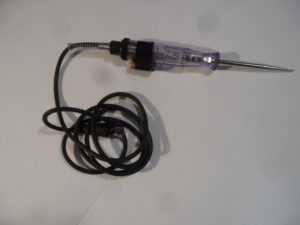
3) A 12-volt test light
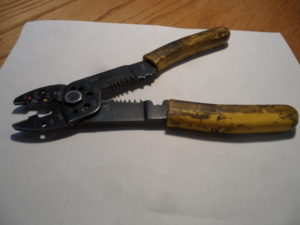
4) a pair of wire strippers
5) splice connections
6) 20-gauge primary wire (auto part stores)
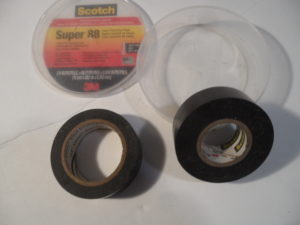
7) a roll of electrical tape (If you can splurge & upgrade to professional electrical tape at any hardware store it would be best!)
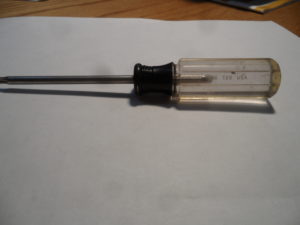
8) a Torx T-20 screwdriver.
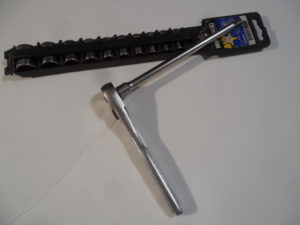
9) 1/4-inch drive ratchet and 10 mm socket (You’ll need these to remove the handgrips so you can bring down the headliner)
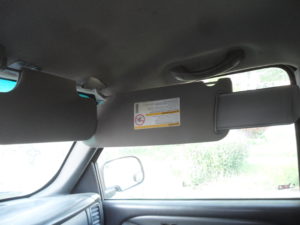
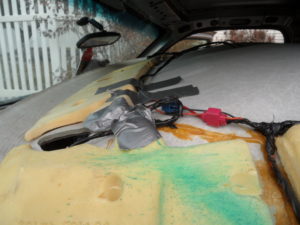
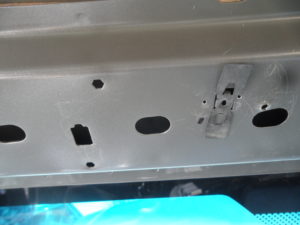
First I started taking down all the trim within the cab of the SUV so I cancouldwer my headliner. Then I removed my old sun visors, then the handgrips, push clips that hold up the rear of my headliner. Once that was done, I had greater access to the area I needed to get to.
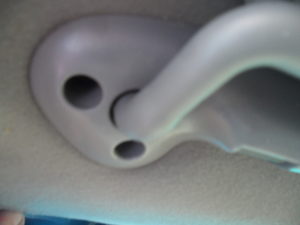
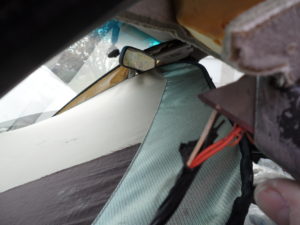
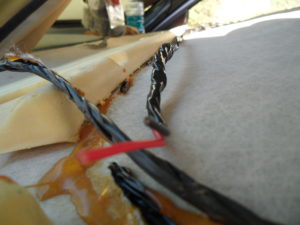
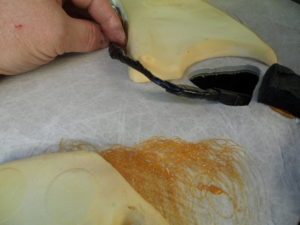
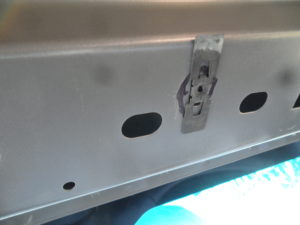
I’m going to need to create a new harness for our sun visors. I noticed when the headliner was down, there was a little bit of wire harness connection glued to the inner side of the headliner.
With this harness, I checked it and it didn’t have a plug connection on one end but the connection on it would not work with my newer visors. But it is a “free wire” to help me create the wire I need to power my visors.

So now on to making power to the visors. Then I got out my primary wire and measured from visor to visor how much was needed to connect the two to our powered line in our window pillar where the current is located. When it comes to building a longer harness you have to prep correctly so you don’t wind up with less than what you need.
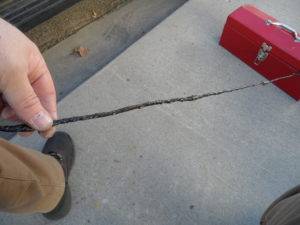
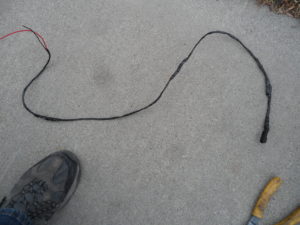
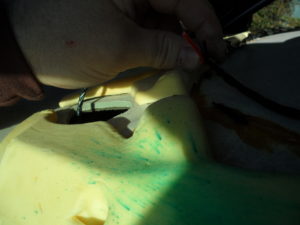
After measuring and securing the wires in the electrical tape, I did a continuity test on the whole harness so we have haddequate amount of current going from one end of the harness to the opposite side. Doing this outside of the vehicle is far easier than having it in the vehicle and having it not work.
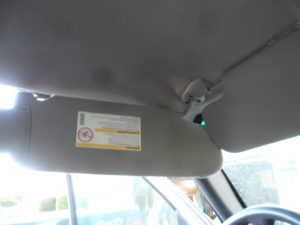
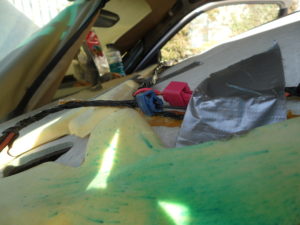
Now I went on to attach our visor harness to the main lead line for our dome lights and the window pillar. This is where you get your splice connections to tap into our main lead line. Then I went and tested each visor plug with my test light for power. The great news is, WE HAVE POWER!
Everyone, the fun hasn’t ended yet. We get to put our truck back together! In reverse, we put our headliner back up. I started with the door trim between the front and rear doors. Then I raised the headliner to put in the clips at the rear of the headliner.
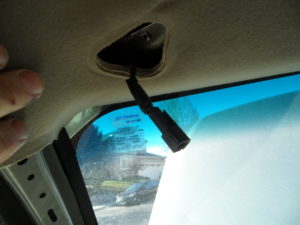
Then we can put in our windshield pillars and be sure when you do these front ones that your connections for your sun visors are hanging down enough for your visors to connect easily. Once the headliner is back up you are finished! Victory lap!!! Now we can see what we look like in our new vanity mirrors.


