I got this truck from a friend and his stereo was stolen from this truck at one time. So once I got this truck I wanted to build something to stop this from happening again.
We received a new $400 stereo from another friend. I didn’t want anything to happen to it so I thought about it for months and how I could install it so it wouldn’t be easy to steal. The original stereo ” Stock” came with a mounting tray that allowed the stereo to be mounted to this tray and if the stereo needs to be removed at any time from the manufacturer it has little push-down tabs you can push down and release the stereo from its location.
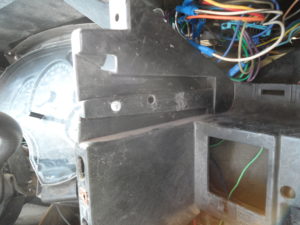
So I’m staying with the tray but decided to build a stereo mounting bracket that would mount to the frame from the original unit. Now my job is to find the ideal gauge of steel to be heavy enough to deter any thefts of this stereo.

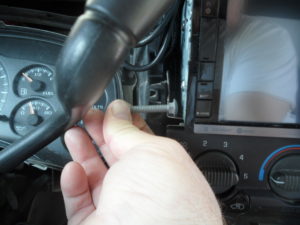
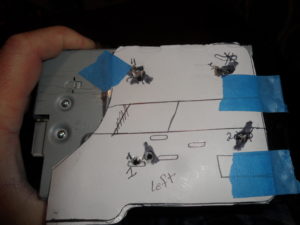
In the first step, I slid the tray back into the dashboard. Then I got a magic marker and marked where I wanted to mount my holes for the stereo frame and the dashboard too.
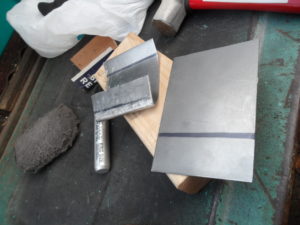
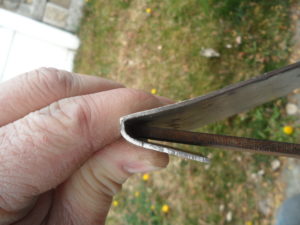
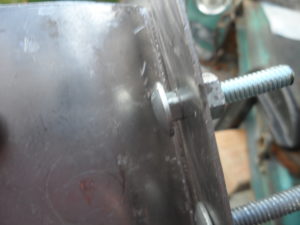
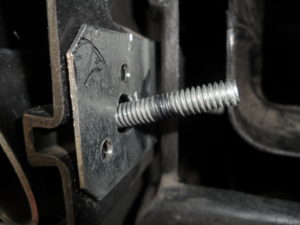
Once my holes are marked I had to decide what size screws I was going to use for the frame and bracing. I decided to go with four 3/8 carriage bolts. These carriage bolts I got were grade #5 and they will be a big part of the anti-theft stereo system. So I decided to go with 18 gauge sheet steel for our brackets. All I have to do is make a pattern of the stereo where the screws will be located on it and mark the holes where the stereo frame will mount to these brackets.
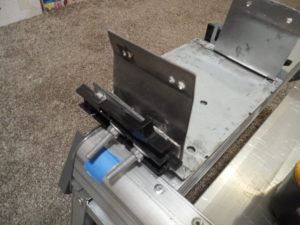
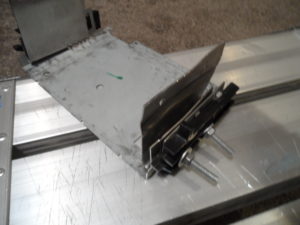
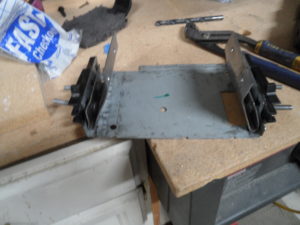
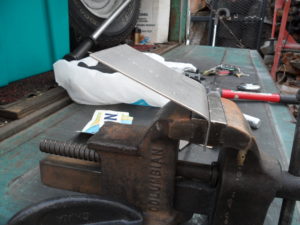
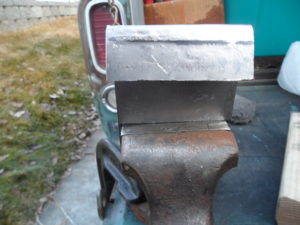
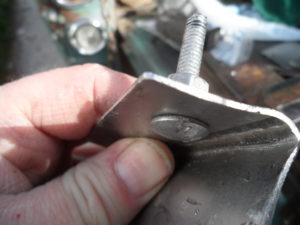
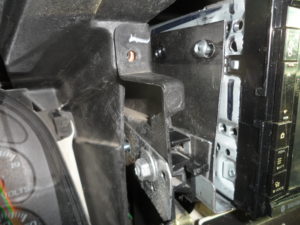
Now, after my pattern has been cut I get out my bench vice and mark where I need to bend the brackets. Now how I bent my brackets is I put them in my vice and bent them with my 2lb sledge just to get the bend started. Now to get the gap just right I use a flat-file to form the “U” shape. Then I take measurements again after they’ve been bent because if it’s right, all I have to do is put in my carriage bolts and then mount each bracket to my frame.


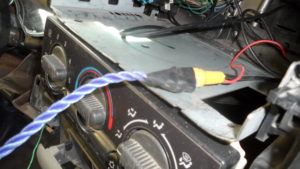
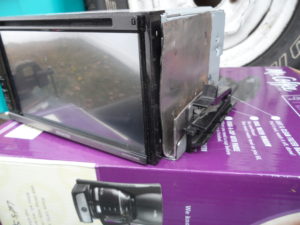
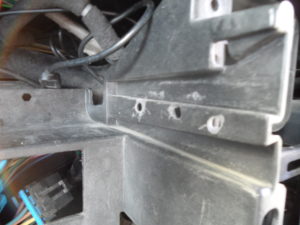
Then I marked up the holes from the stereo with a piece of posterboard which was very easy to do and a time saver. Once the holes are marked for the stereo. I get to drill the holes for the stereo itself. Before installing the stereo to the tray I went out and did a test fit and our bolts for the bracket and frame all fit in nicely however I had to cut the bolts shorter with a mini hacksaw but I didn’t do it until the stereo was bolted in the truck.
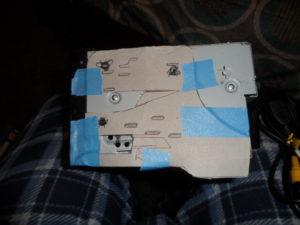
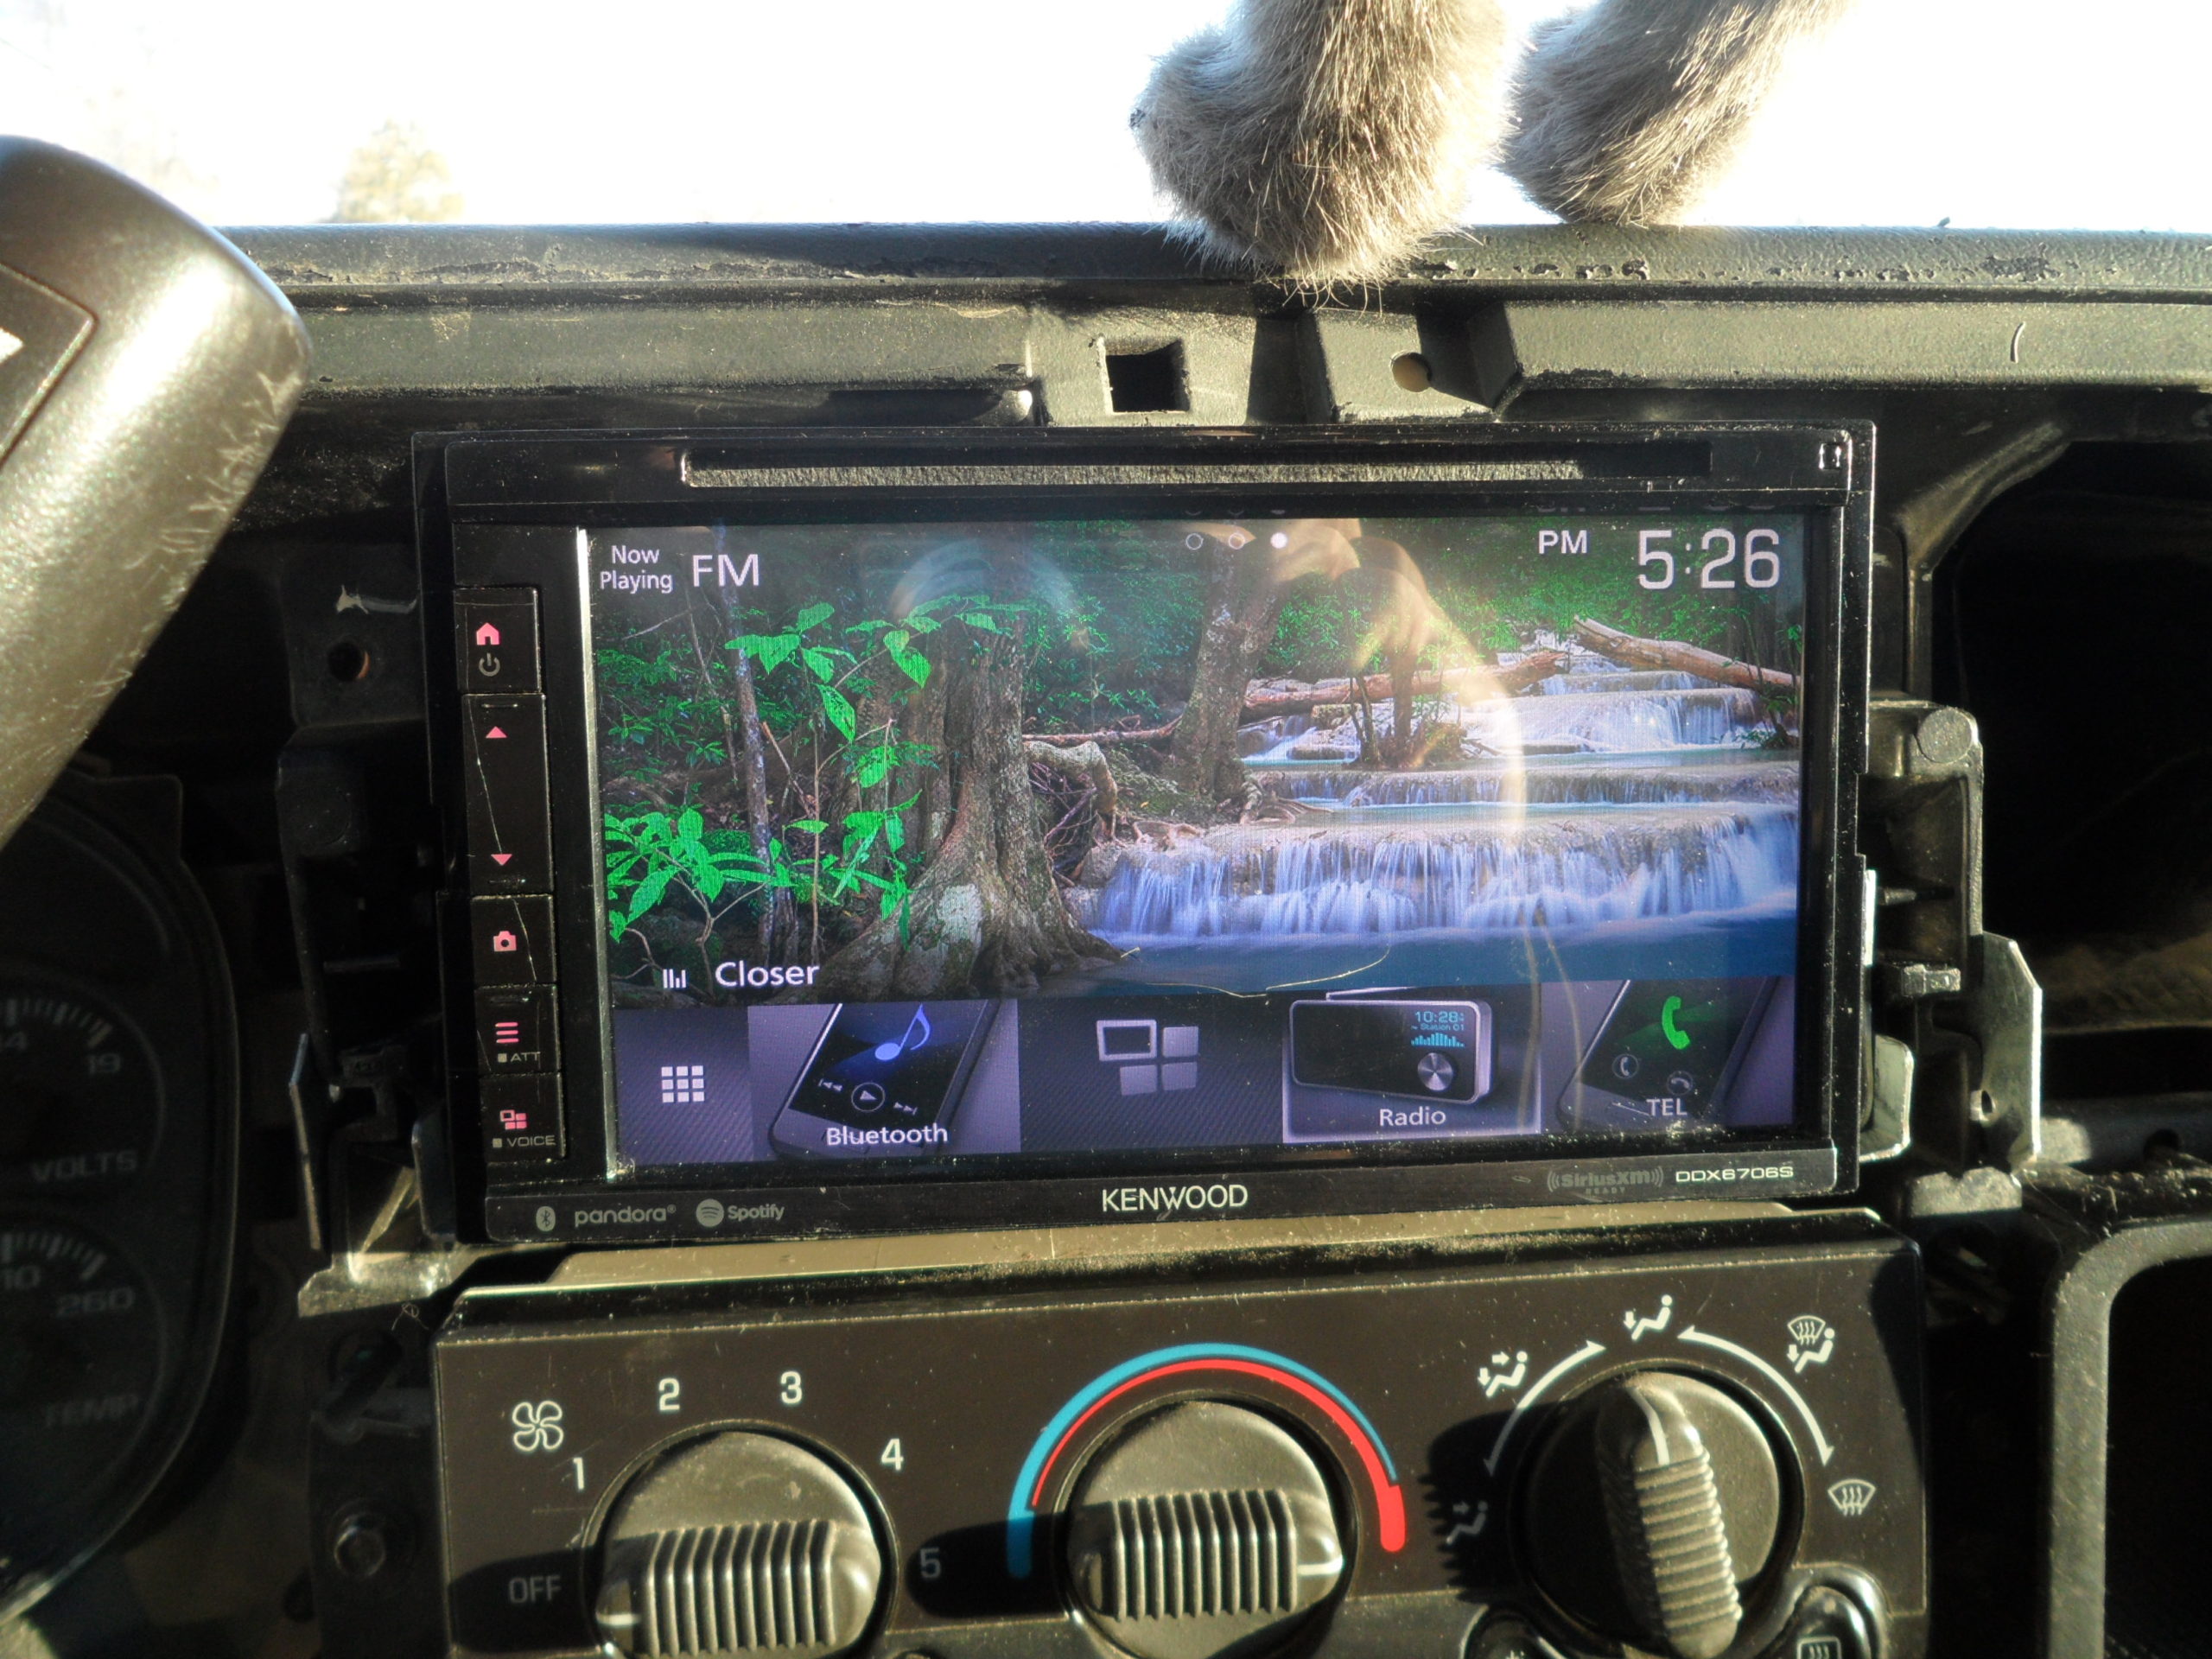
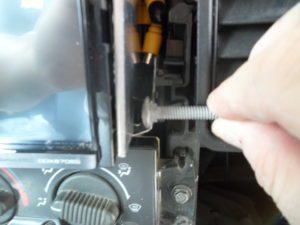
Now that everything has been done I installed the tray with the brackets, then once that is all in place we install our stereo with our galvanized screws and there were 6 of them three for each side. Then I installed the construction plates and installed our nuts to the end of our carriage bolts that are sticking out ‘2’ at the instrument panel and ‘2’ by the heat register. Then you can finish tightening down the screws on the stereo. I needed a “short” or “stubby” screwdriver to get into these screws on the stereo to tighten them down. Victory test!!!! Our new stereo is a beauty!
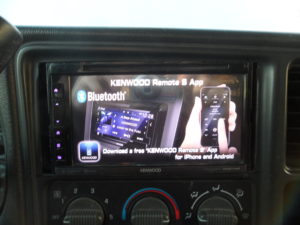
The finished project looks very nice.
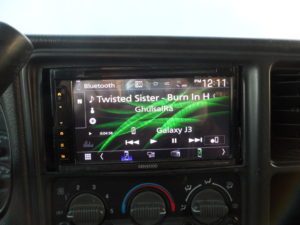
Nicely Done install


