
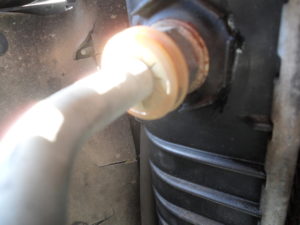
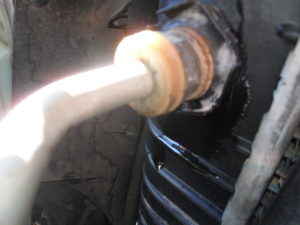
This job came up unexpectedly when I took this truck in for a L.O.F. job. The repair tech mentioned to me that I had a small leak in the radiator where the transmission cooling lines connect to it. They advised me that they can replace the radiator with a new one for $250 + another $250 to install!
I took it upon myself to research this leak to see how bad it really was. The leak wasn’t bad enough to replace the whole unit. This leak is no bigger than an end of a sharpened pencil. It only leaks when the engine has been running. So that is an advantage for me!
The tool list for this job is as follows:
1) JB WELD brand radiator weld kit
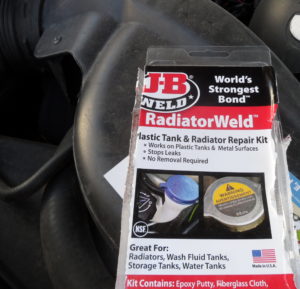
JB Weld Radiator repair kit for radiators and Plastic tanks.
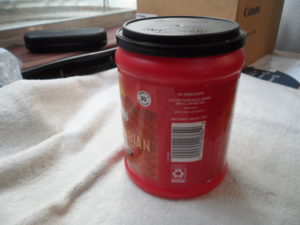
2) small bucket or bowl ( I used a small plastic coffee container)
3) soap and water ( I used Dawn soap)
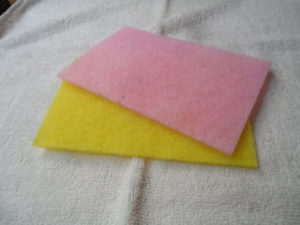
4) any cheap scrubber ( like you can find at a dollar store etc.)
5) bottled water (for rinsing off the soap and water used.)
6) a dry clean cloth or shop towels ( to dry your area to be worked on.)
7) a plastic kitchen knife. ( This will be used to stir your repair compound that comes with the kit.)
8) clean piece of poster board or postcard ( to mix repair compound and hardener.)
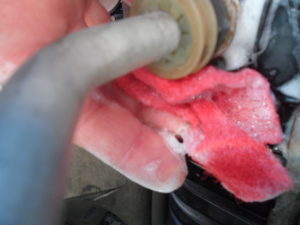
Now onto the repair! We start by removing any plastic tubing or anything on your vehicle that needs to be removed like this. We start with the soap and water and the cheap scrubber to clean our area of any oil and debris for this repair.
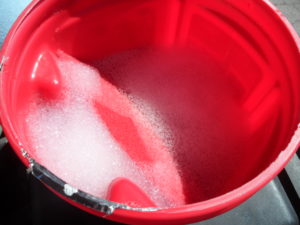
Coffee Container w/soap & water.
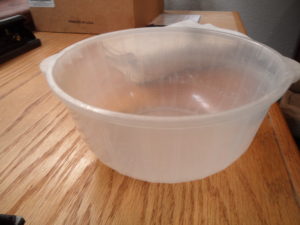
I would even suggest an old storage bowl like this would work too.
these work very well for this job.
You can use this one size too.
Next is to rinse OFF the soap and water with the bottled water and check to see if the area is clean. Then wipe with the dry cloth or shop towels. Now, this kit is supplied with the exact tools needed for this type of repair.
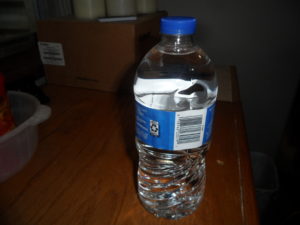
Bottled water you don’t need much to rise off the area.
Shop Rag could be used if you have don’t have shop towels.
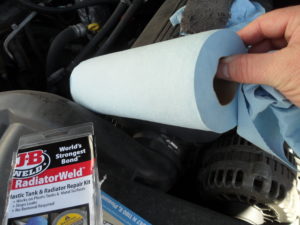
Shop Paper towels could be used here or household towels.
The cleaned area is ready to be fixed.
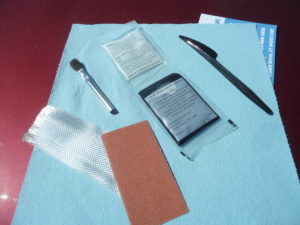
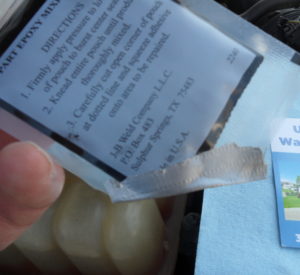
Tools needed for this job are all supplied for you.
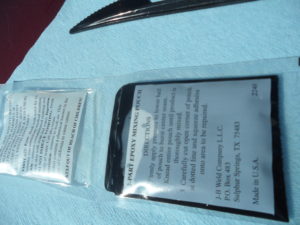
the packaged compounds the repair one. and hardener in 2 separate envelopes.
The next step is to use the emery cloth to rough up the surface of the area where the leak is. This will aid in helping the compound to stick to the surface, thus helping fix the leak. Next, get your postcard or board out and the plastic knife and measure out a small amount of the compound and the hardener and mix it up with the knife doing it thoroughly doing it until it changes color to gray.
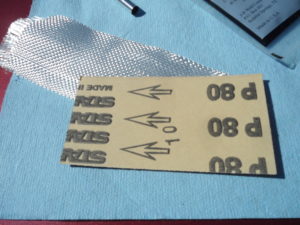
Emery cloth is in the kit and also a piece of cloth mess to use on plastic tanks for those types of repairs too.
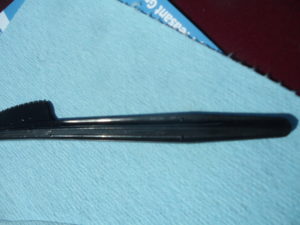
I used a plastic knife because it can be thrown away after you are done.

Repair compound.
Mixing in our hardener compound with our repair compound.

Repair compound mixing with our hardener & our knife on our postcard or poster board.
Once it is properly mixed, you can carefully apply it to the surface of the radiator with the supplied brush, where the leak is. Be sure to apply the whole mix amount to the surface so there won’t be any waste. Then let it sit for thirty minutes. Then check it and see if it’s dry.
Repair results seem dry now.
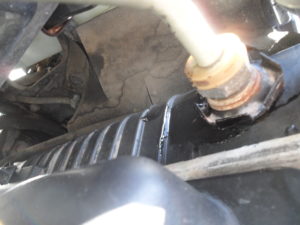
The repair looks to be a success we have a dry compound and no fluid leaks either.
Then you can do the start test of your vehicle wait for it to get up to a normal running temperature and check for leaks. If it’s good take it for a test drive and it couldn’t hurt to look at it again. If no leaks after that, then you are golden! This did fix MY repair AND saved me FIVE HUNDRED BUCKS!!!


