I had the opportunity to show off my wiring expertise on a construction worker’s trailer. The first thing I did was assess how much parts and labor I would need for this project so I could give the owner an estimate for my work. He wanted me to go ahead with the work.
So I started on the trailer and I got out my floor jack and jack stands raised it high enough for me to crawl underneath it and made a list of tools needed for the project. I made a list of the tools I was going to need.
- Wirecutter/wire strippers
- Flat tip number one screwdriver
- Number 2 Phillips Head screwdriver
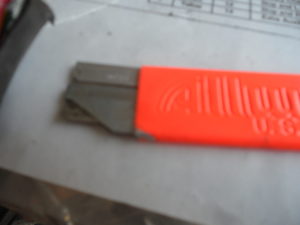
- Box cutter or razor blade
- Pair of wire dykes
- 14- 16 gauge crimp connections
- 4 wire nuts
- Protective wire wrap
- Rubber insulated clamps
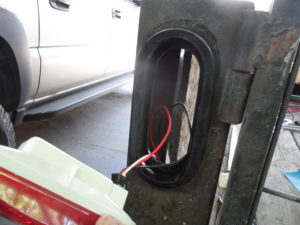
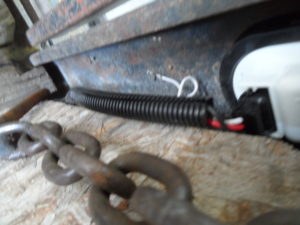
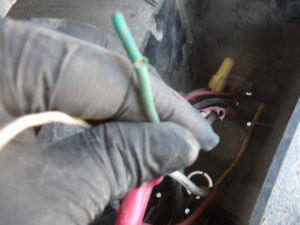
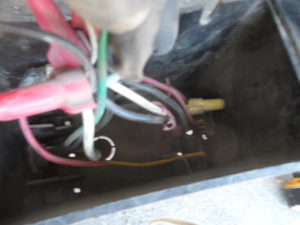
The owner supplied me with the wire harness and the light set he wanted on it. So next for me to do is get under the trailer and start ripping out all the junk wiring and unused wiring from this trailer and wire in all the new stuff.
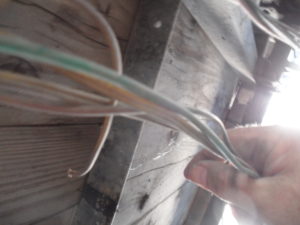
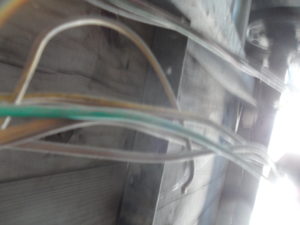
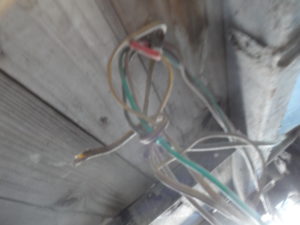
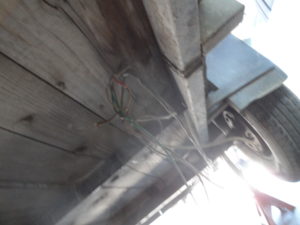
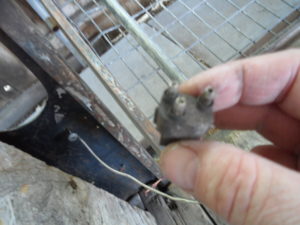
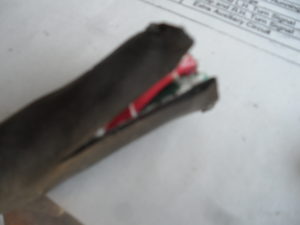
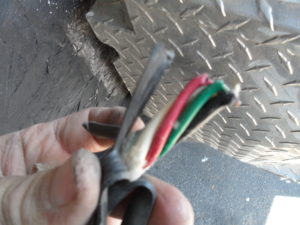
these first pictures are of wires that needed to be removed from past wiring jobs.
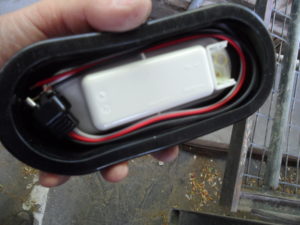
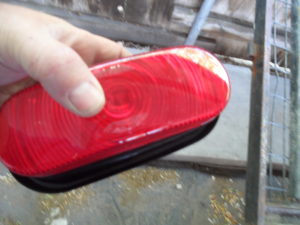
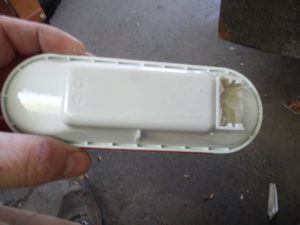
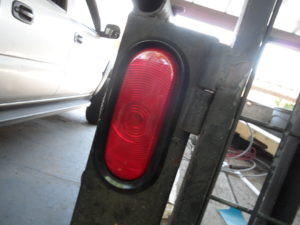
Next, I laid out all the new wiring and installed the rubber insulator clamps in the location of the old hangers. Then I moved on to installing the taillights & boots. While installing the taillights, I wanted to be sure I put on my protective wire wrap over the wires and run the wires to the taillights where they wouldn’t be hanging down and in a proper area where the wood in the bed of the trailer and the steel of the frame would not rub on the wires.
Once I have the wires where I want them to go to my lights, I finish running my wire wrap up to the tongue of the trailer. After that is on I take the rubber clamps and install them around my wire wrap and be sure that nothing is hanging down once the hangers are installed.

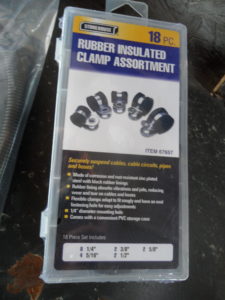
Rubber Insulated Clamps
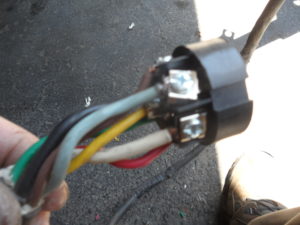
Now I installed the 7-way RV plug connection at the tongue. Once we are at the tongue I use the box cutter (or razor blade) to cut away at the black installation so I can get access to the wires in the harness.
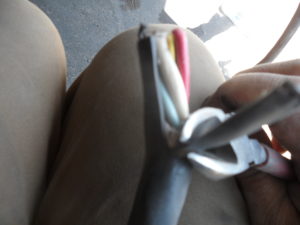
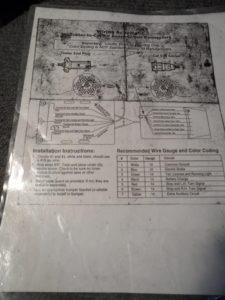
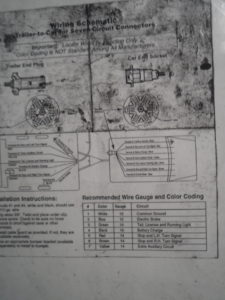
Take a look at my trailer wiring diagram sheet and it will aid in knowing where each wire goes in the plug connection. We will also use this for the taillight and side marker light connections.
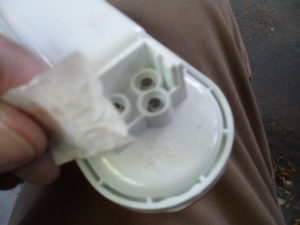
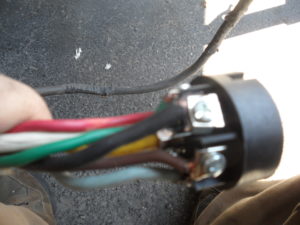
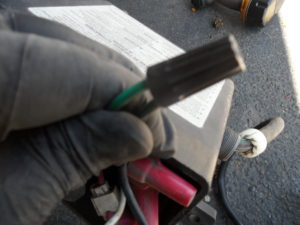
Now we’ll wire in the new plug at the head of the trailer. When installing your wire harness into your plug, loosen the 2 screws in your trailer plug housing. One screw holds the housing together and the other screw holds the whole harness inserted in the plug housing. You can tell the difference because one is at the BACK of the plug and the other is in the FRONT of the plug connection itself.
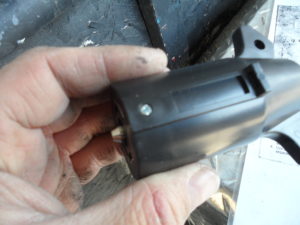
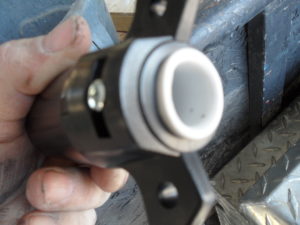
Before stripping your wire harness, feed it into your wire plug housing first. You may need to lube the white silicone boot so it will make it easier to feed your harness first. Once the harness is fed into the housing it will push out the plug connections in the housing.
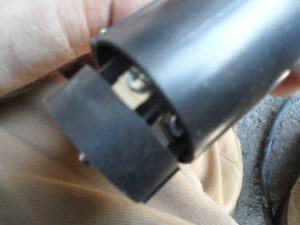
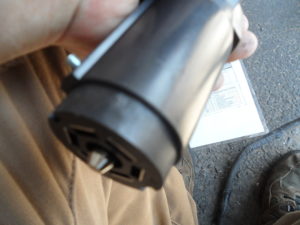
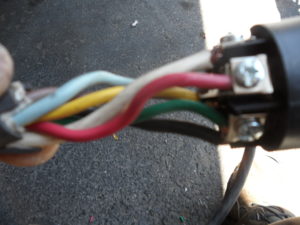
The plug connections are where you’ll connect your wire harness. Once the wires are through strip just a little bit back on each wire. Have the wiring diagram close by so you can read off of it.
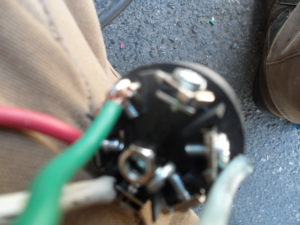
This is where the fun begins! Following the wiring diagram, will indicate where each wire goes from the notch in the head of the plug connection where each wire goes and be patient while doing this because when working with electrical you won’t want to do it multiple times because you only have a preset length of wire.
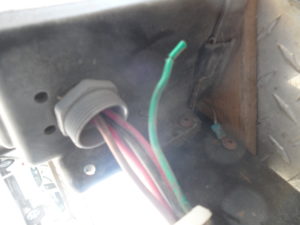
Once I have every wire connected to the plug I go and check my rear taillights and check for continuity from tongue to tail making current visible. I had a little snag while doing the trailer. I had to go into access to the junction box and I found out a couple of wires were not hooked up at all. So I made sure they were reconnected and then I did the test again for the current for each taillight. It all looked great!

So I backed my truck up to it and did a proper test while being connected to a vehicle. We have lights!!! Victory Cruise!!


