
This post consists of installing a backup camera in our rather large SUV. This vehicle also has numerous blind spots and my wife is shorter than me and she was afraid to park him in parking lots because there was so much vehicle behind her. We found a great deal online for the perfect camera with easy installation and it came with enough wiring for the length of this vehicle.
The tools I used for this job:
1) a little hole saw (to drill the hole for the camera to be mounted where ever you want it)
2) an electric or a cordless drill
3) 3/8-inch drill bit
4) door panel removal tools
5) a pair of pliers
6) 1/4-inch drive ratchet
7) 10 mm socket
8) 3-inch length 1/4-inch extension
9) a pair of good wire strippers
10) 3 of 4 wire splicers
11) black electrical tape
12) a #3 Phillip’s head screwdriver
13) 1/8th flat tip screwdriver
14) heat gun and some heat shrink also
First, decide where the best place on your vehicle is to place the camera for the best viewing option. I chose to put it on the back door handle. The reason we chose that spot is that our truck came with the “barn door” style option from the factory we thought that would be a good place to hide it.
So I started taking the door panel off our rear door to access the door handle assembly. Once we have the door panels out of the way, we ran into some plastic sheeting. Then you’ll have access to the inner workings of the door.
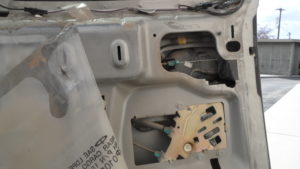
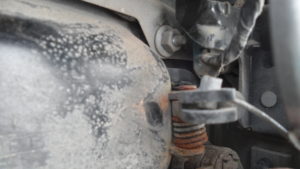
Inner Right Rear barn door after we removed the panel and the plastic sheet

The link plate connects to the linkage going down to the door lock mechanism
Power Door locks that connect to the door lock cylinder.
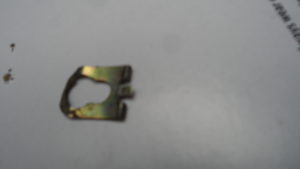
Locking clip for behind the key lock cylinder.
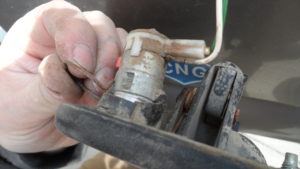
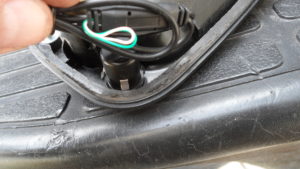
This is where the 1/4-inch drive ratchet extension and 10 mm socket come in. Here you have three nuts holding the assembly in the outer door panel. Once those are removed then we can move on to removing the power door lock control and the lever for the locking mechanism. The first item to remove after the nuts is the connecting rod between the door lock and the locking mechanism.
Lever control for locking the rear doors.
Remove it from the plastic lock.
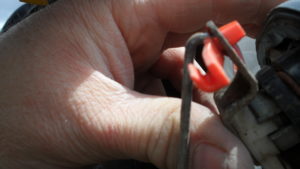
As Pictured slide to the left then it will release then pull out of the red lock
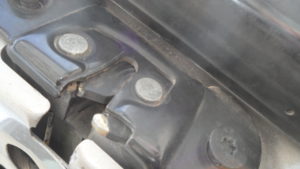
Locking Mechanism located on inside of door jam. These bolts will need to be removed to aid us in this job.
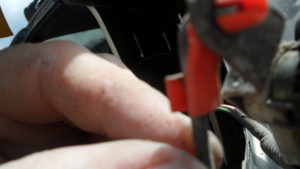
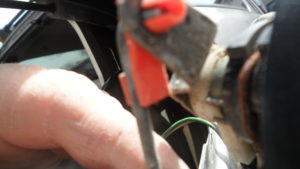
Removing this cable can be done by using a pair of pliers.
Remove the cable from the handle
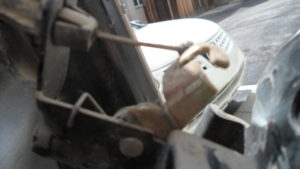
Cable to open door
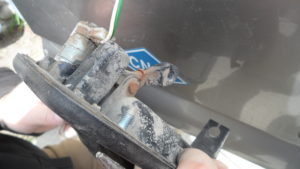

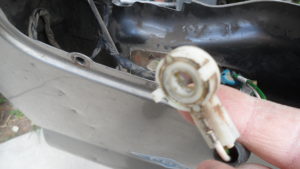
Then we’ll be able to pull the door handle out through the outer door panel so we can drill the hole for our camera. Now we’ll have to decide where to run the wires for the camera. I decided to go through the inside of the vehicle instead of under it. So this is where we needed our drill to make a few holes.
One of 3 nuts to be removed for us to take out our door handle so we can move on.
The first hole would be in the right rear door just below the line of where the door panel edge would be, once it is back in place. This hole was made big enough for the yellow video cable connection and the power cable can fit through with ease. Now the wiring for this camera comes with its own instructions say to hook the power lead of your camera into the positive side of your reverse light connection. (Now right here I need to add the power wiring for this camera is 2 wires in 1 the ground & positive is together you need to spread them apart carefully to get the ground and positive to work here.)

A hole is drilled in the right rear barn door.
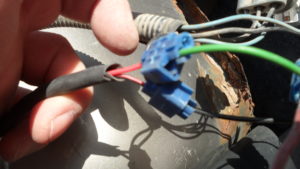
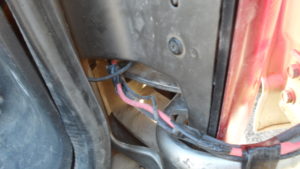
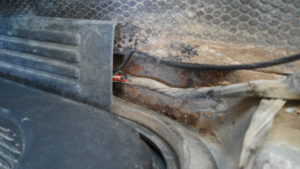
Taillight connections 1 red coming from the Video cable goes to the positive connection of reverse light. then the red wire from the power cable goes to the positive on reverse light. Then the black goes to the ground of taillight.
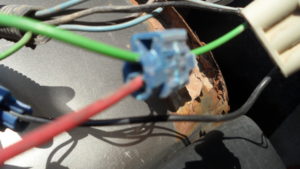
Reverse light wires on my truck are green so connect your positive to this wire or red with a splice connector
Power cable houses both positive & ground wires.
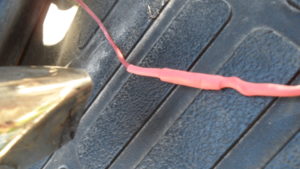
I used a heat gun here w/ heat shrink here to help with making this a clean install.
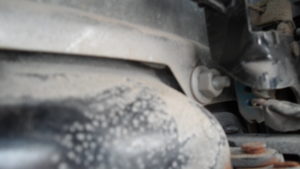
Then you also take the red wire coming out of your yellow video connection and connect this one also to the positive side of your reverse light. Then the ground connection coming off your power plug can either go to your ground side of the reverse light connection or a body ground. I chose to go with the reverse light ground. Once the door is done, drill a hole in the rear of the truck right by the rear cover panel so it can be led through the truck so it would not get weather damaged or damaged by taking the vehicle off-road.
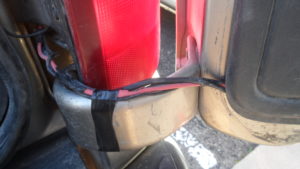
this is only temporary
This idea is only temporary!
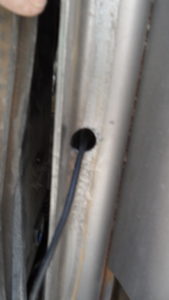
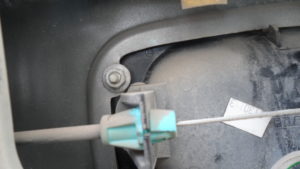
A hole is drilled into the body of the vehicle in the rear quarter panel of the interior and we wire it inside to the front of our vehicle.
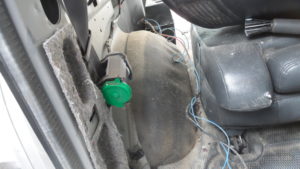
Wiring it inside the truck the main goal here was to keep it from damage from the undercarriage and saving me time.
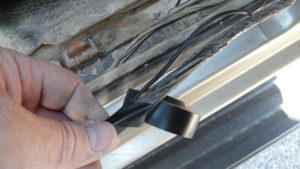
Insert the wires under the door for clean & safe install.
Once I had it through the rear cover panel, I lifted the threshold panels under the doors and tucked the wires with existing wires that were already there using my black electrical tape. I continued to do this till I got up to the dashboard. Once you get to the dashboard, you can run it behind the kick panel then behind the sound padding along with the inside firewall of the vehicle.

Keeping a clean job.
Our wiring is looking good. adding it to our existing wire harness so it looks stock.
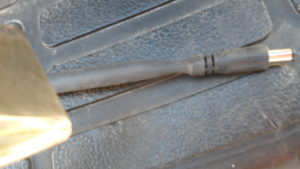
Now I’m ready to fish it up to the stereo with a wire coat hanger with a bent hook at the end of it with the needle-nose pliers. This hook will be just right for my RCA connection to hook into and to be sure it doesn’t snag on anything, I put just a little bit of black electrical tape so it would pull back up with ease.
pulled through very well with our (vintage metal) clothes hanger.
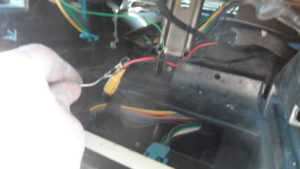
Now the fun part of this job is to wire it into the stereo. Then we can test our connection to see if all this work pays off! Once all of our connections are finished, we block the wheels on the truck. Turn the ignition on. Put the truck in reverse and see if our camera works.
BUT IT’S A NO-GO!
Camera is installed
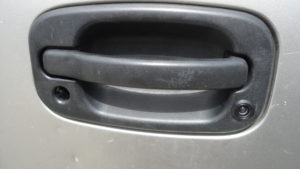
Rear Door Handle w/ Camera installed
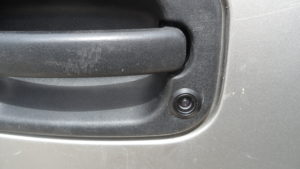
It looks great but doesn’t work!


