When I worked in construction as a Heavy Duty Mechanic, we used these same type of chocks for our work trucks. Everything from 1/2 ton to 2-ton mechanic trucks even our project managers working ANYWHERE on the job had to use these for safety regulations on the job site or at the office. Whenever they were parked, we would get docked points for being unsafe if we forgot or didn’t put chocks like these down each time the trucks were parked. Even if it was just for a few seconds! Sometimes, if we were consecutive in safety rules, we would get paid cash or safety awards or both! So I thought with all the undercarriage work I’ve been doing like brakes, CV-axels, tire rotations, flat tires, or even just inspections; you could always use a block of wood or something while there’s a jack under the car or a wheel is off and you’re under it even if your not under the vehicle. SAFETY FIRST!


So I remembered my construction days and made my own wheel chocks like the same ones we had out there! And they won’t be so easy to lose like just pieces of wood, hopefully? Now, let me tell you how I made them AND show you, these pictures.


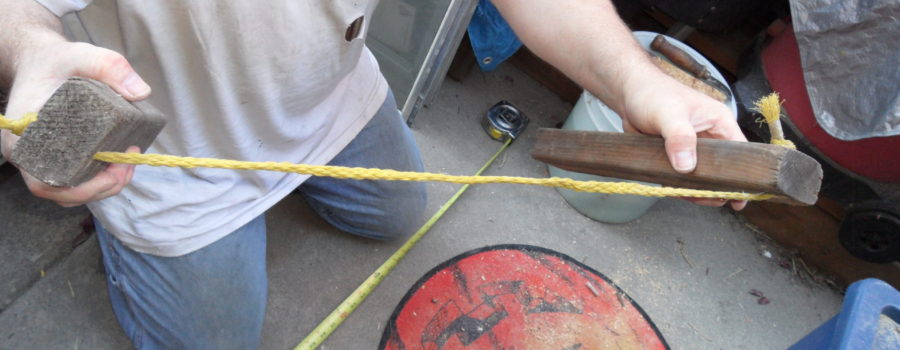
First I pick a piece of old wood I had on my patio that was perfect for this project, size-wise. They measured about 2 1/2 inches by 1 1/2 inches. I cut them to be about 12 inches in length. Just enough to cover the width of the big tires of my ’66 Chevy C-10 truck, with a little extra length for any other future vehicles I’ll be working on that may also have wider or bigger circulator tires. I also have space for my rope. Now, I get to drill my boards for the rope to tie 2 of these together, to make them each a pair. I’m making two pairs of chocks. You never know, I may need more than one someday. Now, I have the perfect old rope for this. This rope has been hanging around with me for lots of misc. crap through the years. This rope is kind of hashed from age, but perfect for this job.


So I cut one rope to the length of 2 1/2 ft. and the other I cut 3ft and 8inches. Then I drilled the holes in my boards with a size 3/16th drill bit in a 1/2 inch drive Black & Decker hammer drill. Now I pay close attention to how and where I was going to drill the holes in these boards since I had such a big drill! I wanted to do it down low so I did it on the concrete with the boards in a cross pattern. So my bit wouldn’t hit the ground and get damaged. And also, I would have to hold my foot on them to prevent them from spinning while drilling the holes. The first two were finished. Flipped them for the two bottom ones. Then you can run the boards together to get rid of any splinters that may be there from drilling the boards. I should do it this way than to get the splinters off later. Then I grab my ropes, tape off the frayed ends and feed them into the boards and tie a nice knot in it, right at the end of the rope. Once in my boards, I pull them hard to be sure they would stay tight. (Sometimes my knots don’t stay tied) VOILA!!!!


